
I’m pretty certain I’m one of the few, apart from Peco, who has taken time out to try a large number of ready to run products through the Peco Code 75 bullhead track, points and crossings. At the time of their release I was building Shelfie 3 and hadn’t finalised what the actual layout was going to use as far as stock goes, and indeed, what region it was to be set in. This was slightly unusual, however, I’d determined what track plan I was going to use, a three point terminus style heavily influenced by Iain Futers’ layouts. I wanted to make a simple terminus and was working out if I should stick with a GWR/WR theme to adapt in due course into a multi location larger layout, or a standalone model in its own right. I chose the latter, but whilst trying different themes of stock I’d had the opportunity to see that I wasn’t getting the short circuits reported by a few people online.
It’s important to stress here that these tests are not connected in any way with Peco, these are purely out of my own interest. As above the testing was done because there were several vociferous comments online about how these point were causing problems with regular short circuits as locomotives, and some stock passed through them particularly at the crossing section. This is frequently referred to as the ‘frog’, for simplicity if required in this posting I’ll refer to the crossing as the frog.
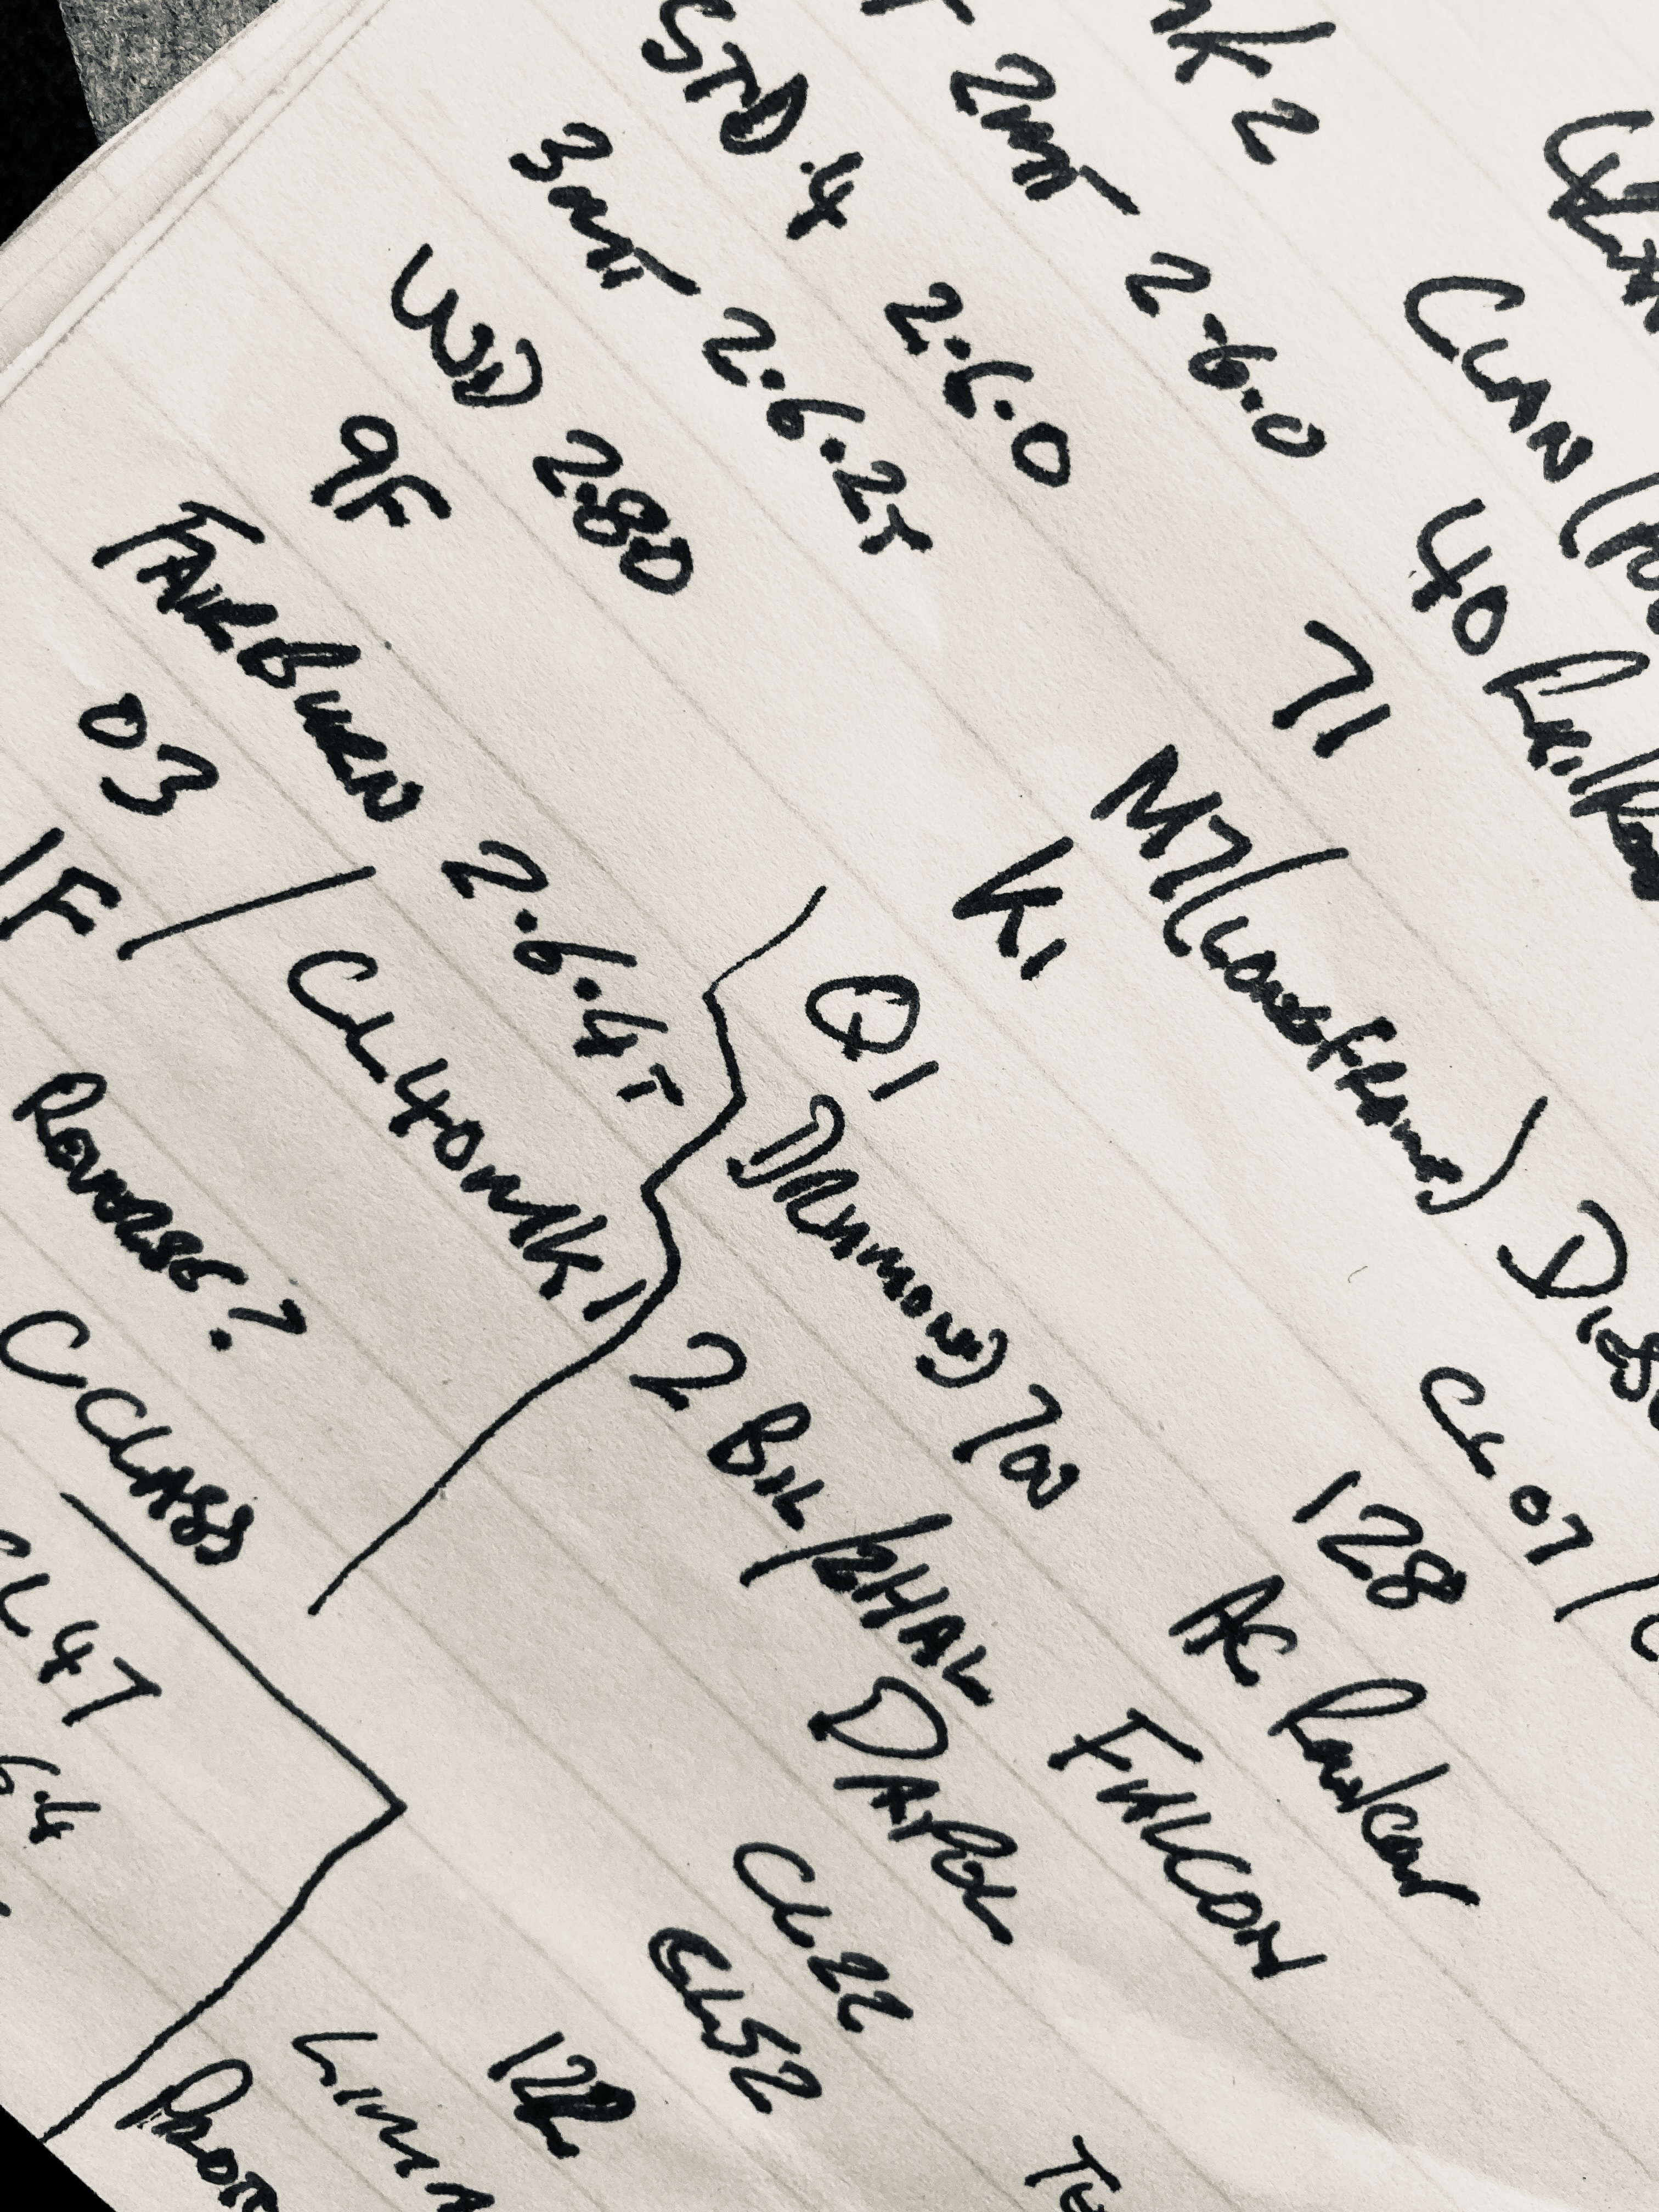
The list underneath are all those types (98 as of 14/10/24), which have been tried through the Peco OO Bullhead points and crossings. The test piece comprised of a left and right hand large radius point one single slip and a long crossing. At the time of the core tests the medium radii points hadn’t been released, and the comments regarding the electrical short circuits referred specifically to the left and right hand large radius points. I’ve subsequently had the opportunity to try many of these models through left and right hand medium radius points and and a double slip, so far I’ve experienced no problems with those track components either. Each type has had a minimum of at least four passes through the test track on DC control. Where DCC has been used this will be annotated in a similar fashion. The description of them is their well known generic name. Where there have been multiple releases of the same model the variant is marked as Mk1/2 etc to identify the release period. A total of 149 different locomotives have been tried through the test piece as of 10/09/23. For clarity a locomotive in this context simply refers to a motor driven model, regardless of steam or D&E prototype outline.
The reason for four passes is all follows, the model facing in each direction, and passing through the track in each direction. Many of these have had multiple examples of the type through the test section, where this has been done a bracketed number will be shown next to the types concerned. My thanks to those friends whom have assisted with loans of motive power to assist with these tests. I’ve concentrated on the locomotives for a simple reason, these are the most expensive products we regularly purchase, and are much more difficult to adjust or convert than rolling stock.
Where I had multiple car vehicles DMU’s etc, they were ran as far as practicable with the space I had available, as full sets. For example when I tested the 4CEP I had room to place simple flextrack extensions on either end of the test board. When I had the opportunity to try the Blue Pullman I only had restricted space so they were run as shortened units, but the passenger cars were pushed through manually.
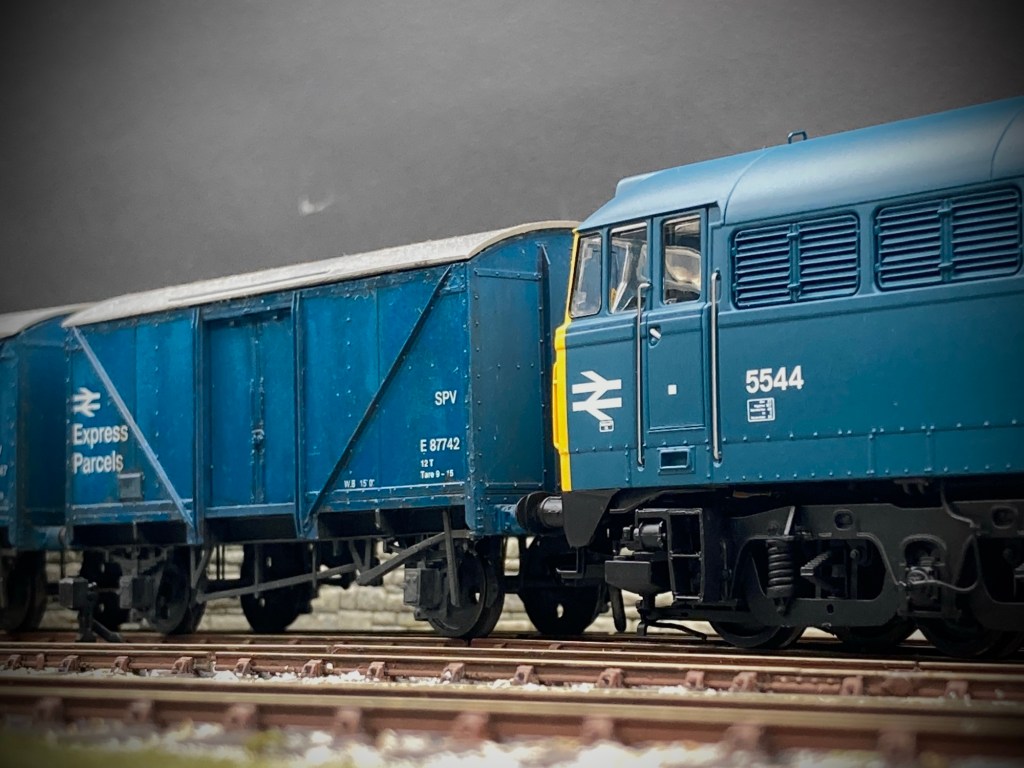
ACCURASCALE D&E
Class 31 (x 2)
Class 37
Class 55 Deltic
Class 50
ACCURASCALE STEAM
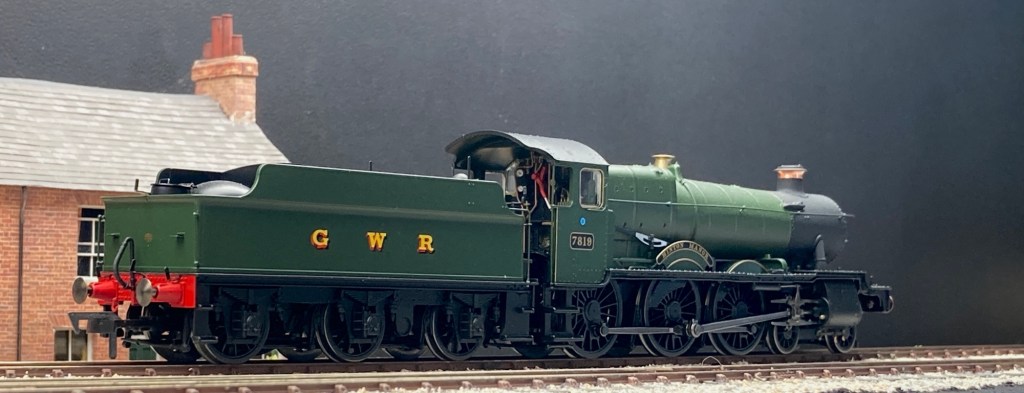
GWR 78xx Manor
J68
57xx pannier
ATHEARN
HO GP7 (DCC Genesis)
GP45
BACHMANN D&E
LMS 10000 & 10001 ‘Twins’
Class 03 (x 3)
Class 08 (x 5)
Class 20 (DCC Mk1)
Class 24 (2 x Mk1) Class24 (2 x MK2)
Class 25 (Mk1)
Class 37 (Mk3)
Class 40 (Mk1)
Class 47 (2 x Mk1)
Class 57
Derby Lightweight (4)
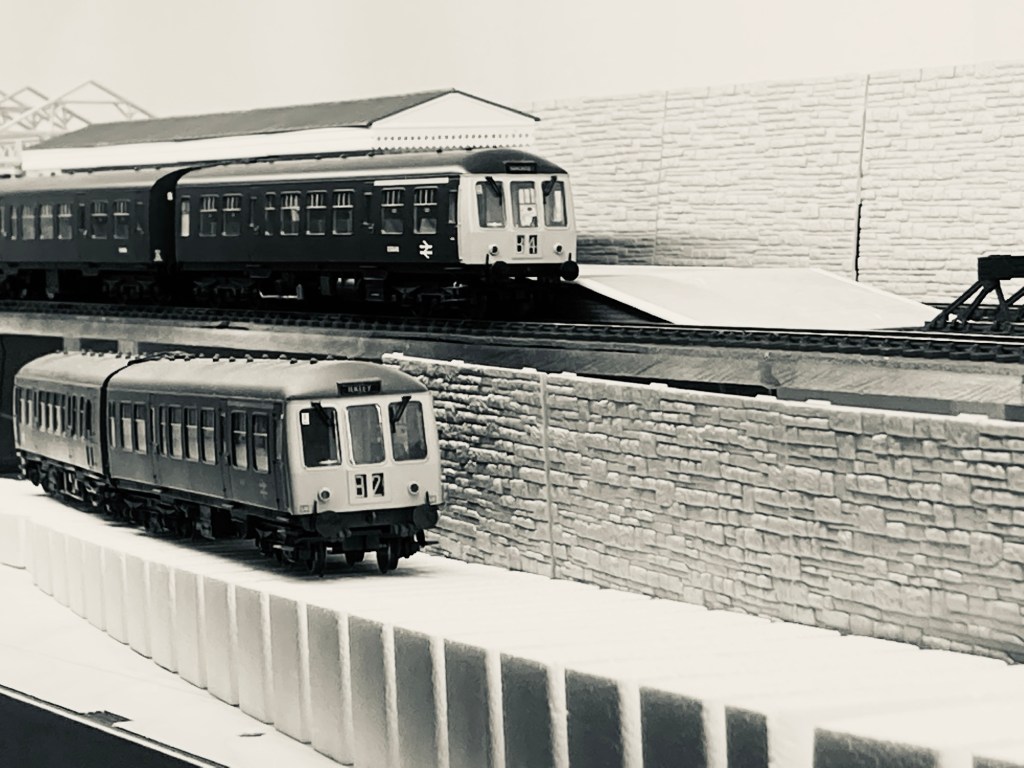
Class 101
Class 105 (3)
Class 108 (7)
Blue Pullman. Power cars run back to back, coaches individually
MLV
2-EPB
4-CEP (2)
BACHMANN STEAM
USRA 0-6-0T (2)
MR 1F
LMS 3F 0-6-0T (5)
LMS Fairburn 2-6-4T
LMS Ivatt 2MT 2-6-0 (2)
LMS Ivatt 4MT 2-6-0
BR 3MT 2-6-2T (2)
BR 4MT 2-6-4T
BR 4MT 2-6-0 (2)
BR 5MT 4-6-0
BR 9F 2-10-0 (3)
WD Austerity 2-8-0
SR C Class 0-6-0
GWR 45xx (3)
GWR 56xx (3)
GWR 57xx (13) 2x DCC sound
GWR 64xx (5)
GWR 94xx
DAPOL
Class 22
Class 52
Class 121 (2)
LSWR B4 0-4-0T
LBSCR Terrier 0-6-0T (Rails commission)
Hawthorn Leslie 0-4-0T
DJM
GWR 14xx 0-4-2T (2) Hattons commission
J94 (2) As this is re-released by EFE those may be covered by this test too
HELJAN D&E
Class 104 DMU
Class 02 (Diesel shunter) (DCC)
PWM Shunter (Model Rail commission)
Class 05
Class 07
Class 11 (Model Rail commission)
Class 14 (Hattons commission)
Class 26
Class 27 (2)
Class35 Hymek (5)
Class 47 (2024 release)
Class 128 (2)
Falcon Prototype (2)
GWR Diesel Railcar
Park Royal Railbus (slows through double single slip)
AC Railbus
HORNBY D&E
Sentinel 0-4-0 (2)
Class 08 (3)
Class 31 (DCC)
Class 40 (Railroad)
Class 71
2-BIL (2)
2-HAL (2)
Class 755/4 FLIRT
HORNBY STEAM
Peckett 0-4-0T (2) Stops occasionally due to wheelbase length vs frog inert section length
Peckett 0-6-0T
J15 0-6-0
J50 0-6-0T
K1 2-6-0 (2)
L1 2-6-4T (DCC)
A4 4-6-2 (DCC Intermittent fail due tender axle B2B causing short circuit)
GWR 42XX 2-8-0T
GWR 61XX 2-6-2T (Full Range not Railroad variant)
GWR 50xx Castle (DCC) 4-6-0
LSWR M7 Long Frame 0-4-4T
SR Q1 0-6-0
LSWR Drummond 700 0-6-0
SR Battle of Britain 4-6-2
BR/SR Rebuilt Battle of Britain 4-6-2
BR 70xxx 4-6-2 Britannia
BR 72xxx 4-6-2 Clan
KITBUILT
Craftsman 02 Diesel 0-4-0
LIMA Class 31
PROTO2000
SW900(3)
RAPIDO UK & CANADIAN
BR/WR 15xx
BR/WR 16xx
LNER J70 Tram (2)
Hunslett Industrial 0-6-0T (2)
GMD-1 A1A- A1A (DCC)
SW1200 (2x DCC)
ViTRAINS
Class 47 (2)
Class37 (2)
SAMHONGSA
GWR/WR 94xx Failure reason not clear suspect metal brake rodding short circuit
OTHERS
In addition to the above listings there are a couple of rolling stock items of note, in particular the Bachmann Mk1 Pullmans. These collect power for internal lighting through the wheel sets, four of these have been run with no issues.
CONCLUSION
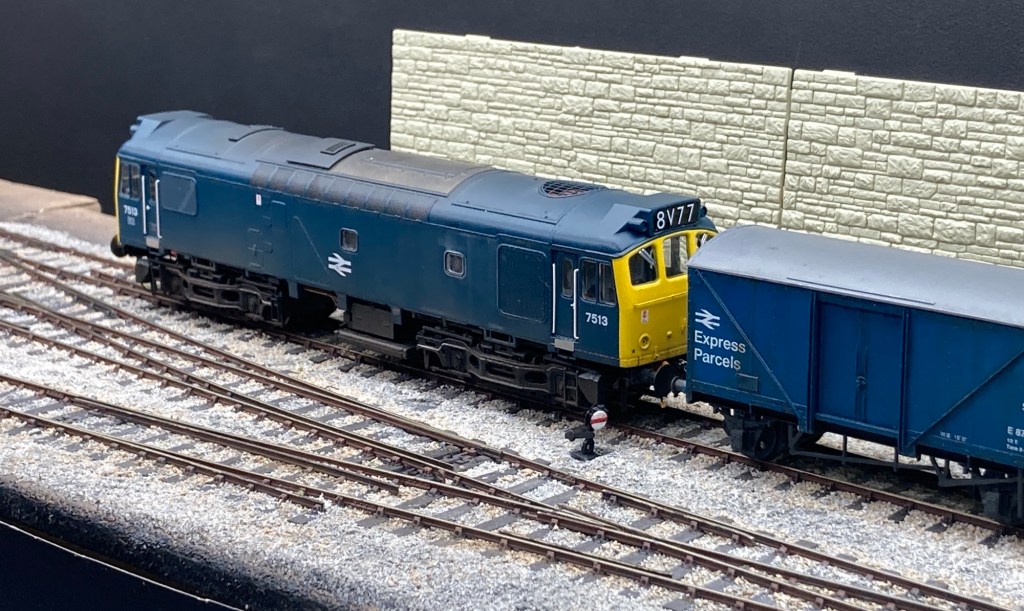
From running all these types through the current bullhead range of points and crossings, it’s clear the only a very few products have issues with this track. Obviously I can only comment on those models I’ve tried, but to date 14/10/24, only two have failed and caused short circuits. They are a Hornby A4 and a Hornby Battle of Britain locomotive. Both of those had back to back’s that were too tight. One issue that will occur is with very short wheelbase locomotives like the Hornby Pecketts or Dapol’s Hawthorn Leslie. If you don’t power the frog electrically, the wheelbase is so short it may cut out as both wheels on one side become inert on a ‘dead’ frog.
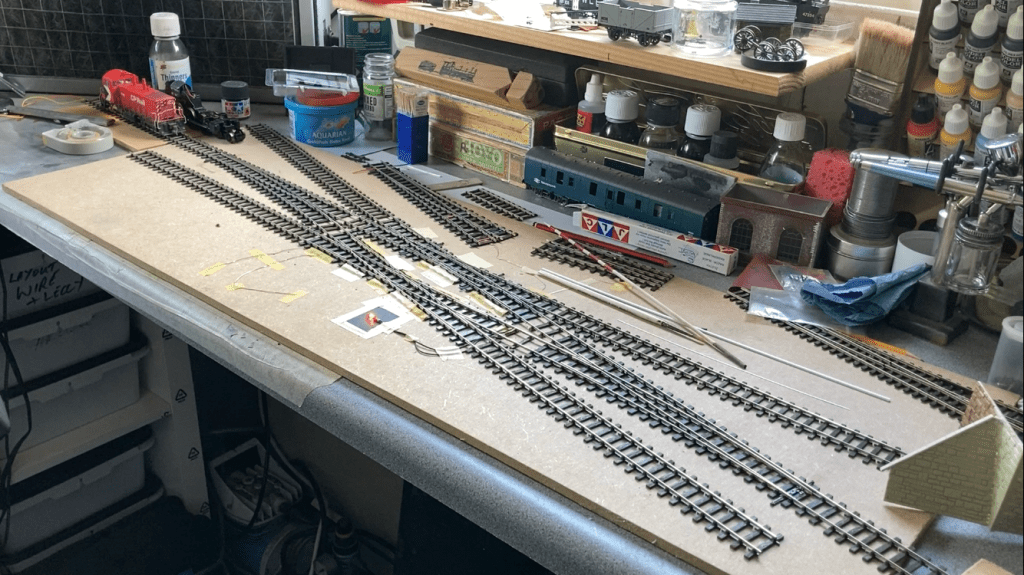
Another element here is that even if the model bridges the dead section it may stop running if the pick ups are poorly adjusted and some are not making electrical connection. I’ve seen that myself with some of the sample locomotives, they’re not fine tuned, they are mostly as supplied. This is why I include the grain of wheat bulb, if a locomotive halts I have an immediate verification if there’s an electrical short circuit. The track in these tests isn’t fixed, it’s just placed on this baseboard with some additional tape. By having track that isn’t fixed permanently, theres lateral and vertical flex that can have an impact on conductivity. The solution is of course electrically powering the frog. The three videos below show the test piece and a few of the models tested. Primarily tested using DC as that’s my normal control system, I did do some DCC testing, that’s on the third video.
I have to say, I do enjoy using this track. Over the years I’ve used many different types of ready to lay track from Triang Super 4, and up to date I use Kato Unitrack for testing too. The appeal with this track for me, is the huge leap forward with the transformation in appearance of OO ready to lay pointwork and crossings.
When you combine this track, contemporary RTR products and kit built items, you can make very realistic models come to life. Previously ready to lay track was obvious that it didn’t look as good as perhaps it could, and to have the Peco track reliability as an added extra really makes the difference. I’d love to see this range extended further, and think a catch/trap point would be a valuable addition.

I’ve made trap points by cutting regular points in half, that’s expensive, but it captures the appearance of real track and that’s why I did it, and why I feel this track appeals to modellers wanting better looking, and well performing track.
I’ve not finished testing yet, I have a simple test piece which includes a single slip and medium and large radius points. Every time a new model comes through the man cave, I’ll test it and add it to the list, it’s a bit of a habit now!..

Crumbs, this is a serious amount of testing!
You’ve created a great resource of information for other modellers 🙂
Thank you, it’s obviously not ‘scientific’ as such, and presumably doesn’t have enough data. But on the basis that I’ve not been able to replicate the same thing, and there isn’t large numbers of people with short circuit issues, it’s very difficult see any problem being the track.