

Heljan have a good record of producing interesting OO gauge diesel shunters and the 02 production sample seen here seamlessly fits into that range. The 02’s were made by the Yorkshire Engine Company of Sheffield as a batch of twenty for British Rail between1960 and 1961 based on an existing design, around another fifty or so were built specifically for industrial use. The BR locomotives were allocated to Midland Region and spent most of their lives in the industrial Northwest in the Liverpool and Manchester area.

The model in for review is Catalogue number 2841 DCC ready, OO gauge. The basic specification include Next18 decoder interface, and interior and external lighting. The model weighs in at 122 grammes which is excellent of such a compact model. There is provision for DCC sound included too, with a speaker already fitted. Note that this being a pre-production model within the handbook there is a speaker mounting location identified on the underside of the cab roof. The packaging is the familiar sturdy carton, and internal foam surround with the model held inside a vacuum form ‘ice cube’ type cradle. No components had come loose in transit. Also included is a detail pack which includes etched maker name plate, 3 link couplings, and buffer beam blanking plates. Cab lighting in DC is switchable using a magnetic wand (also included). The instruction handbook is the familiar Heljan leaflet style showing how to remove the body, a parts diagram and historical outline of the class. as mentioned above the instructions suggest fitting an Iphone type speaker in the cab roof, however the speaker is fitted within the chassis, and only requires an appropriate sound chip. In an interesting move Heljan are simultaneously making this prototype in O gauge too which I feel will do well in that market too, both these types will be well suited to the small layout genre.

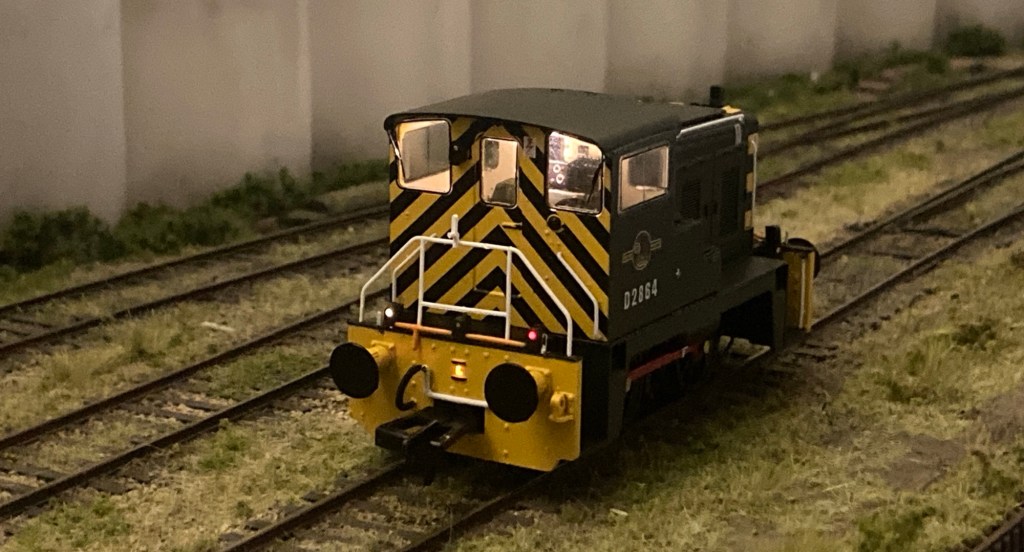
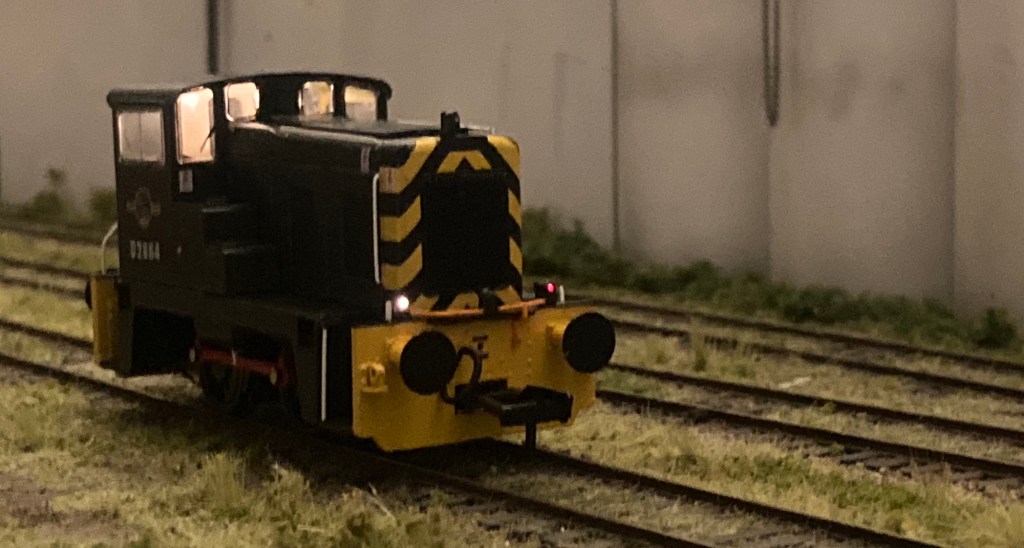
First impression often counts for me, and the Heljan 02 hits the mark immediately and doesn’t disappoint. It immediately looks in proportion, edges are well defined and thin, particularly the cab roof edges and the color is a good opaque satin finish. Detail fittings are all correctly fitted and square and no evidence of excess glue around them. There are no paint blemishes and the detail printing is legible and clear. The wheel tyre faces are painted black giving the wheels a pleasing uniformity, the brass crankpins do stand out a little but a touch of red paint will easily resolve that small inconsistency. The prototype over its many years of service remained pretty much unchanged. For the livery as supplied it appears that Heljan have all the variations correct on this model and cross checking my available drawing (OPC Pictorial Record of the Diesel Shunter), the dimensions are correct too. Barrow Hill Roundhouse assisted Heljan with their 02 for data collation and research.
The weight of the model is immediately apparent, dropping it on the scale it records a healthy 122 grammes. The running plate and chassis are primarily metal castings with the bonnet and cab plastic. The body has some handrails and door openers moulded in place, but the main bonnet top and rear cab and platform handrails are separate components. The gentle slope of the bonnet profile is well captured. Window glazing is particularly good with individual panes rather than the often seen prismatic mouldings, or as Heljan have done in the past a transparent overpainted cab. Blackened very fine etched windscreen wipers are fitted giving a very effective appearance to the cab. Interior details are visible and individually painted, removing the body will allow access to fit a crew if so desired.

For me the cab glazing is excellent overall but on this sample the frames of the cab side windows had some clear sections. However this is really nit picking and a fine brush with paint will easily resolve that, and far better than it being painted too heavily. At the cab end of the locomotive there are handrails fitted to the rear platform. The model will need a some careful handling around these delicate but distinctive railings. The packaging is designed to give adequate clearance for them. Individual handrails and lamp irons are fitted too with illuminated lamps on the top of the running plate. Individual filler hatches are separate components as are the buffer beam lifting rings.

Bufferbeam detail is good with vacuum pipes fitted and non sprung buffers, included in the detail pack are three link couplings. I’d like to have seen sprung buffers however the practicality of fitting them with the prototypes buffer beam and step configuration makes that impractical. One of the buffers on the rear platform of this sample is slightly misaligned, but is liveable with.
Body Removal

Body removal is straightforward with just three screws required to remove the body for chip fitting or any maintenance. There are two screw underneath the fuel tanks accessed from underneath. The top bonnet lamp hides the third fixing. This is an interference fit that presses into a moulded recess hiding a screw underneath. It’s a component that will need careful handling as it is a very small component.


Cab lighting is controlled by either the supplied magnetic wand or by DCC functions. The DCC fitting is a Next18 configuration. For testing I used a Dapol Imperium 2 six function decoder. This was an easy fix and gave good plug and play results with no fine tuning of functions required, the controller used was an NCE powercab.
The lighting functions are straightforward, cab and/or shunting lights can be selected in DCC. In DC mode just the cab is illuminated, and this can be switched off with the magnetic wand.
Chassis
The split of the body and the chassis is a logical and straightforward one. The body clips onto the running plate and there are no gaps. If fitting a stay alive there may be some challenges fitting one under the bonnet, due to the lack of space. The cab area is open so that may provide an easy option to fit any stay alive required.

So having made good impression straight out of the box the first thing I do is try it on a test track or rollers using a Gaugemaster Combi controller. The chassis runs very quietly and smoothly, and is of rigid construction. The motor is a coreless type with a fitted flywheel driving onto the rear axle. The drive mechanism is hidden and doesn’t intrude into the cab area, another example of the discrete small motor mechanisms we see in today’s models.


The metal chassis block is of split chassis construction with pickup collection through phosphor bronze axle bearings. There is some lateral movement on the axles and the brake shoes are in line with the wheel treads. I’ve not disassembled the chassis to assess EM/P4 capability, but there appears to be sufficient clearance behind the chassis air tanks, brake shoes will require adjusting. The gear train is only fitted to the rear driving axle. For me this is a sound decision as there’s no binding or cogging with this chassis on the gradients with or without loads. The phosphor bronze pickup collars are very effective for this split chassis design. The test track used has a good deal of uneven track and poor joints which usually find any weak spot with a traditional pick up strip bearing on wheel treads or tyres, this model was not troubled by any of the track it was tested on.

Weighing in at 122 grammes there’s good weight for reasonable length trains for such a compact model. I test any RTR releases by using a simple 3 degree slope using Woodland Scenics preformed inclines under my test track, which uses Peco Code 75 Bullhead track. This isn’t fixed down so effectively represents ‘poorly’ laid track. The model under test pulled and pushed from standing starts 325 grammes, using my test wagon and car weights. However, putting four Bachmann MK1 BG’s together weighing 500grammes it started those with some slipping, so there’s a very creditable performance for such a diminutive locomotive. Its good performance has been consistent on five different track types. With Peco Cd75 Streamline in both flat bottom and Bullhead types, and Peco set track there were no issues apart from occasionally stopping on the Bullhead large radius V crossing. Using it on Kato uni track points and Micro engineering points the locomotive does stop on the V crossings. I must emphasis that this isn’t a problem with Heljan’s 02, this is due to the length of the ‘dead’ sections of these V crossings on this type of track, combined with the short wheelbase. Both types of track are uncommon in UK hobby use. The wheelbase vs ‘dead frog’ crossings compare to Pecket/Sentinel/Hawthorn Leslie models from other manufacturers, they all experience similar ‘problems’. The solution to this is primarily to have electrically live point crossings and good track laying, especially if using such short wheelbase locomotives. If using DCC a ‘stay alive’ will minimise any stalling too.
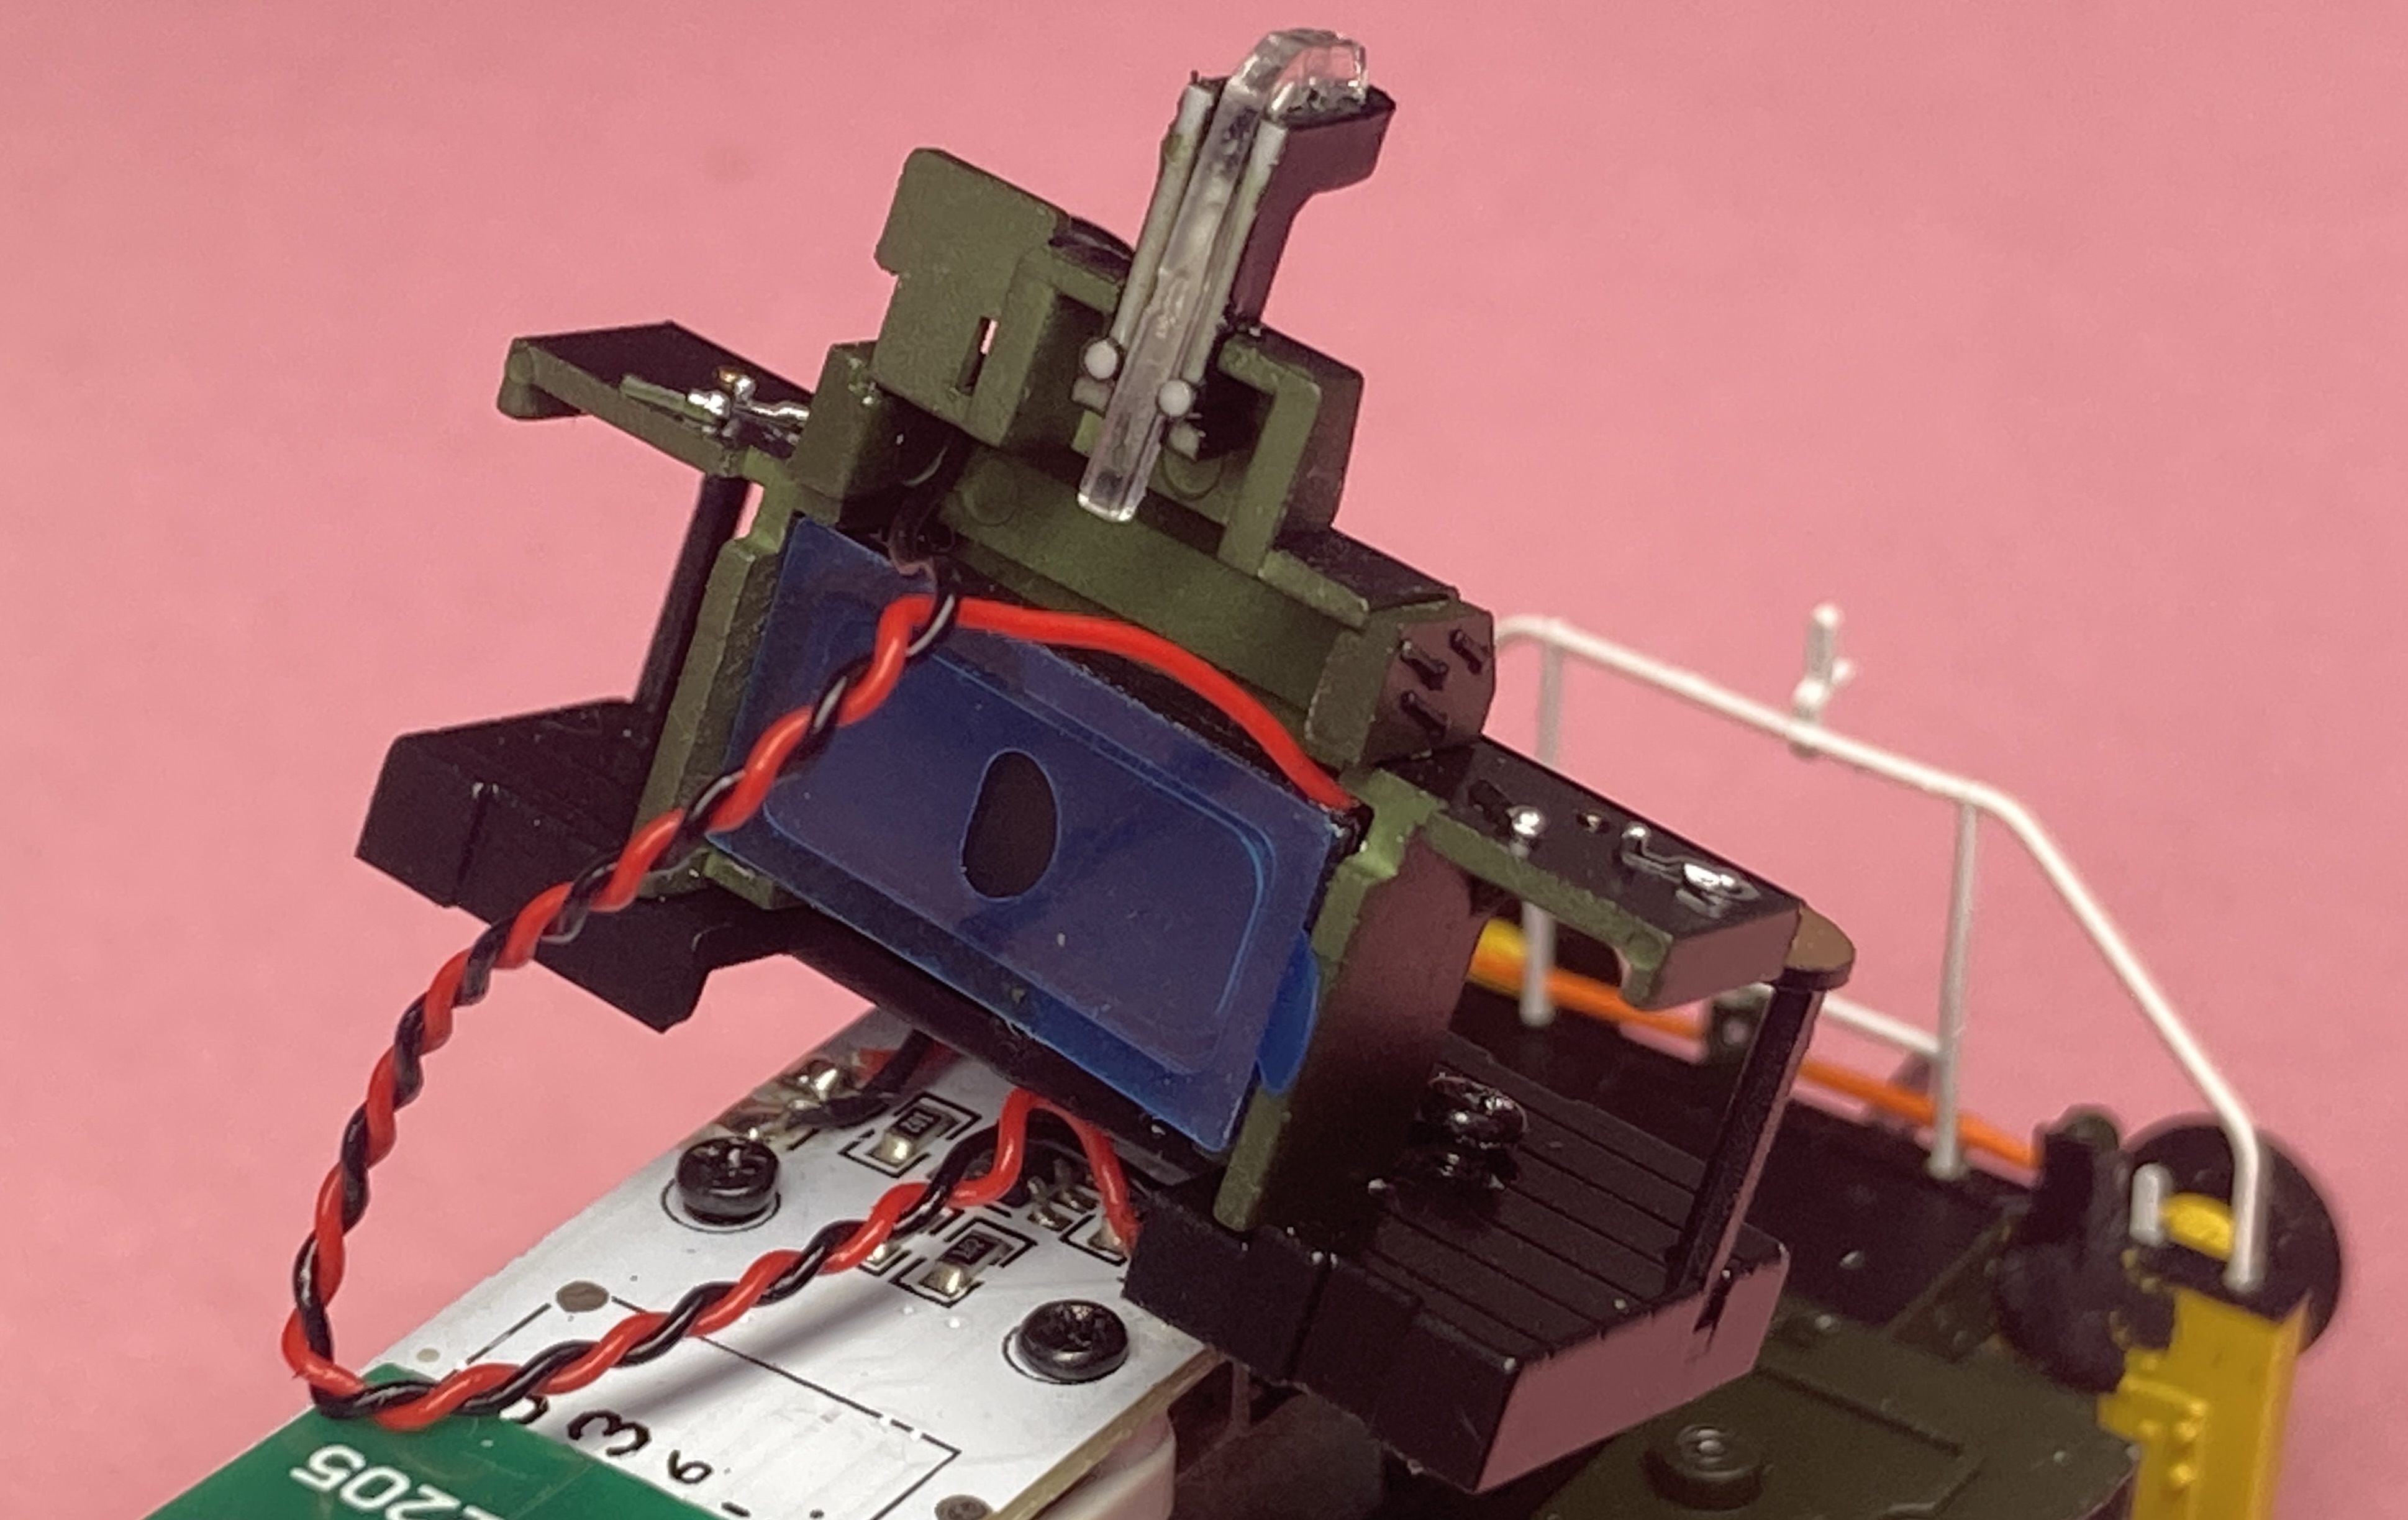
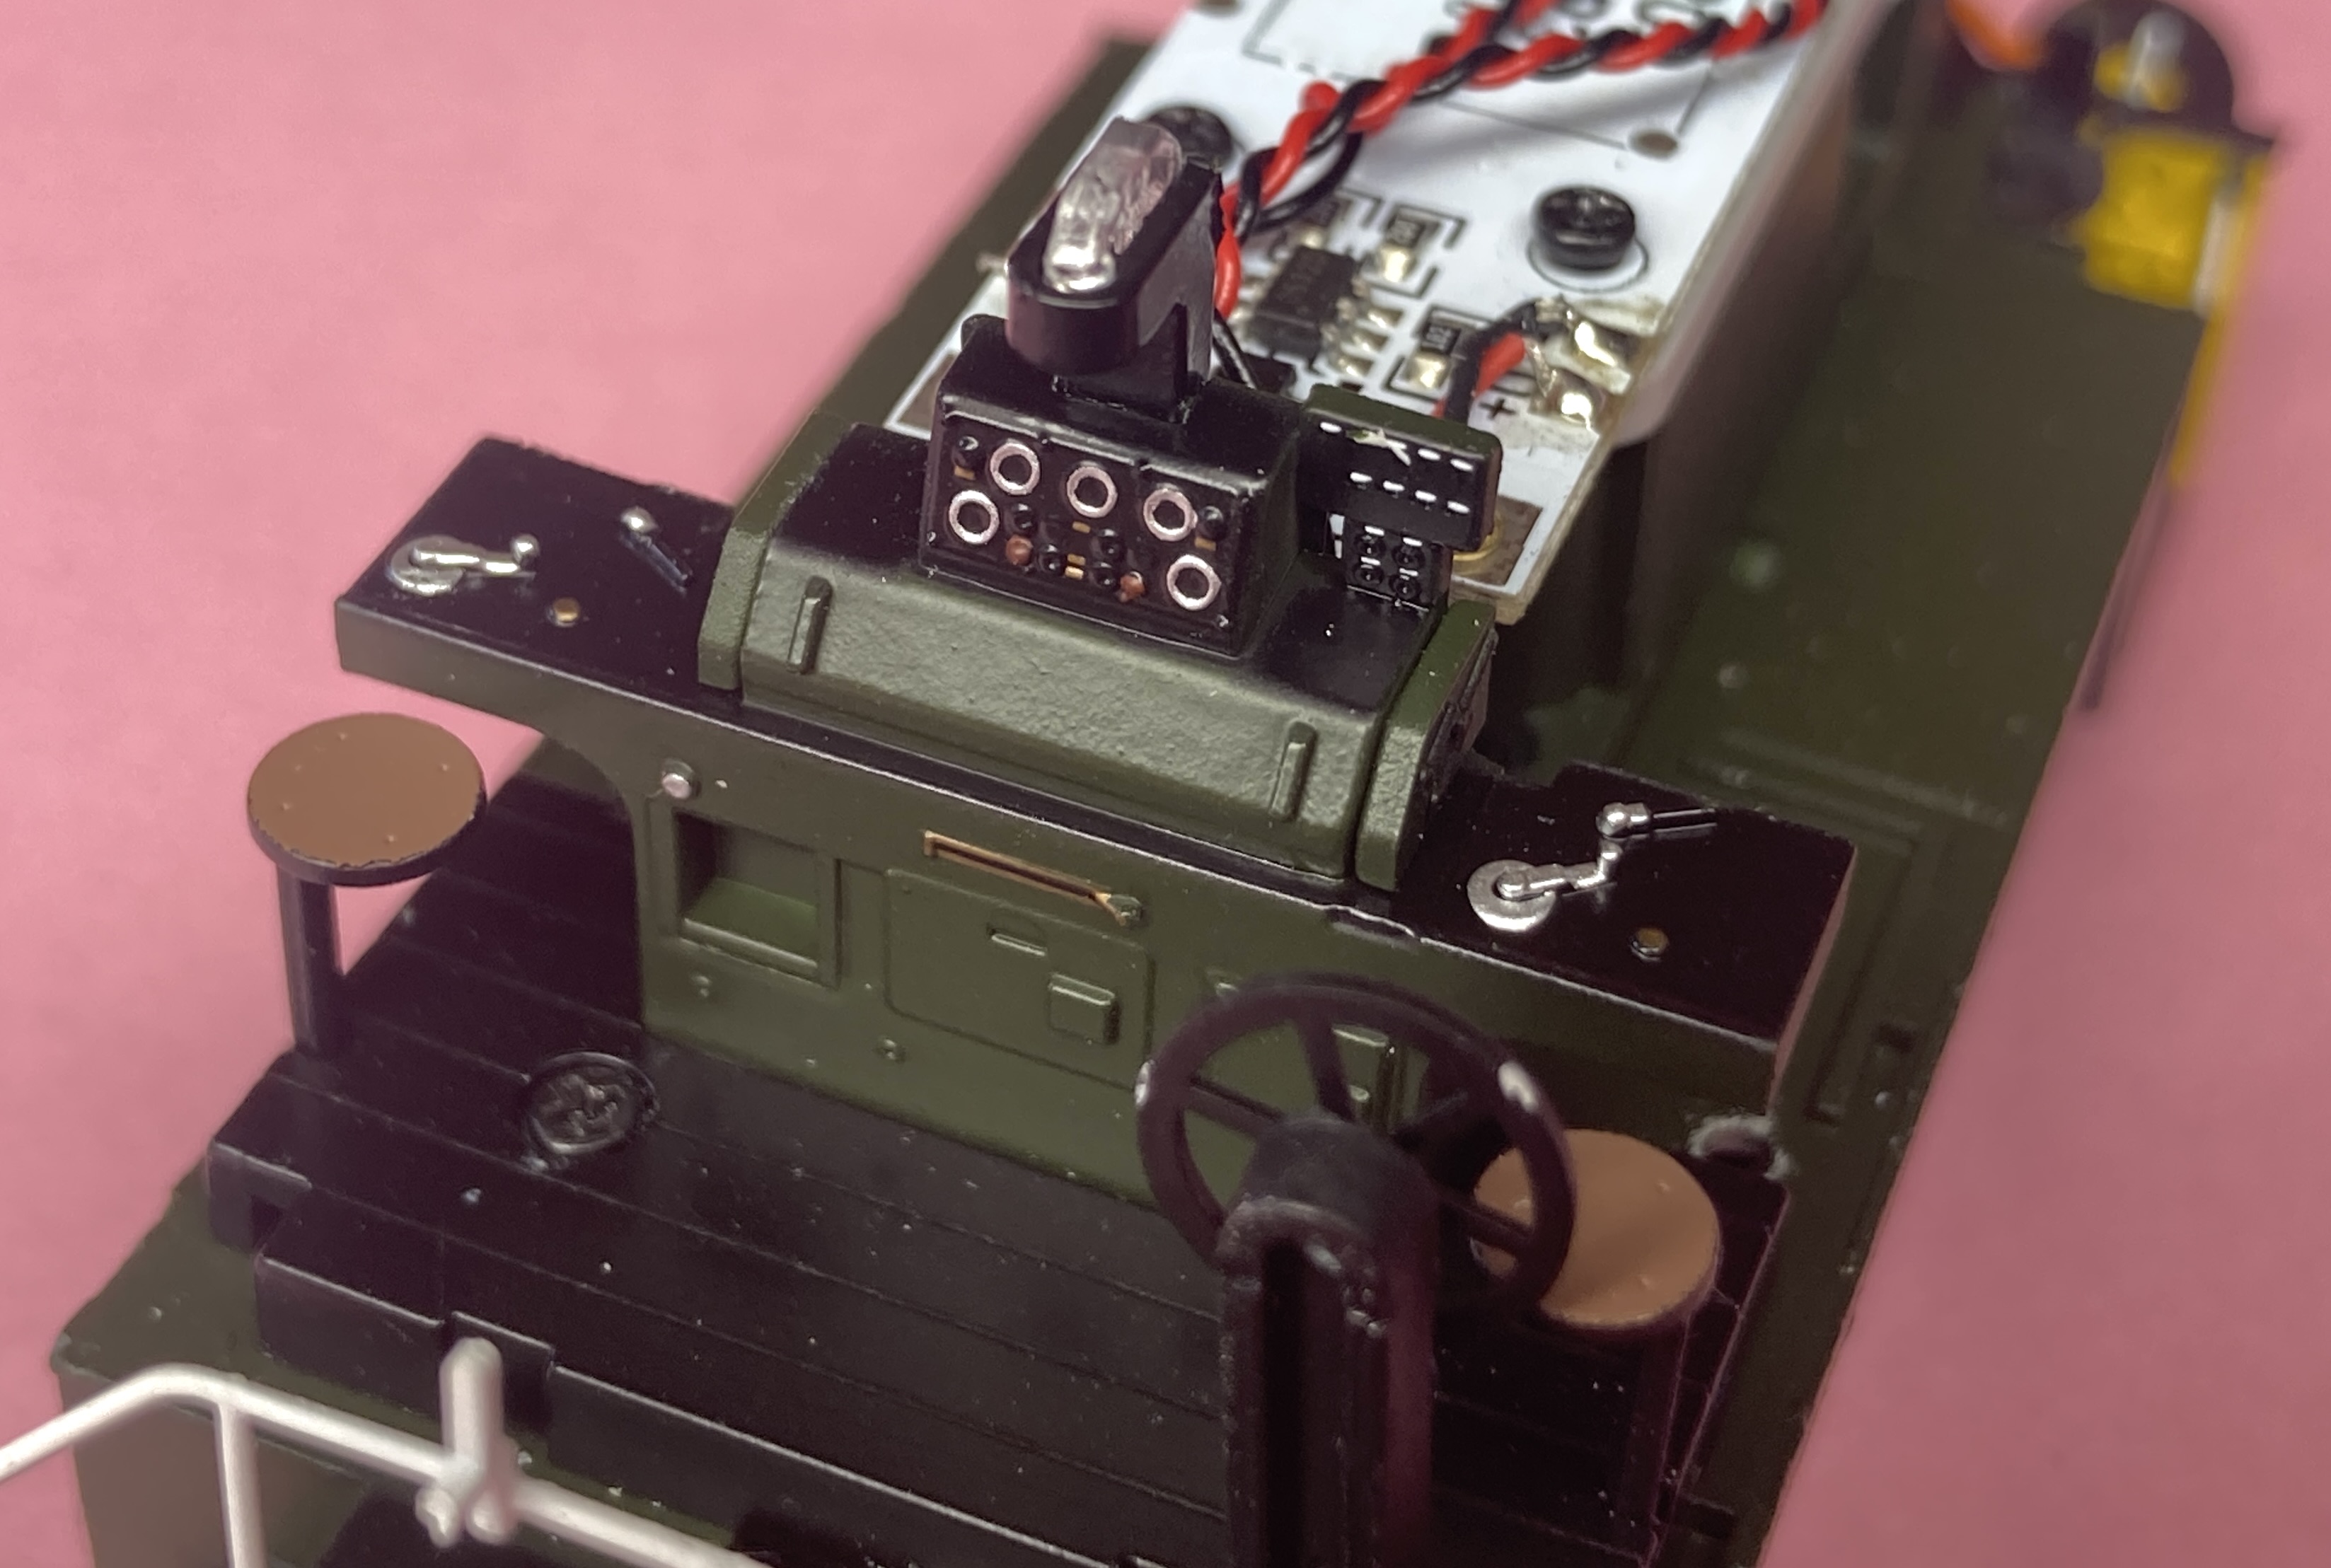
As mentioned in the introduction the model tested is a final engineering sample. The instructions make mention of the user fitting a sound speaker into the cab roof. However there is a fitted speaker included, the instruction pamphlet predating this final production modification. It’s an Iphone type speaker and is very ingeniously fitted behind the drivers console as shown above, so you don’t need to buy one with the locomotive if sound is your thing. Being the follow on shunter release after the Model Rail limited edition Class 11, the 02 keeps the same standards and possibly with the sublime running qualities for a rigid chassis 0-4-0, exceeds them. The opportunities for D&E based micro layouts abound with this release particularly with its longevity in industrial use, and I think it’s likely to be popular in both scales.

Overall then, a very competent and pleasing representation of the 02, to a high standard of finish and detail. The price at £170 in spring 2025 I feel is reasonable for a model of this quality, if you were to locate either of the DJH or Craftsman kits the cost is unlikely to be significantly cheaper, for a product thats not as good, obviously bearing in mind both kits are of early 1980’s vintage. Having built the Craftsman kit, (on the right, above) I much prefer the Heljan version. You often see comments that having ‘made’ something, a kit for example, that the kit build outranks the RTR product because someone has made it. For me that isn’t a factor, this Heljan model is well worth the outlay, and if you want a shunter that packs a punch as well as looks good, this model is well worth considering.


You must be logged in to post a comment.