
A few weeks back Accurascale announced the British Rail MDV mineral wagon in OO 4mm scale, naturally about three weeks after I’d bought a batch of Five 79 MDV kits. Often this can be a deterrent to finish or even start the kits, but I was looking for a quick fix, a mancave get something done task that evening. Whilst not ‘right’ for my Northumbrian project these MDV’s will work just fine for some more ‘industrial’ projects in mind.
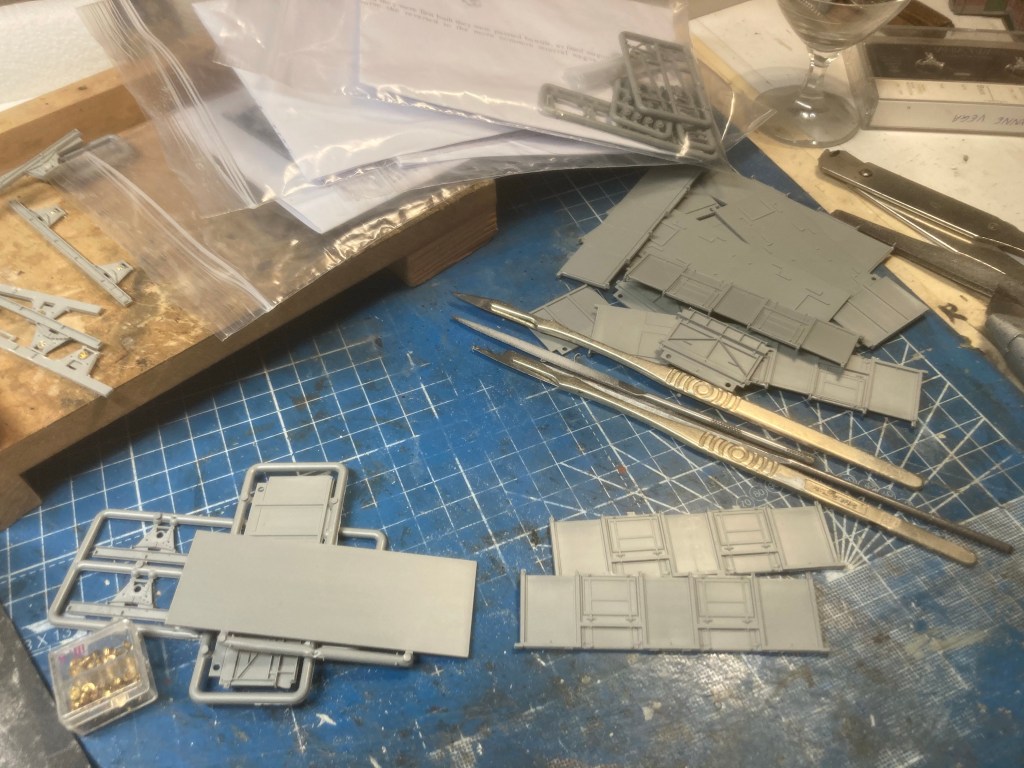
The kits are simple, typical open wagon kits and are supplied without wheels or bearings. Those were purchased separately from Wizard Models, and decals from Railtec for late era wagons. Apart from the instanter couplings and air pipes I was ready to go. The kits are really good quality, the moulds are in good shape too, there was very little in the way of flash, sink marks or distortion. Also supplied are white metal cast buffers. These too needed very little work to clean them up.

So the build sequence is predictable, four sides are constructed around the floor of the wagon, but note, these wagons are ‘handed’ with self adjusting brake equipment prominent on one solebar. With the cleaning up of the solebar I add standard brass top hat bearings into the axle guards, and chose which of the two types of axle box I wanted. The brake cylinder and levers are handed too but cleverly the floor works in any orientation.

I’ve annotated the image above, the solebar with the SAB, needs to have the adjuster at the opposite end to the end door. I left the brake levers until the end of the main assembly.

Here’s the main structure again. Solebar are now fitted, they are a snug fit between the bufferbeams and no issues experienced with their alignment. The NEM mount moulding has been removed from the floor as I don’t use them and the resulting flat floor allows the weights I use, to be hidden between the axle guards. Loosely fitted are etched coupling hooks and the wheels, this helps me get the alignments correct of the car wheel balance weights you can see here. They’re only 5 grams each but the difference is noticeable.
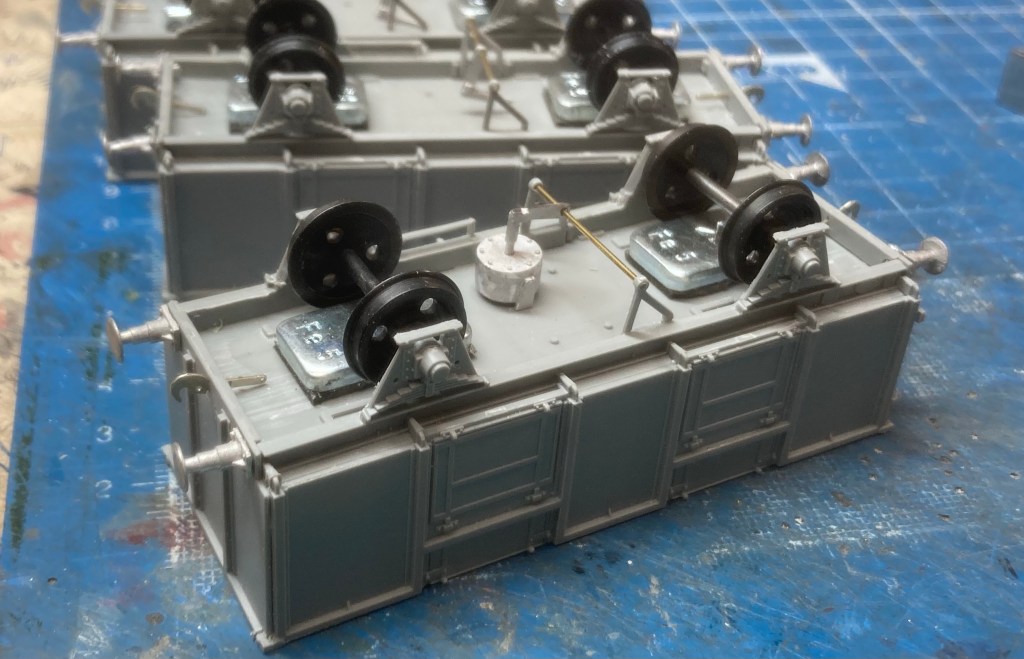
Again pay attention to the ‘handing’ of the chassis. The brake cylinder fits behind the SAB fitting on that side of the chassis. Buffers have been dry fitted, the mounting spigot needs to be shortened considerably, and they’re an interference fit before gluing at this point. I’ve used 0.7mm brass wire between the two V hangers. These are also handed so make sure those are correct to allow the right brake levers to be fitted each side.
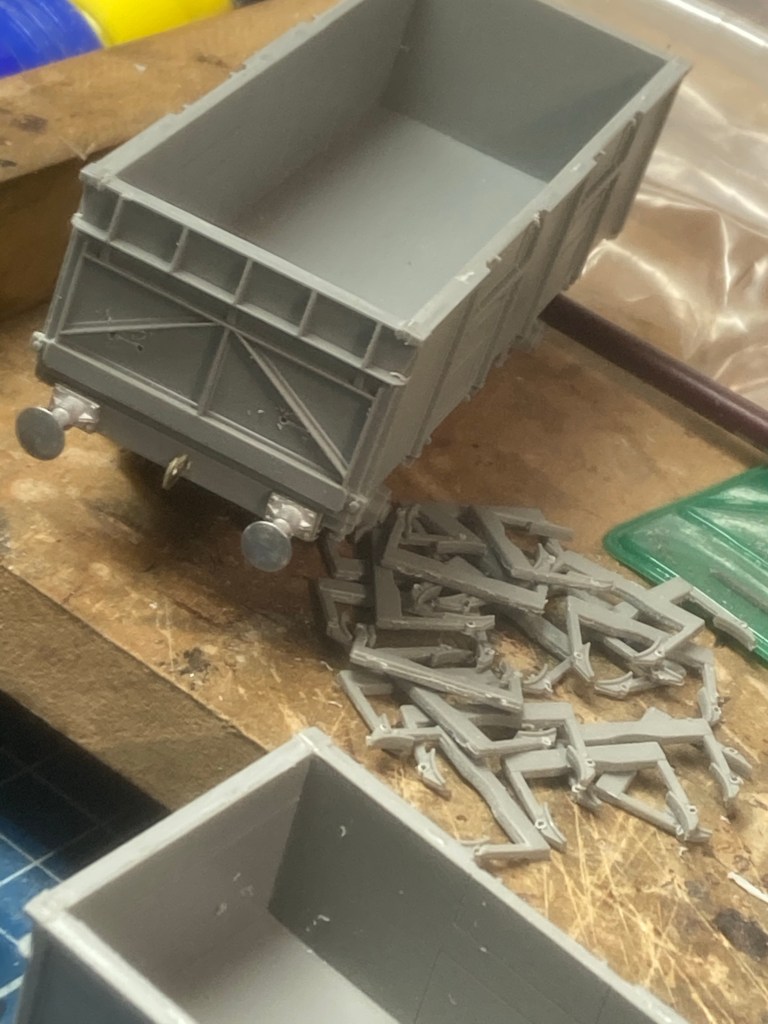
The little pile of clasp brakes are ready. The brake shoes have 0.5mm holes drilled to accept wire to represent the brake yokes. Making small batches of wagons makes sense, you get a little production line going and it’s surprising how this can make the overall task faster. The end door handles have been removed and fixing holes drilled for wire replacements.

This is one side completed. Clasp brakes are in position and the correct brake lever fitted for the respective side. My next task is to fit the brake yoke wires, before fixing the final weight and opposite brake lever.
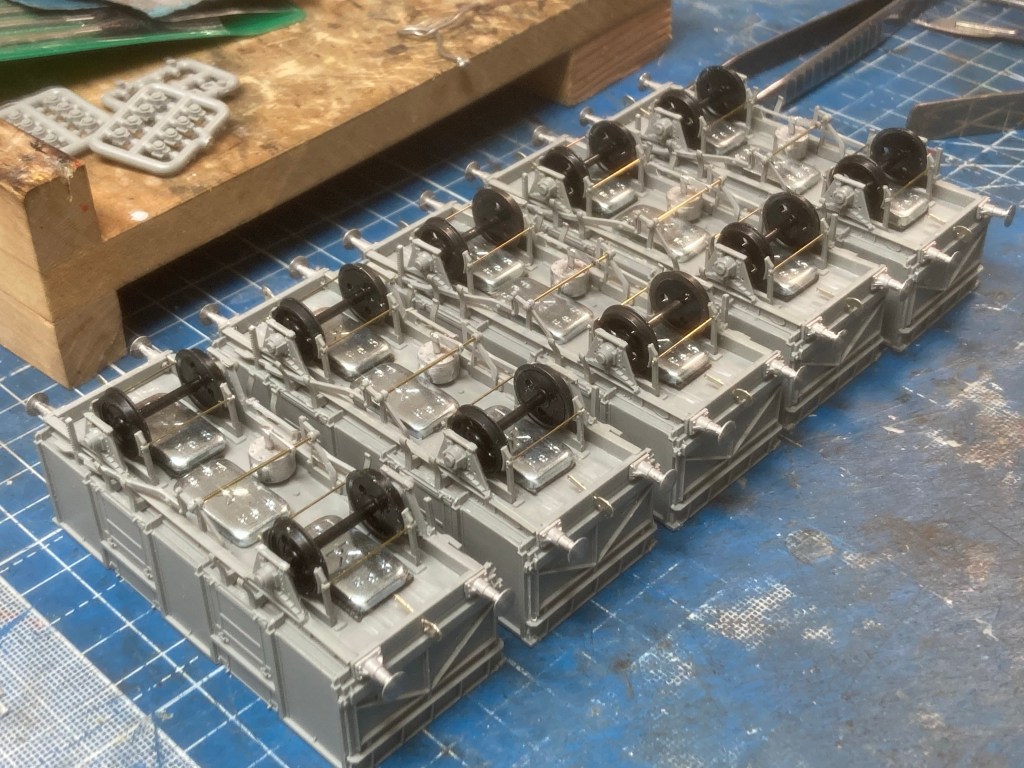
This then is almost ready for paint. The brake yoke wires can be seen. The actuating levers are almost on the wagon floor so I can get away without representing them. Safety loops for those yokes need to be added too. The final weight has been fitted next to the brake cylinder and whilst offset, it’s not significant enough to upset the balance or running quality of the wagons.
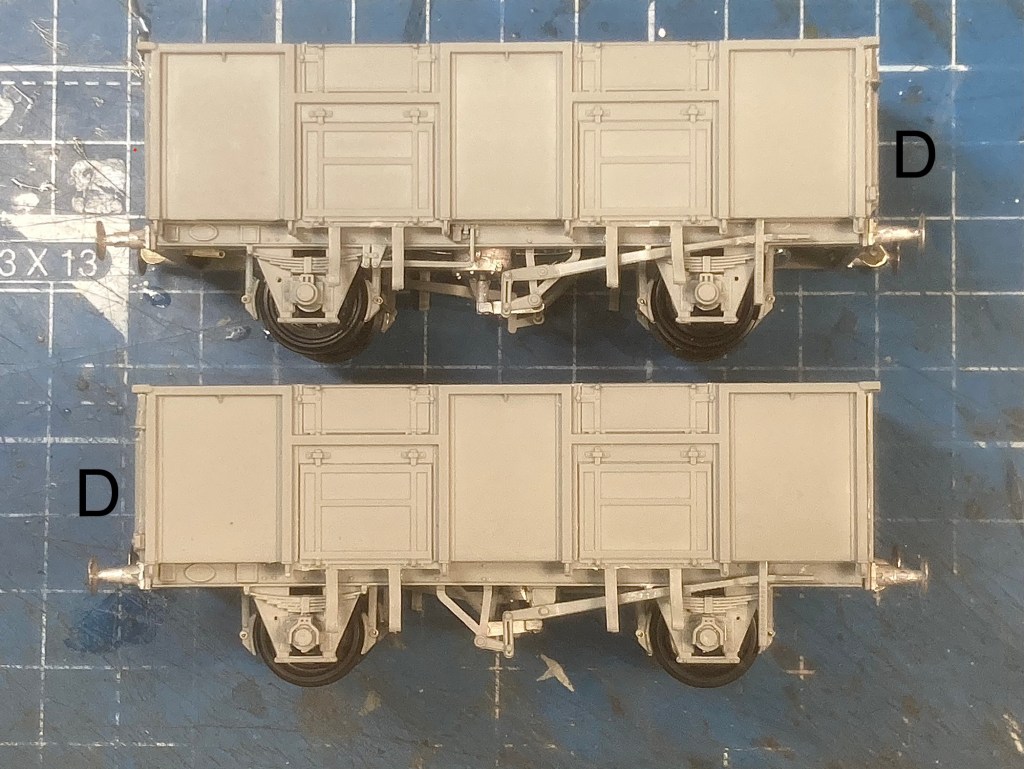
Here’s a profile view of each side ‘D’ marks the end door position and you can see the difference between the brake handles for each respective side.

That’s the back broken on this short project. Five wagons built with just final details to fit, yoke straps, couplings, brake pipes and lamp irons. Not sure of the time taken but no more than about ten to twelve hours spread over a week. A really satisfying little set, they won’t look out of place against RTR products either such is the kit quality.
Next bit I’m looking forward to is paint, I’ll be trying a new technique, more on that later.

You must be logged in to post a comment.