

With the influx of small locomotives into the ready to run market, it’s becoming much easier to make industrial style layouts. Many mainline locomotives were sold off into industrial use, and taking this a step further for a magazine piece, we took an Heljan 07 to see how practical it would be to make our own freelance livery version, of an industrial engine.

I chose a simple plain green livery for the new colour, as that would be a common choice, often locomotives were left in their previous liveries and identifying marks changed. For practicality and simplicity the brief was to use spray cans, not everyone has access to airbrushes, and using an aerosol we can reduce paint blemishes such as brush marks. Knowing the general ease of getting the Tamiya range I chose their Olive Drab 2 TS28 colour. The Tamiya range is acrylic and very high quality, so we could be sure this wouldn’t affect the plastic of the model to any detriment. Other items in the shopping basket were a couple of different width Tamiya masking tapes, and some new blades for my scalpel for cutting tape. As far as other tools go, I use a Tamiya paint stand and a straight edge steel rule, and that’s us ready to go!
The first thing to do is decide what will be painted, I chose to leave the wasp markings on the ends and the chassis as supplied. The best way to paint something like this is in sub-assemblies and fortunately the Heljan 07 is easy to take apart. As written in the instructions underneath the body at each corner of the chassis, there are four crosshead screws, undo these and the body assemblies can be gently lifted off the chassis. The footplate handrails can also be removed from the long and short bonnet sections, this will make masking and painting much easier.
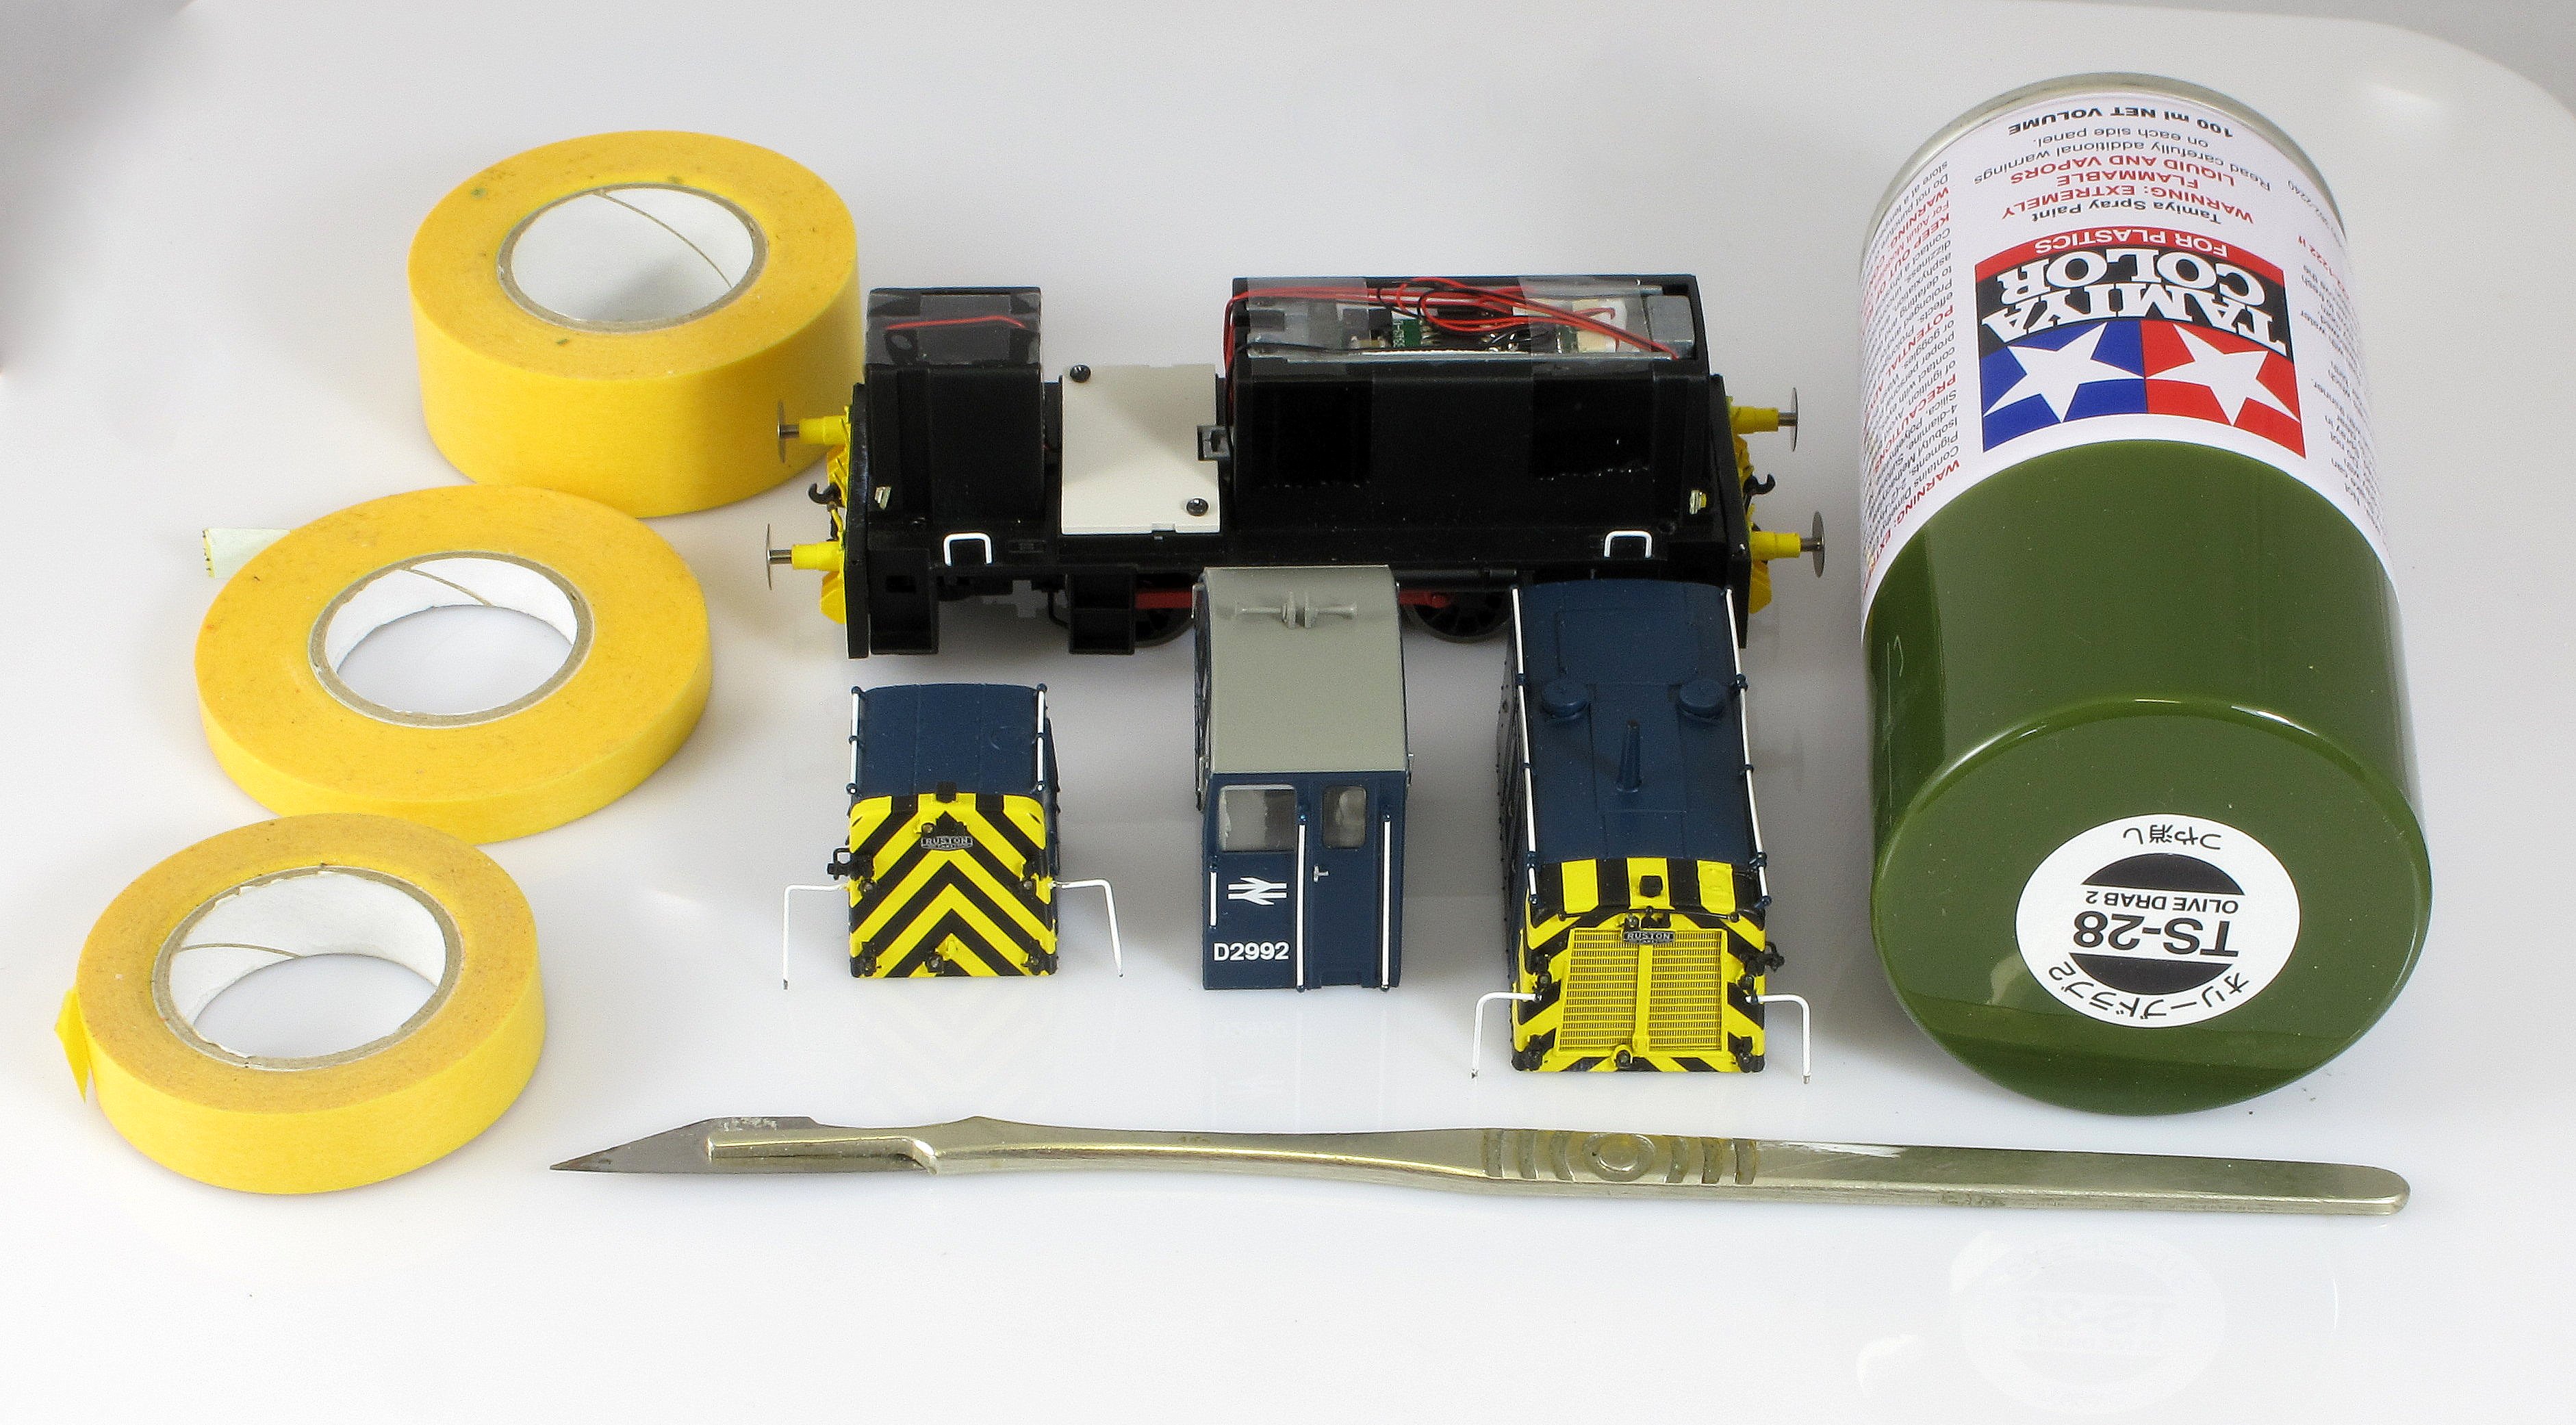
Tools required, scalpel or knife with very sharp blade. Masking tapes of varying widths, and paint. Not illustrated is a set of tweezers for tape application. Here we can see the locomotive has been dis assembled into the main components for paint.

The Tamiya masking tape is low tack and can be cut easily. Make several narrow strips of tape as these can be formed around the curves easier. It is critical to have a straight edge and sharp blades, to prevent any feathering at the edge of the tape. Make several different widths, and lengths, some longer than you’ll need, and some very short sections.

Masking commences. Using a narrow piece start on the edge of the wasp stripes. Use a section that will wrap around the whole bonnet you can cut off any over length afterwards. A narrow section will follow the form of the bonnet curves and wrap around any detail. The Tamiya tape is excellent for this and hence the recommendation.


Once you’ve got the edges of the paint line completed fill in the bulk areas. This is where your odd widths and lengths come into play. Don’t worry about it looking untidy, we need to effectively cover all the area not to be painted. Don’t forget to mask inside the body if there are lights on the nose section, any overspray could get on these if not protected.

Window areas are critical to cover well. Use your short section and narrow widths to allow you to infill the glazed areas. A set of tweezers can help here in accurately positioning the tape and making sure its fixed down on the edges.


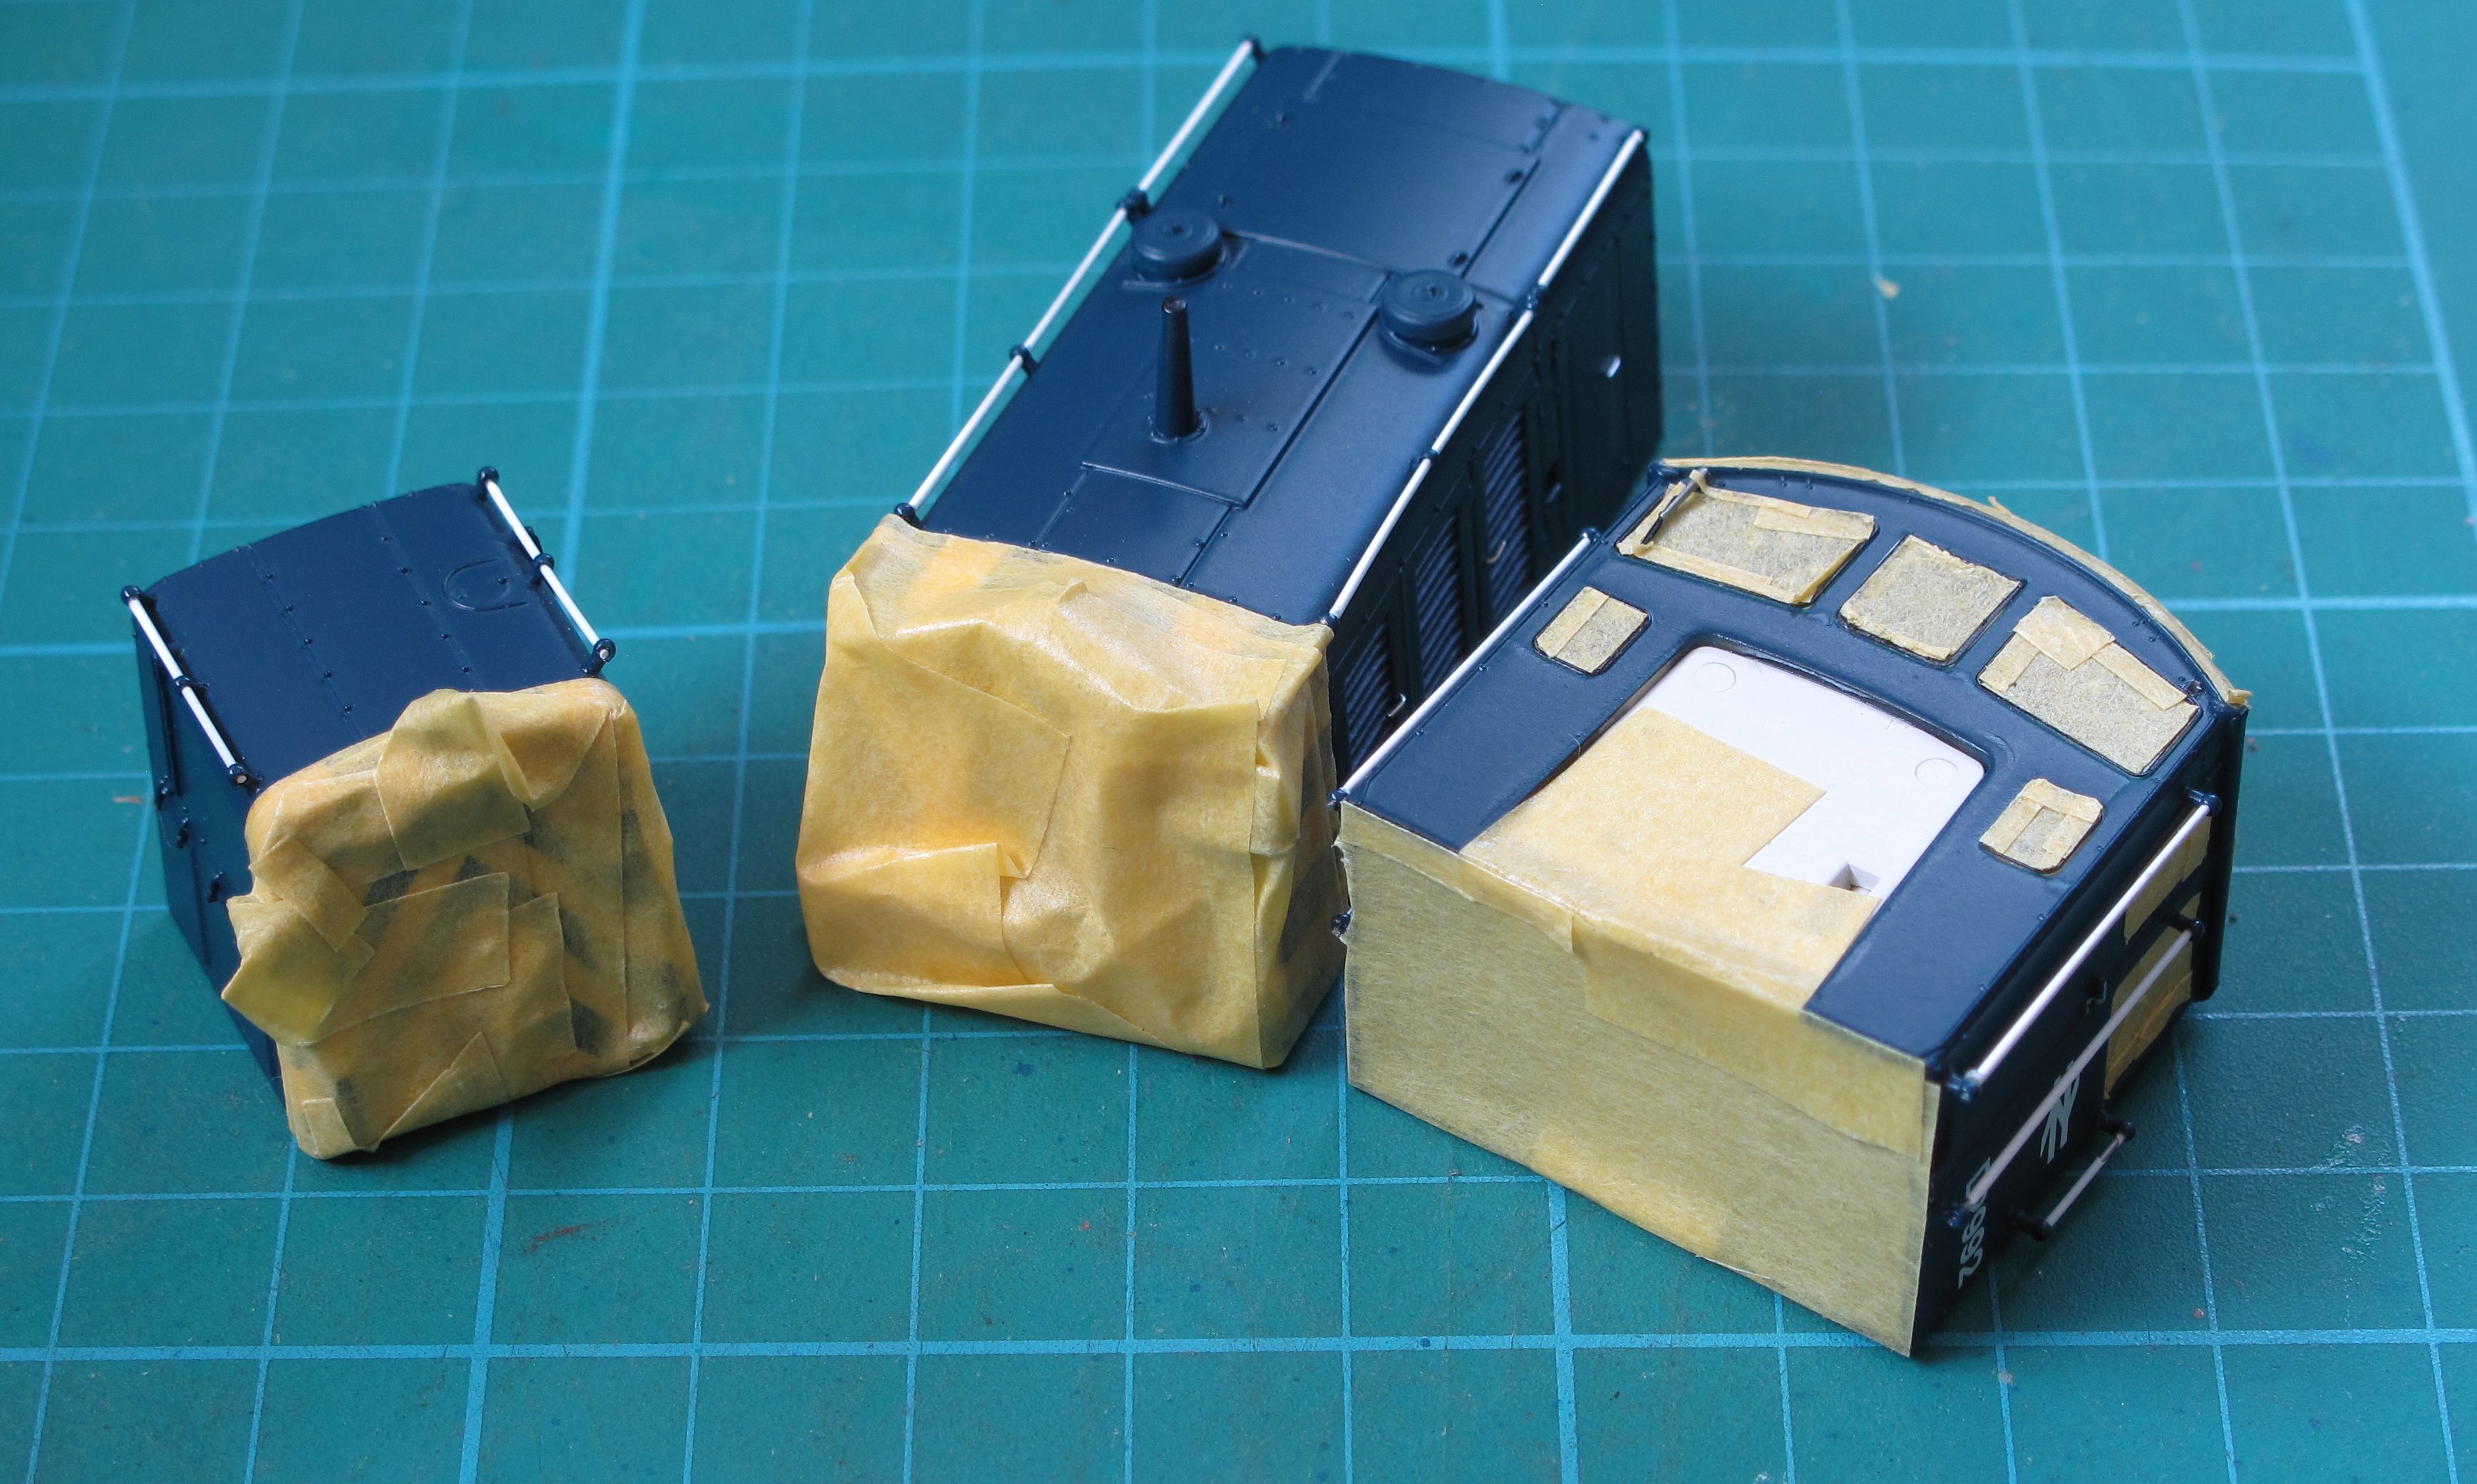
These are the three sections ready for paint. Double check that all areas are covered that need to be and the sedges are sharp and well pressed onto the model. Note the underneath of the cab has also been masked to prevent paint reaching into the cab. The checking is crucial it will save heartache later if edges aren’t sharp and paint bleeds or feathers underneath.
I sprayed outside on a warm day, with no breeze. Make sure the paint is well mixed, you can do this by shaking the can for at least a minute. I try to get the can to a sensible room temperature, I’d be cautious spraying outside on a winters day! You’ll note I’ve chosen not to undercoat this model, I wanted any of the rail blue to perhaps show through in a few places to indicate its previous owner.


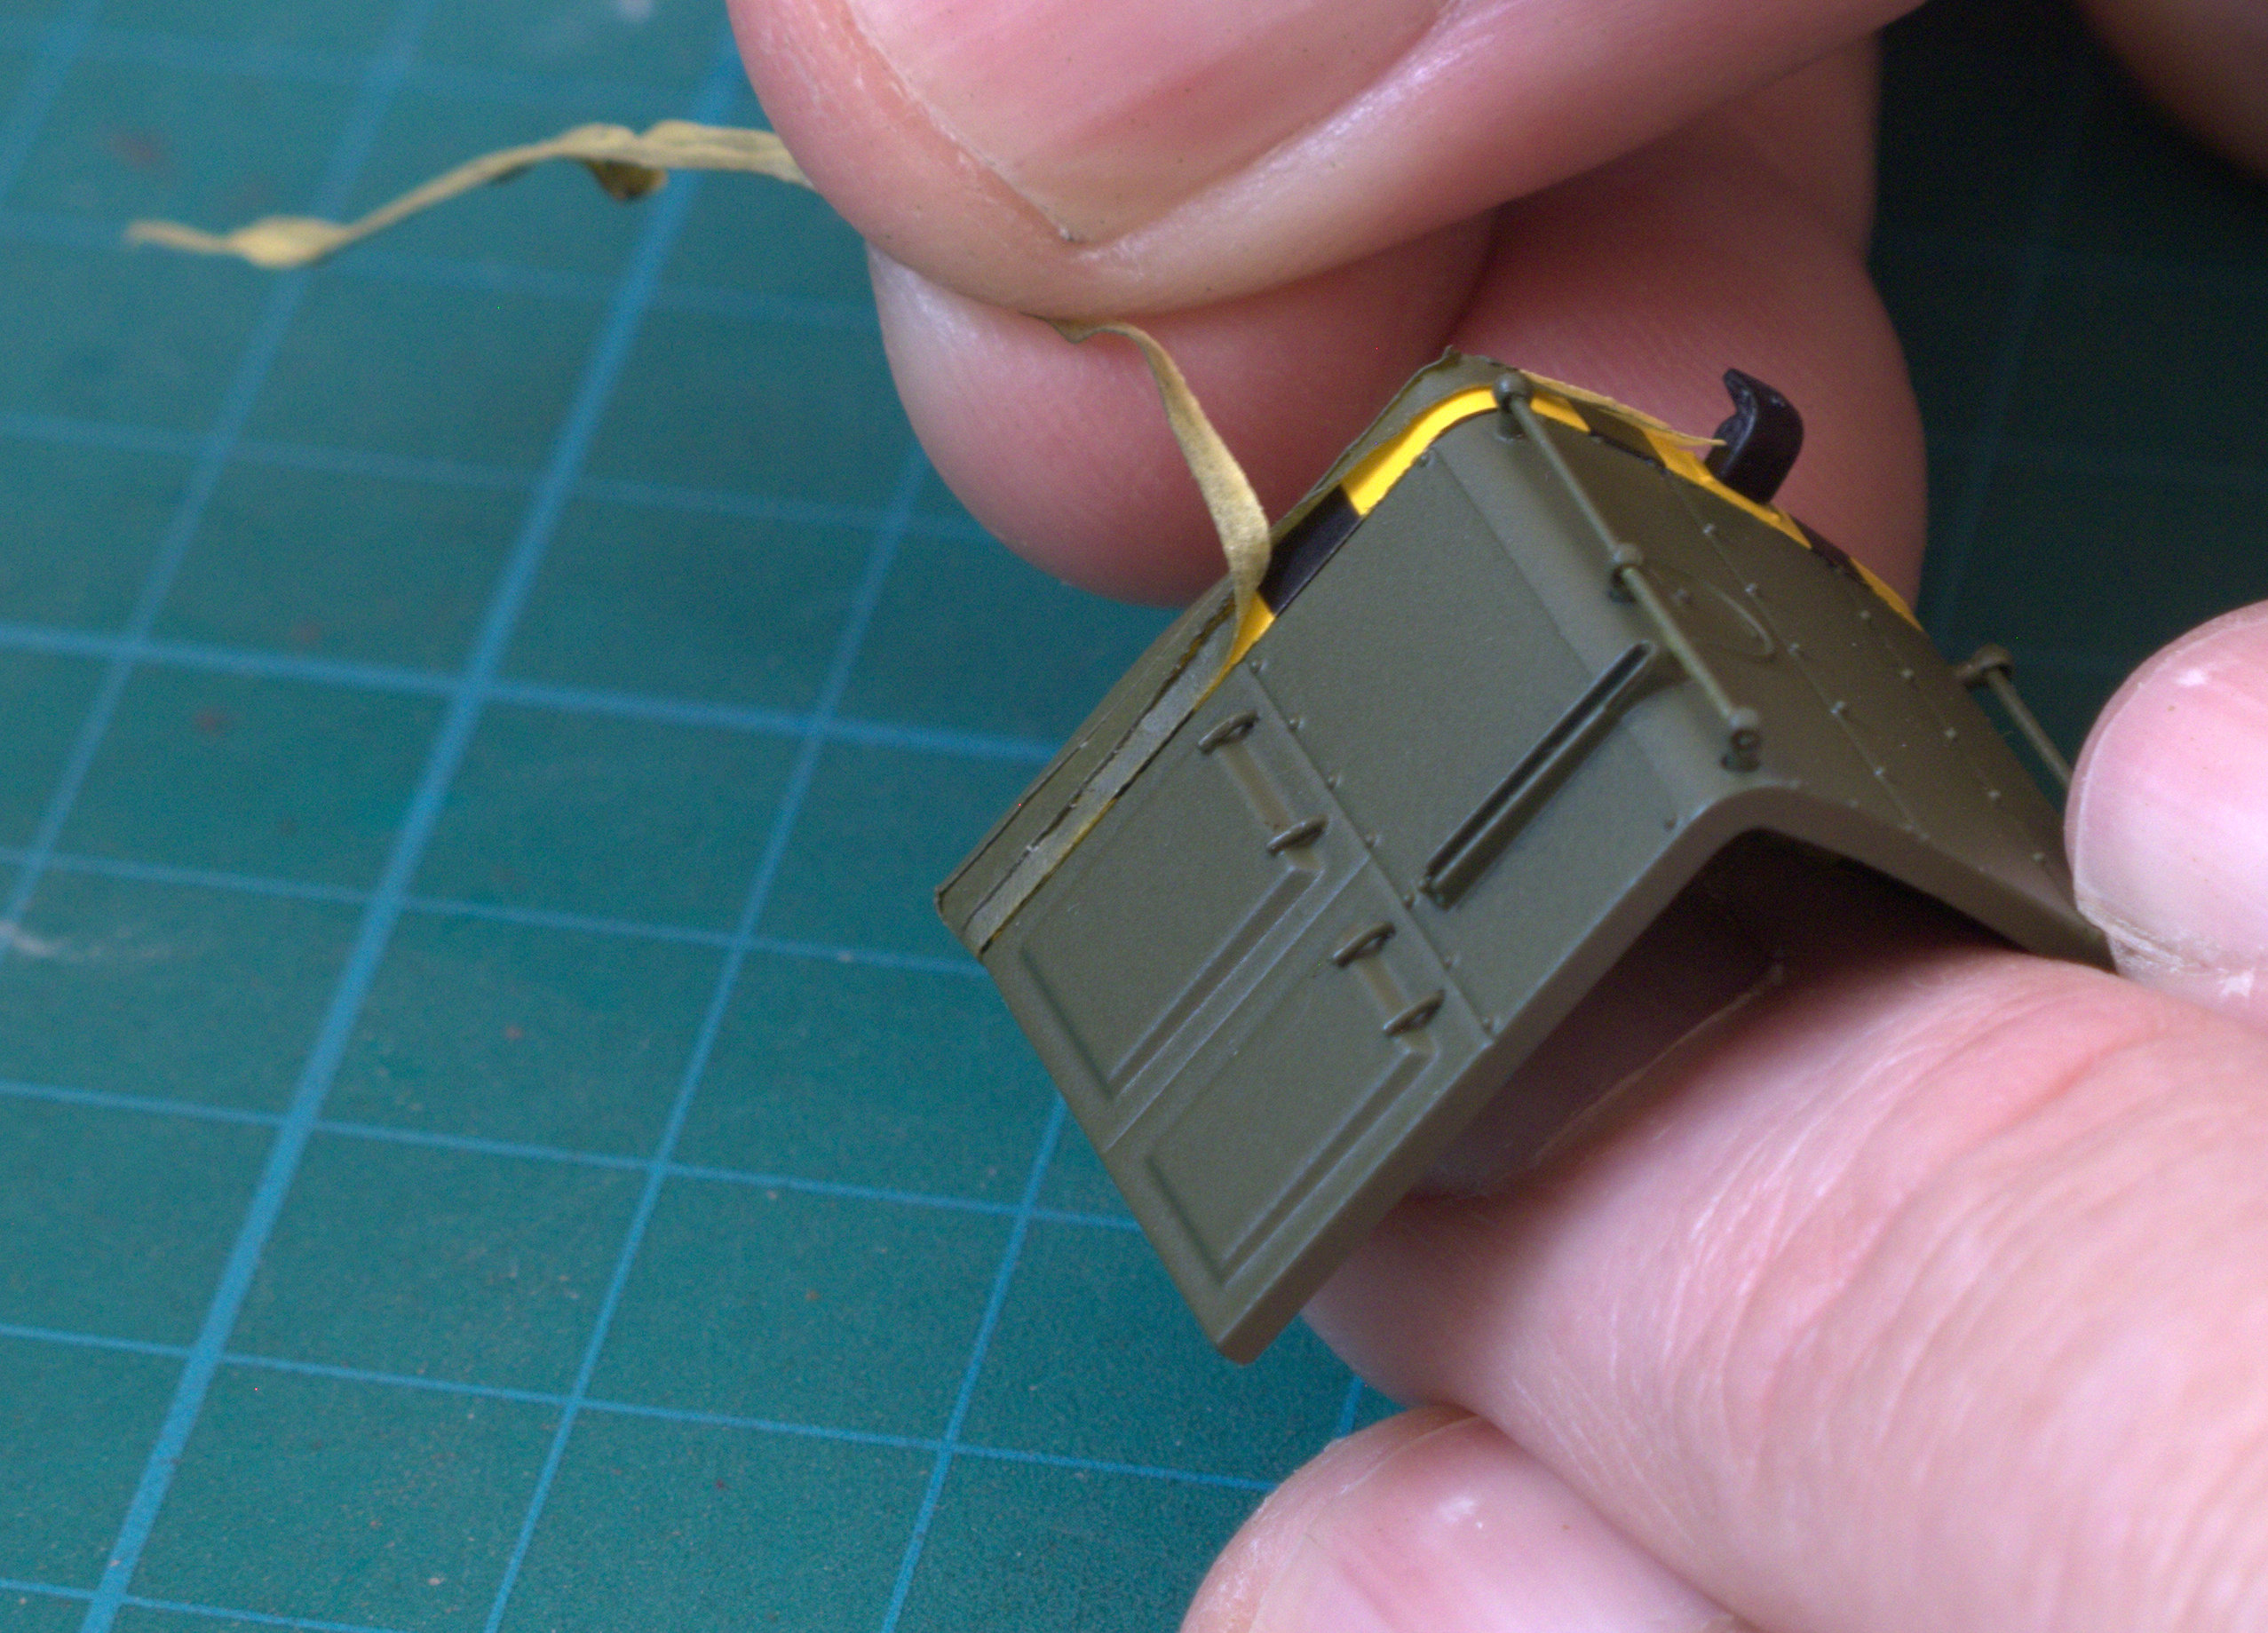
With the numbers and logo, in some harsh lighting shows through the topcoat, giving the impression the new owner just gave the engine a quick blast of paint after purchase, and got it going straight out to work! If you want to remove the BR Branding, T-Cut will remove it adequately. The moment of truth! Wait till the paint has cured, a good few hours is best, overnight for example. Its really satisfying seeing the new livery come to life as the masking tape is removed

The big reveal! Always a bit of a sweaty palm job, this is the proof of your masking skills, the windows! Even more satisfying than the earlier unmasking, is seeing the glazing coming out unblemished. !
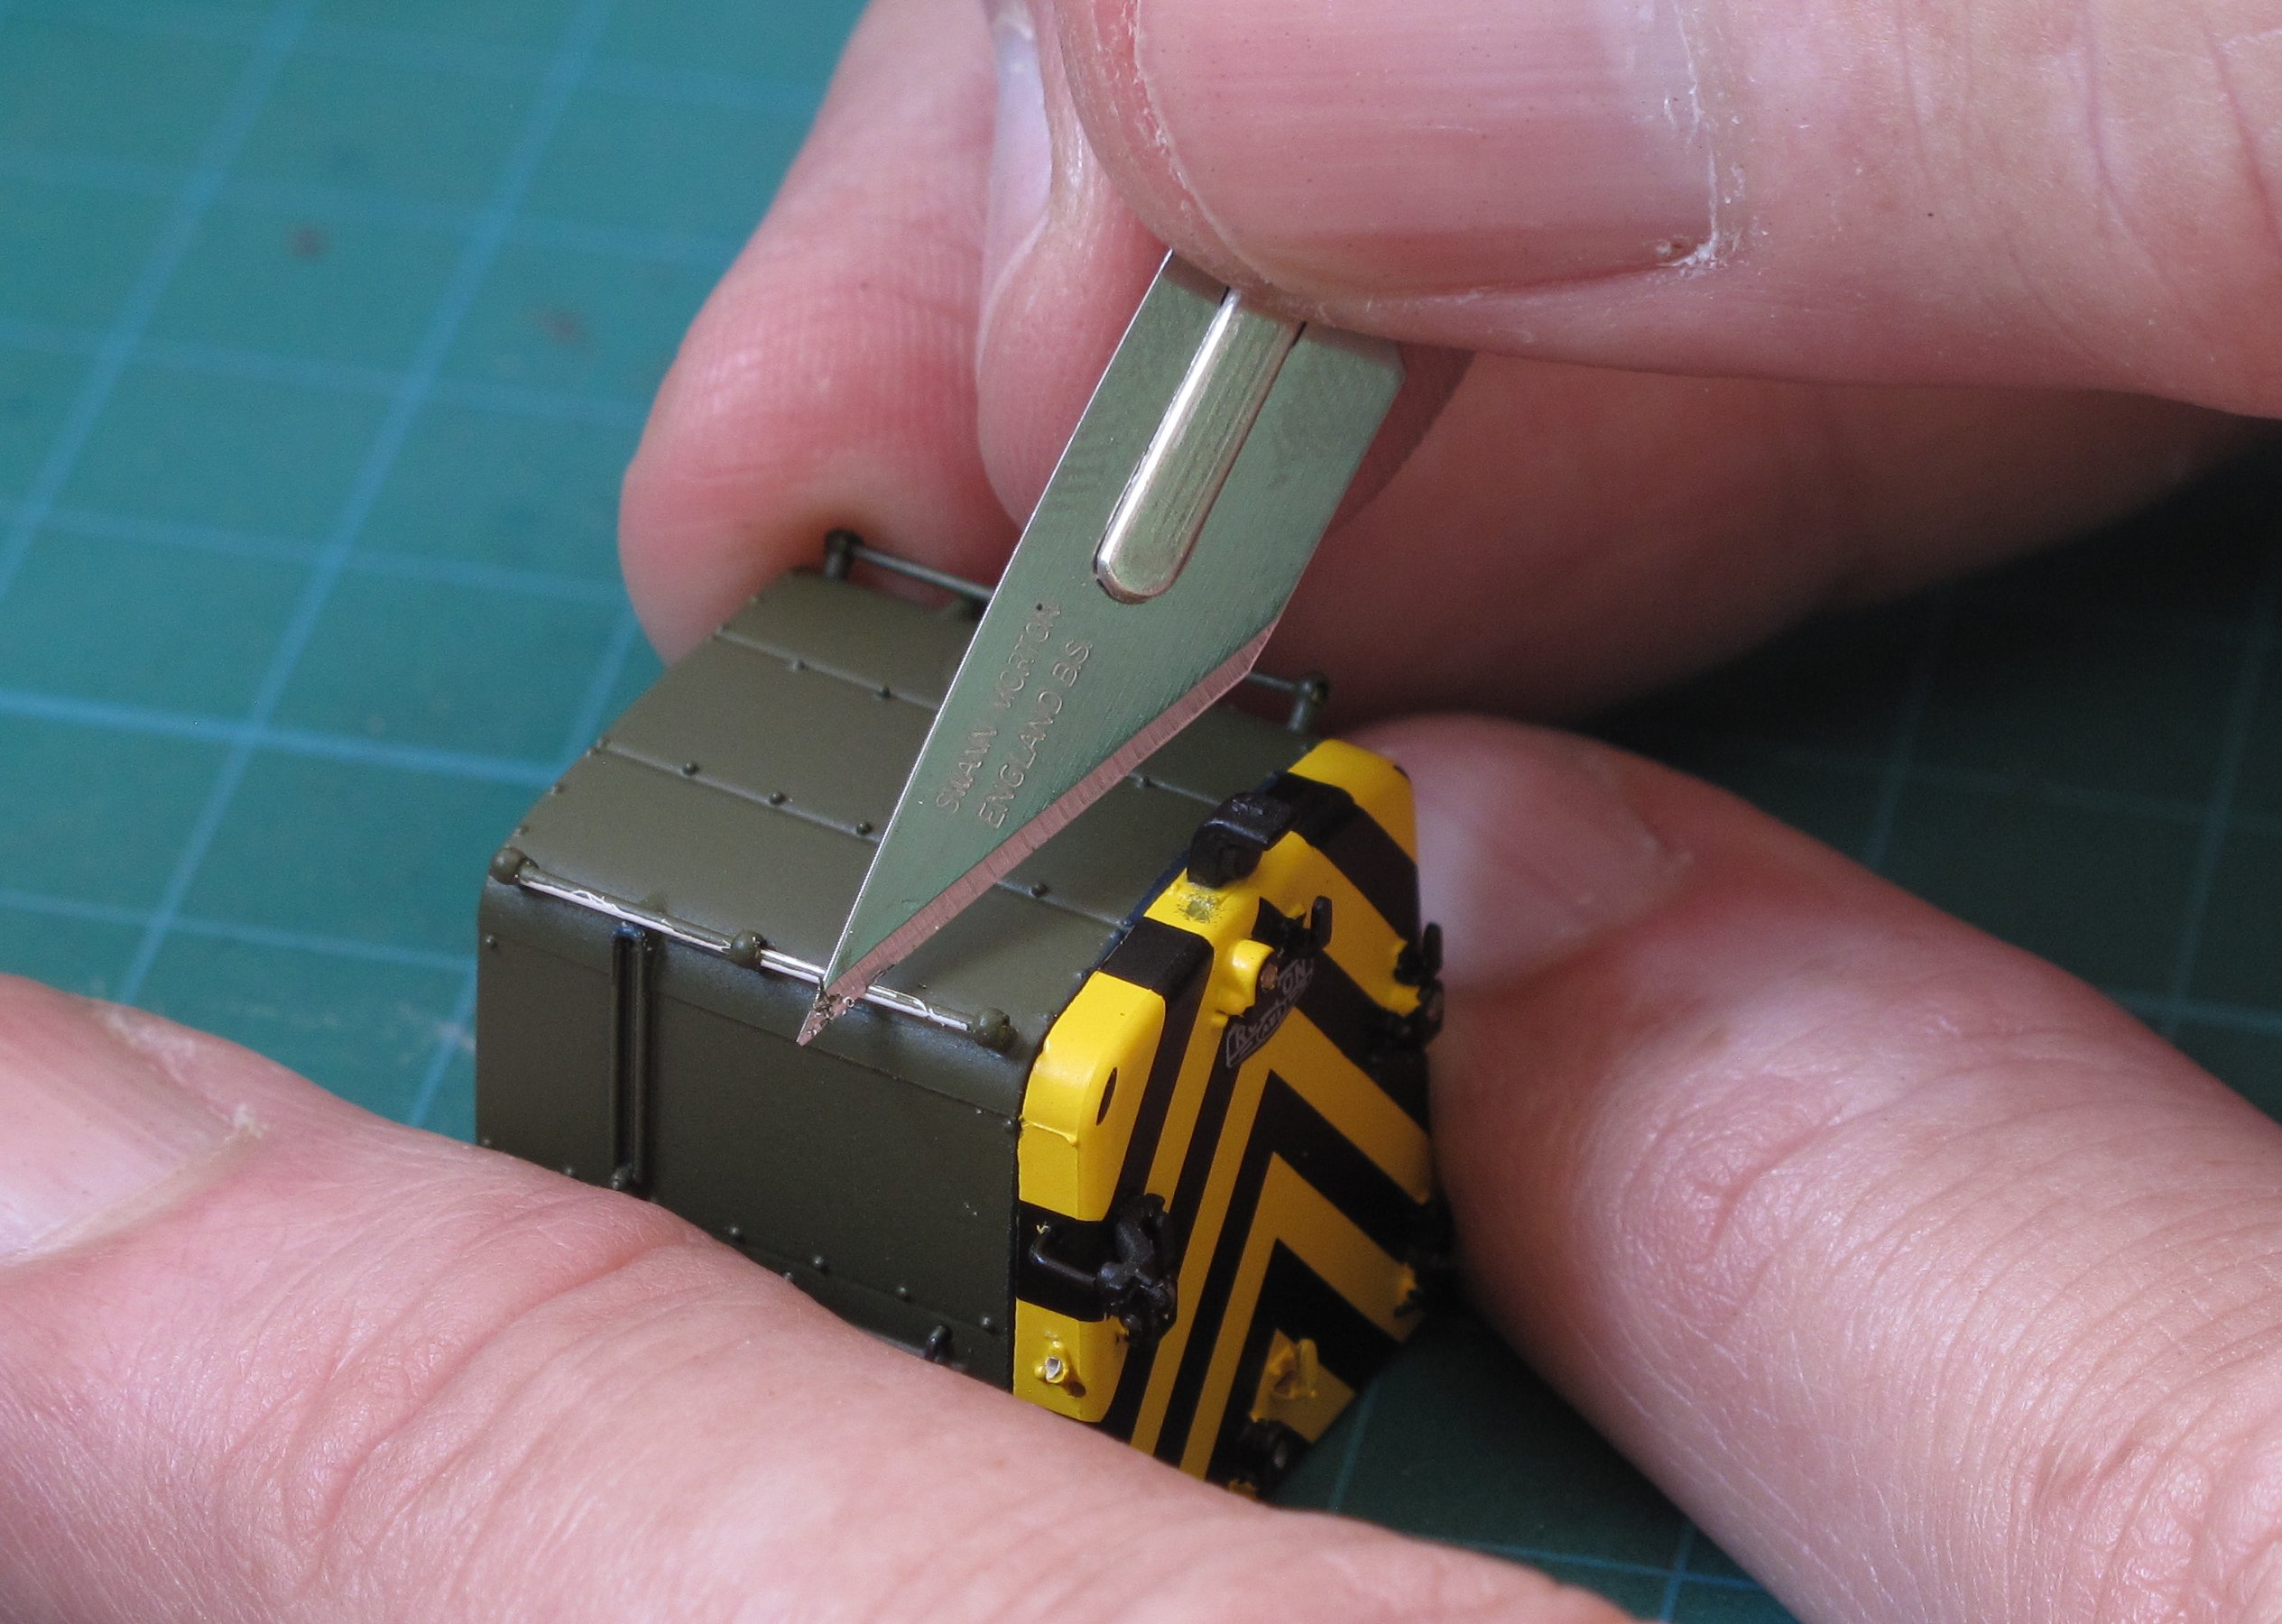
Here I’m scraping the top coat from the handrails using the sharp scalpel. You could use a thinner on a cotton bud, but there’s the chance of splashing onto the new paint, so be wary if taking that path! This is the reason why care is of the utmost importance with the original masking task too, and not to be rushed. Once happy, reassemble the model and we’re nearly done.

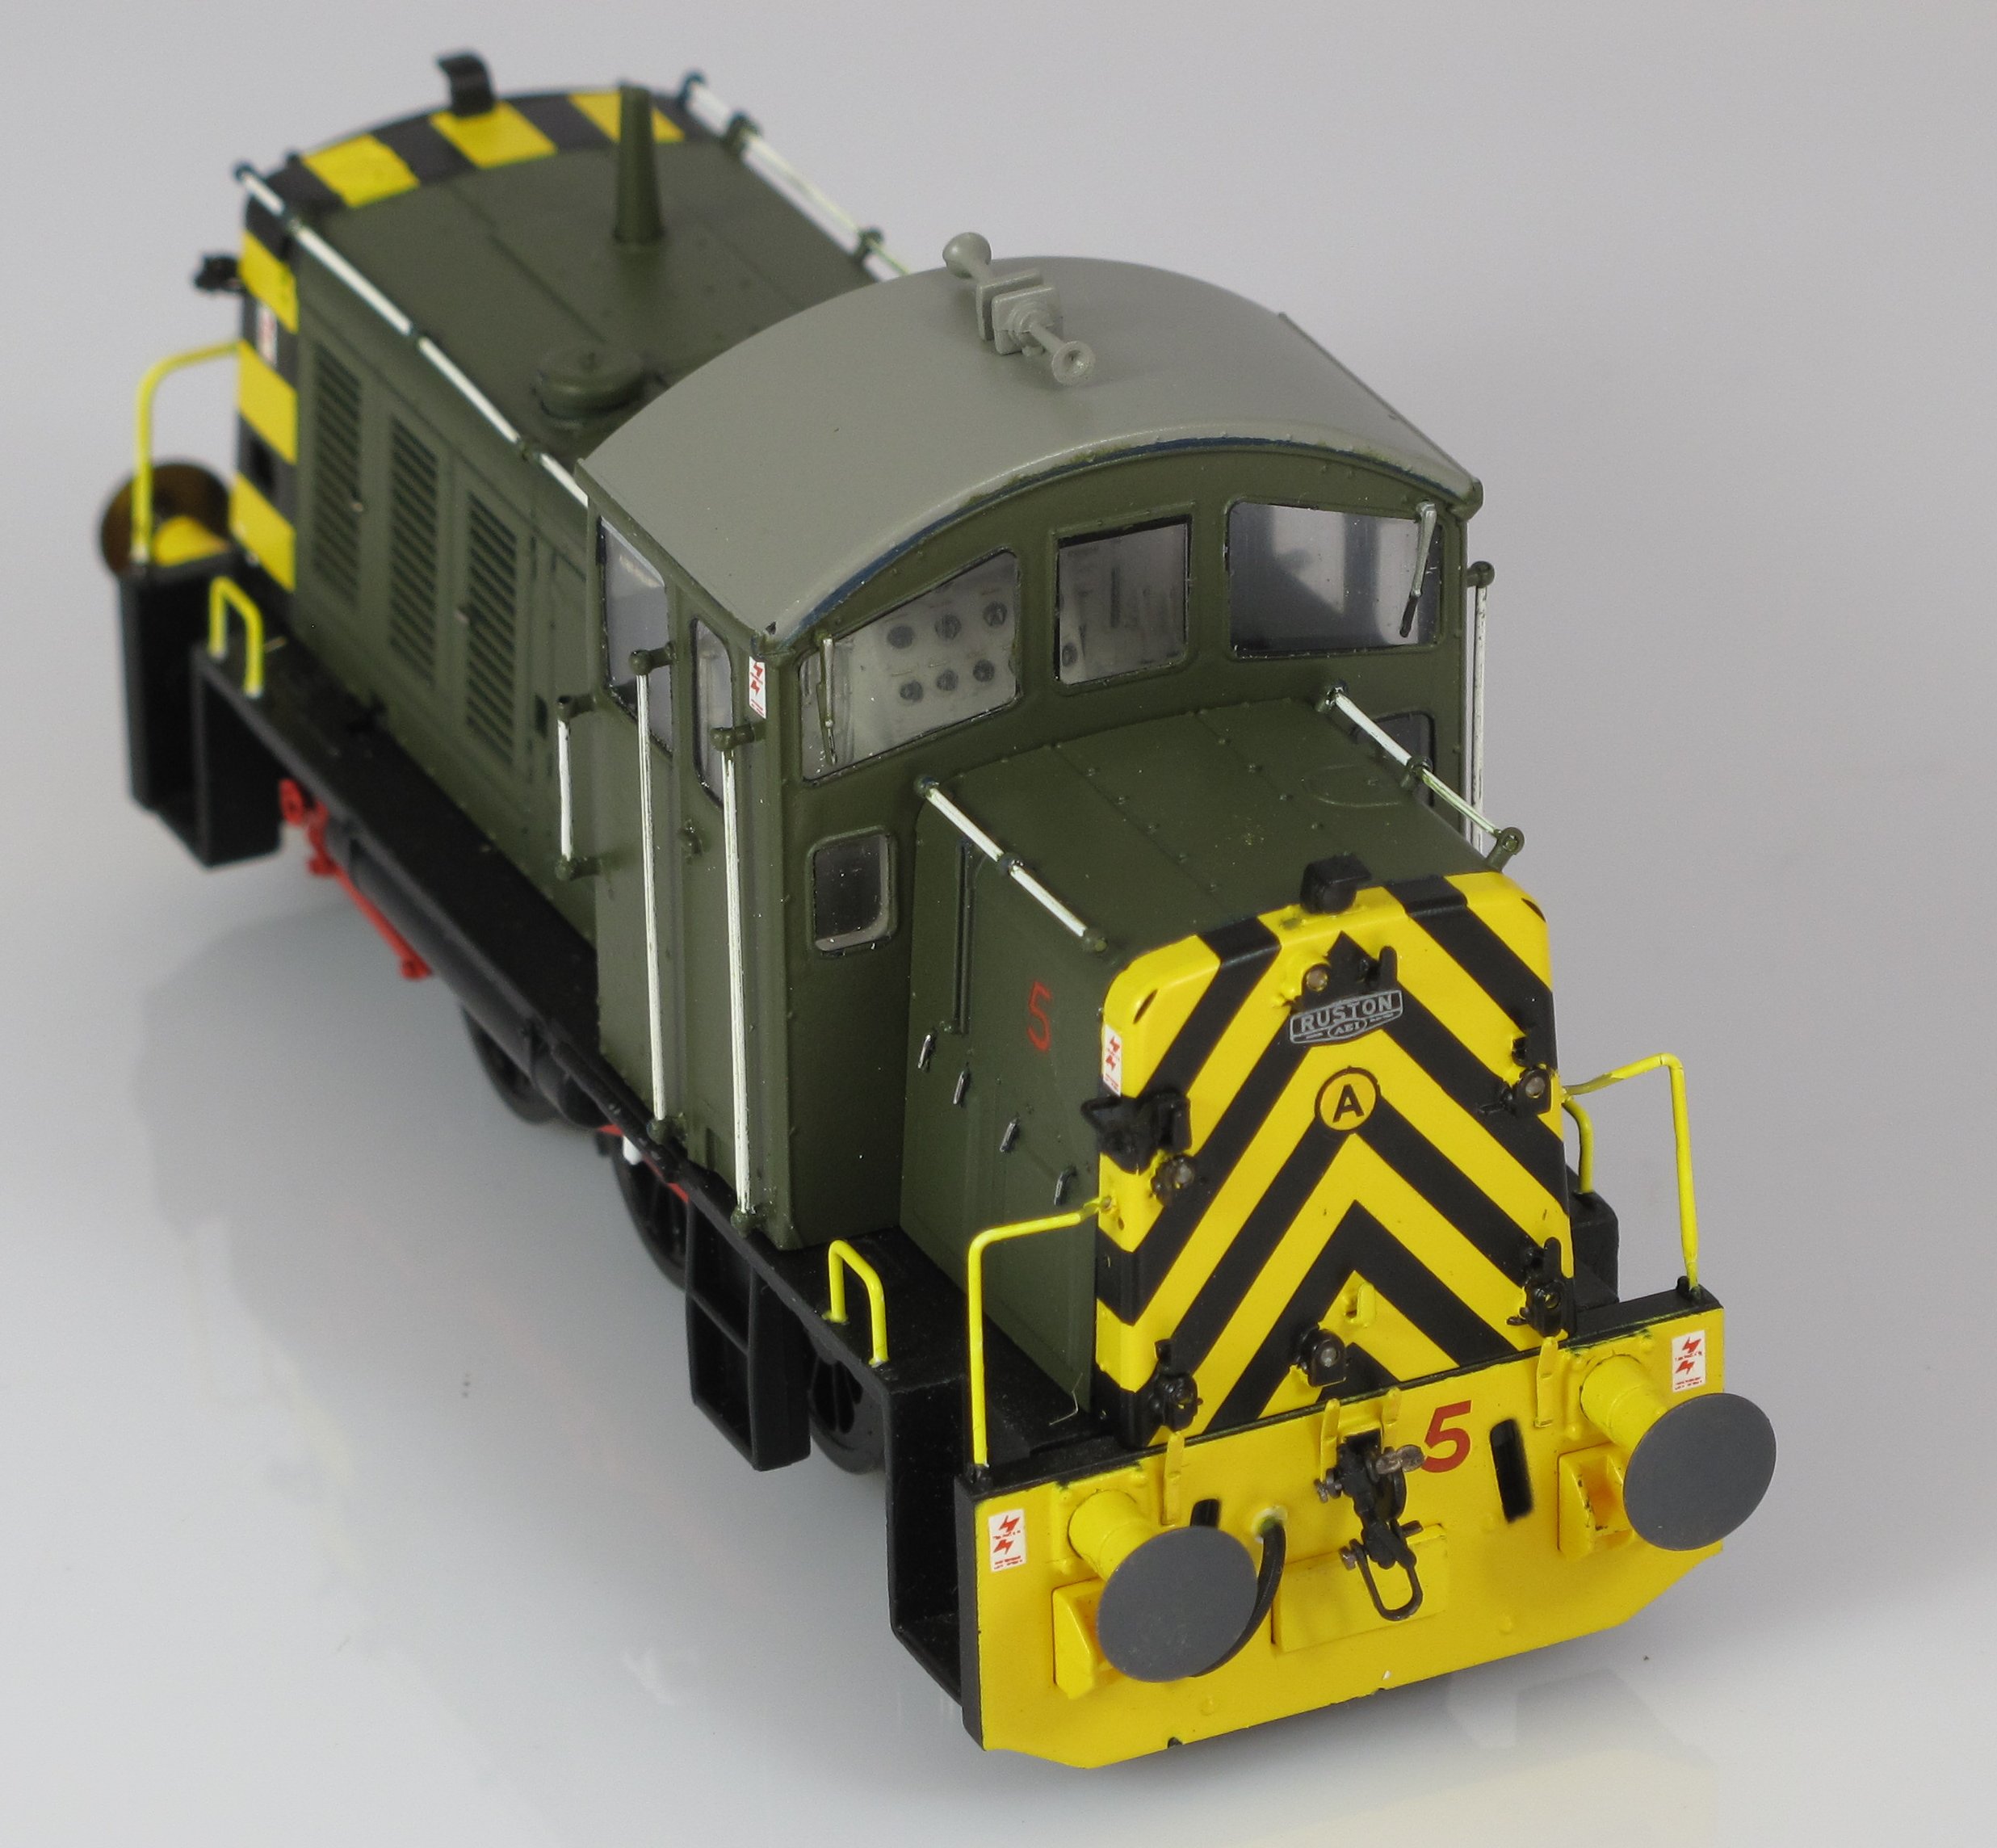
New Identity. I’ve used a mix of waterslide decals from my unused spares box, I’ve chosen Southern Railway O gauge wagon numbers for the locomotive number, and a couple of 1/72 data panels from an old P51 Mustang sheet. It’s freelance so it doesn’t matter and you can stamp your own identity on the model. I placed numbers on the bufferbeams too, giving a company style type of look. To finish I added overhead warning panels around doors and step areas. I’ve used microsol setting solution to unsure the decals seat correctly with no silvering, this paint gives a satin sheen which also helps with the decal adhesion.
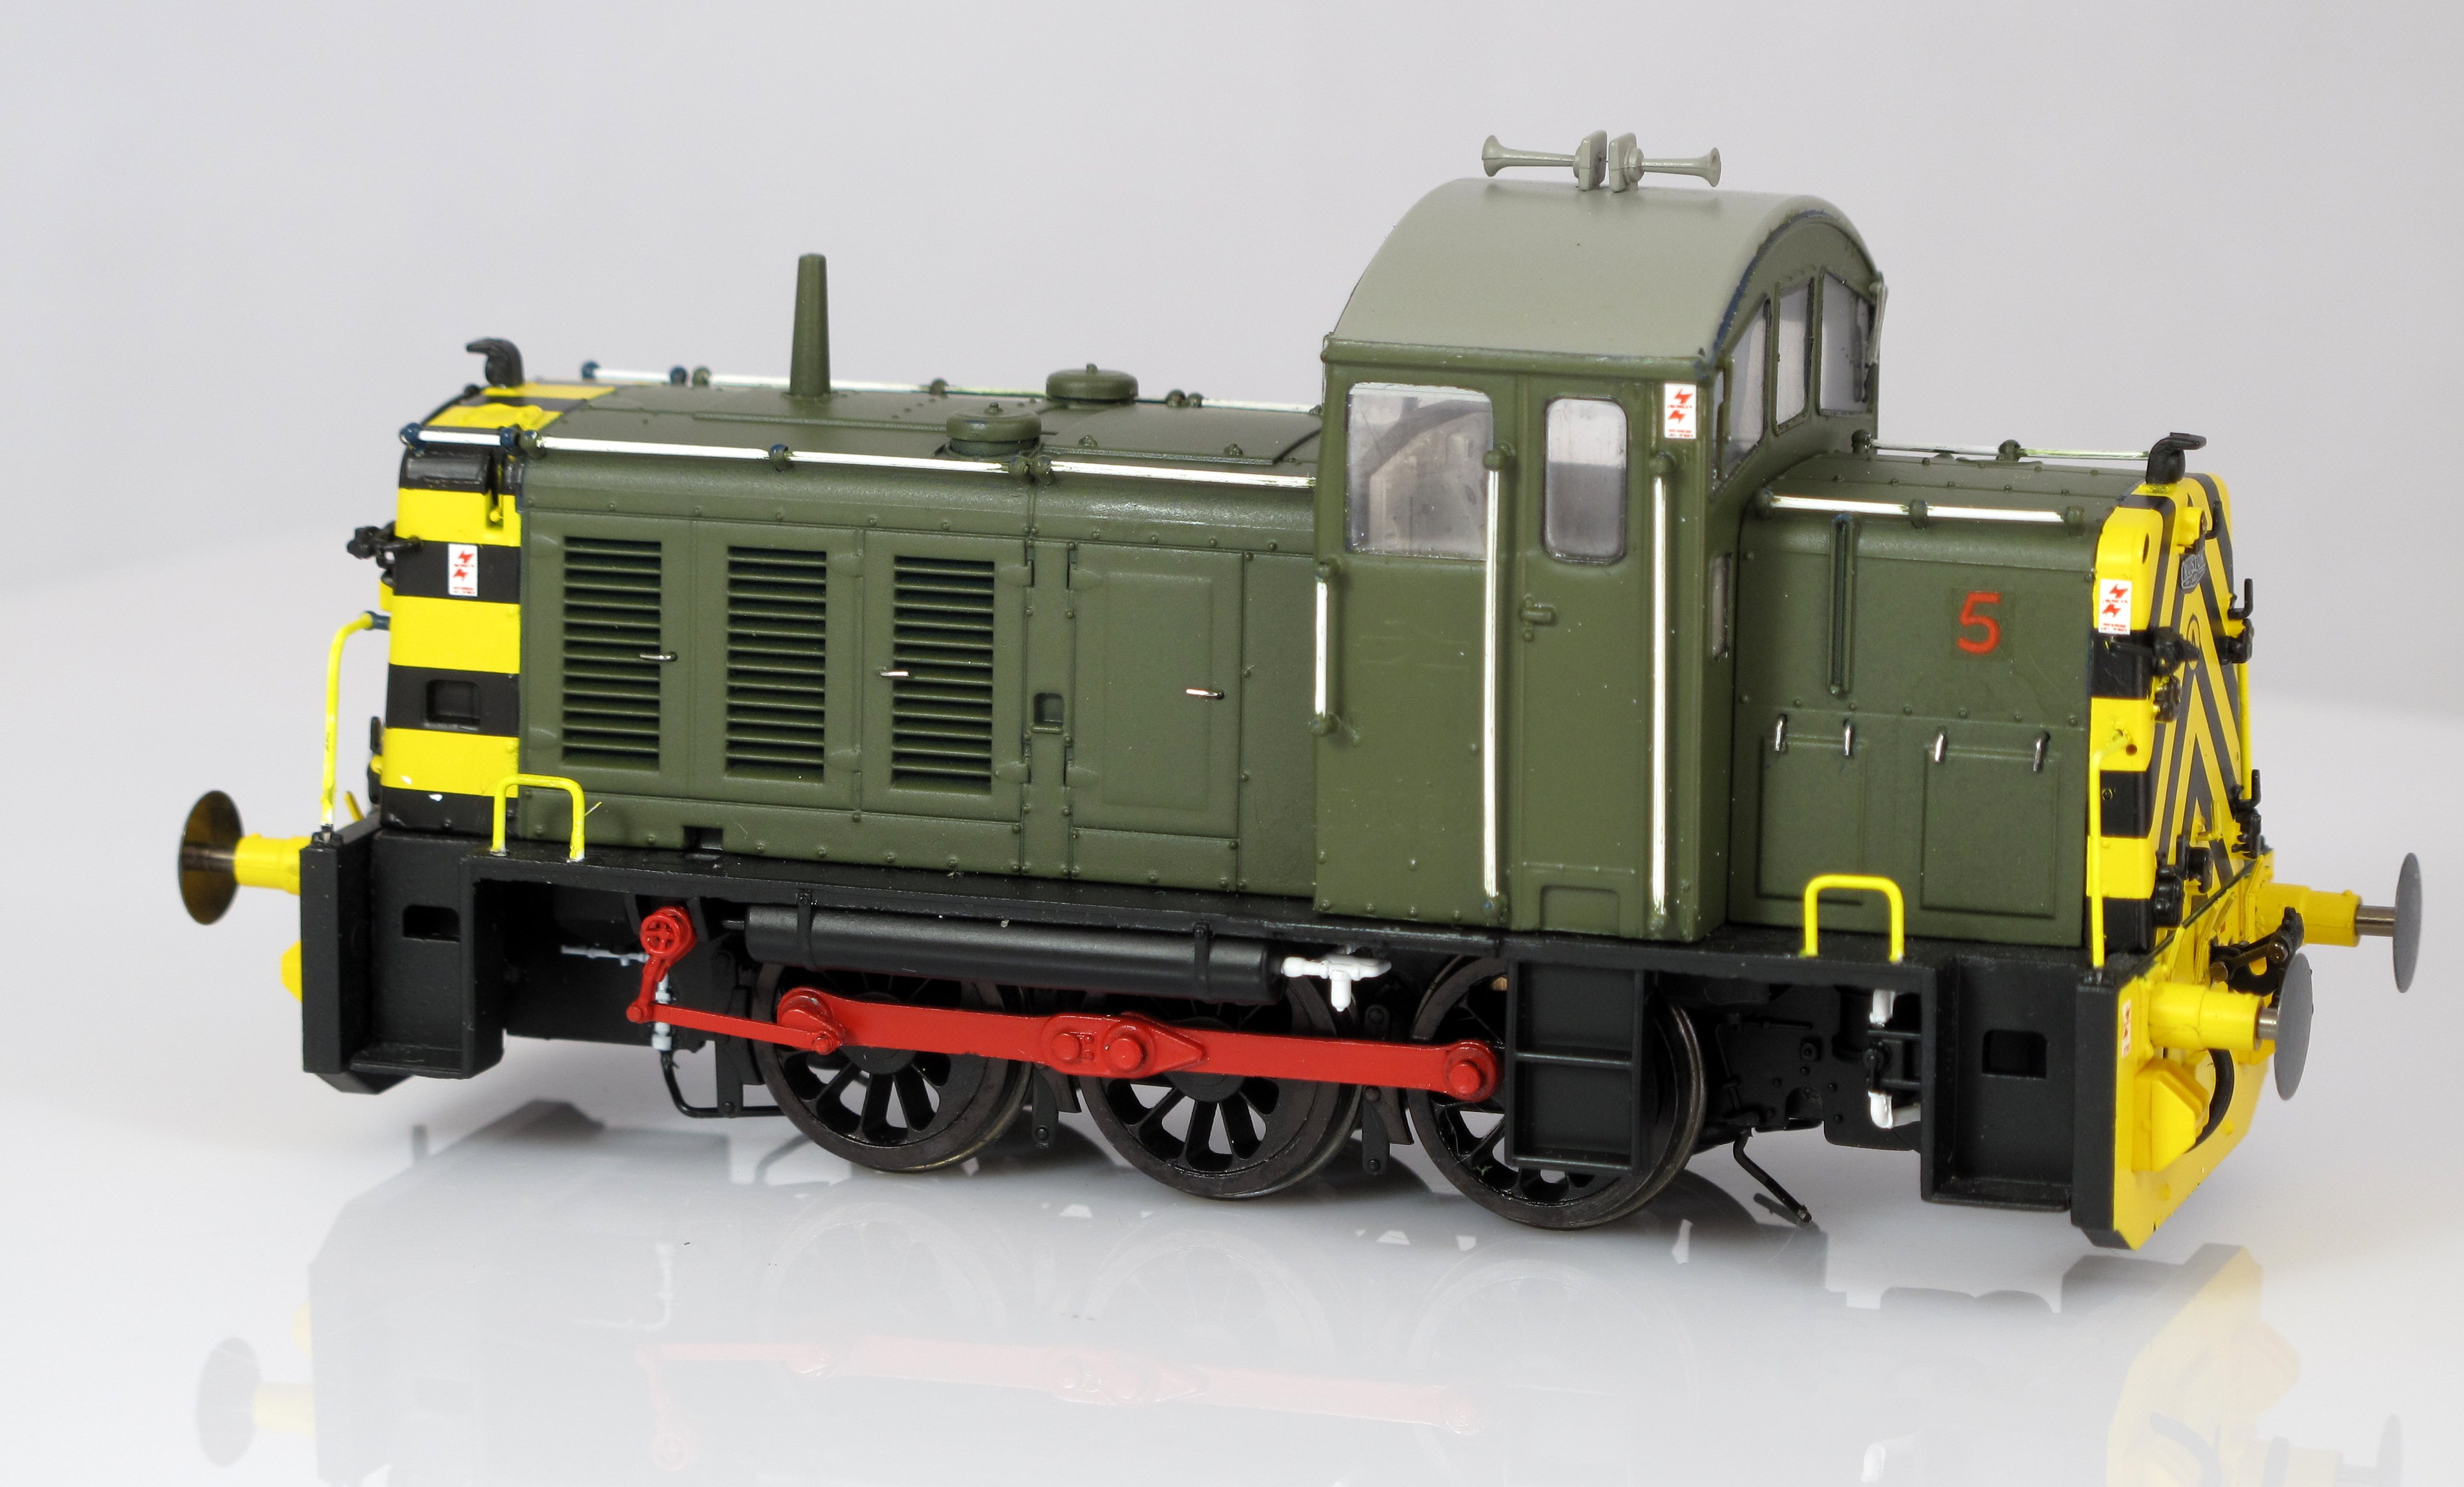
The finished item, a few touches of additional paint on the handrails changing white to yellow and the buffers painted, and we’re ready for service!
The whole project took roughly eight hours from start to finish, and hopefully illustrates that an individual personalised model is within your grasp. Keeping it simple and using the products we have here, many of today’s models can be given a new identity, and the tasks are equally applicable to kit building too.

Have a crack at one!

Outstanding post. And something that has been on my to-do list for a long time. Now more confident over doing this, and getting it done right.
Thank you Andrew. Often these changes look harder than they are, but in fact are relatively easy work flows. Practice the masking on an old toy car or something like that to learn the skills and you’re away.