

It’s only a week since I completed Shelfie3’s wiring, and noted that that point in time was likely to be a spur onwards in the project. As I expected it did just that. The next notable step has been painting the track on the scenic part of the layout.
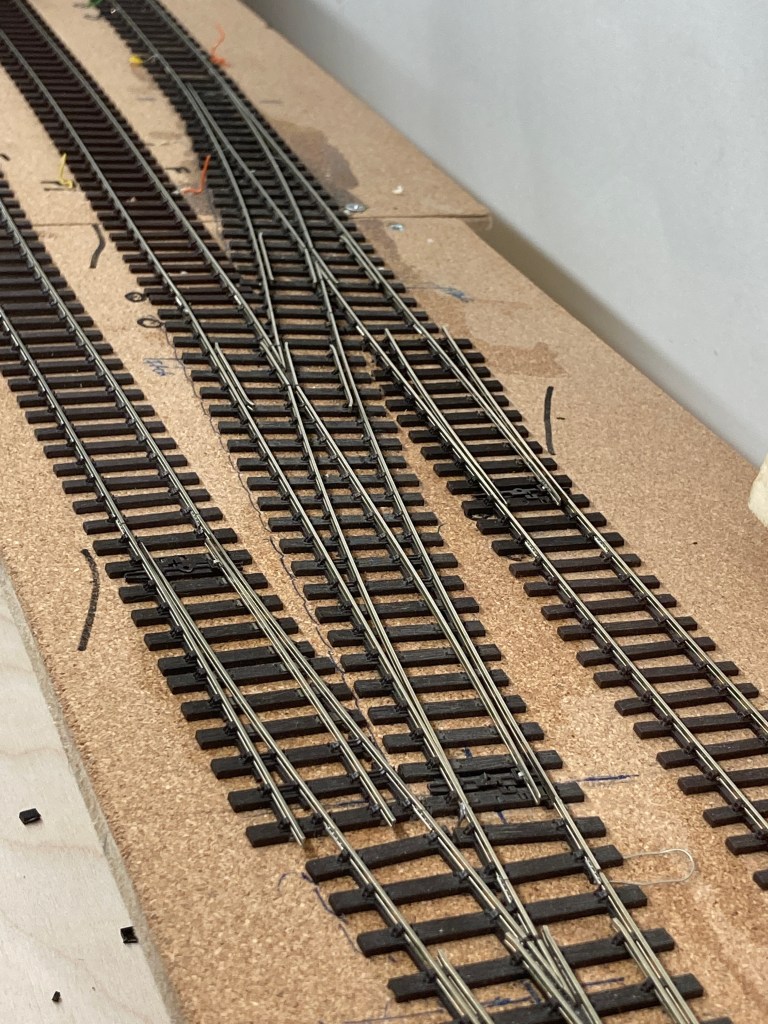
Above is the starting point, or points, (I’m here all week), Peco Code 75 bullhead track. Nothing ground breaking here, an MDF track base with 1/16th thick cork underlay. The track has been glued directly to the cork using PVA adhesive. There is a slight disadvantage with this in that there is an audible increase in the sound transfer from the track, it is what it is though, and I accept that as part of the process. Shelfie 1 Shelfie 2 and Shelfie 4 all use woodland scenics underlay to good acoustic benefit.
The points are Peco SL-U1188 and SL-U1189 unifrog type with actuation including frog switching via Tortoise switch motors. This means there’s far less reliance on the physical point blades to conduct electrical power. If you’re using a ‘traditional’ insulated type of frog then you ideally need to mask the contact points of the blades and stock rails before painting.
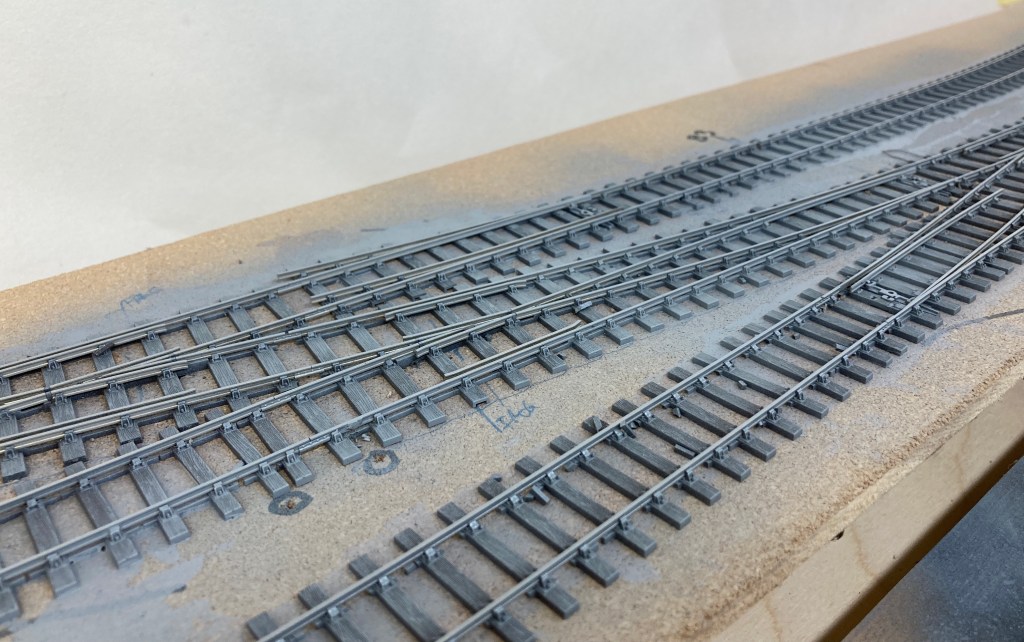
Both paints here are acrylic based, so there’s no issue with incompatibility with the track. Spraying from about 30cm or 1ft in old money, I build up a couple of layers by varying the spray patterns. As soon as the spraying is finished I start working on the rail head to clean it. This needs doing quickly, these paints adhere very well so it makes sense to clean the railheads whilst the paint is still soft. I use the Peco rail cleaner as my first stage of paint removal.

Once happy with the initial grey ‘undercoat’ I add the camouflage brown using the same method. The varying spray pattern gives a good natural look rather than a solid block colour.

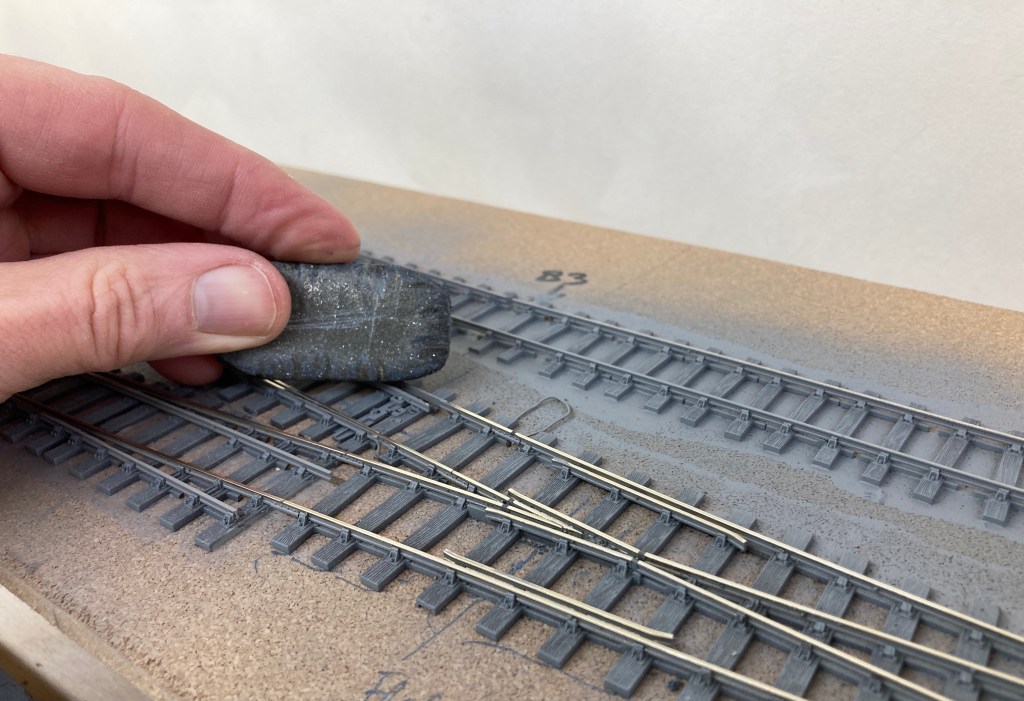
Again it’s immediately back into the rail head cleaning, whilst the paint is drying. There’s a lot of wibble talked about track cleaning, chemicals to use/not use and the easy answer is use what works for you. I’ve used these rail cleaners since I was a kid and never had a problem with them. I also use IPA, White Spirit, Meths, MEK, Plasweld, Emery papers and cellulose thinners with no problems, across all the popular scales and gauges. The benefit of this Peco cleaner is that you can make grooves in it. This allows you to clean not only the top of the rails but the shoulders as well as these also are part of the electrical conductivity. As you can see in the image above you can also get clearance from check rails, so you don’t need to repaint them after track cleaning.

So the final element before testing is a clean of the rail head using an appropriate ‘solvent’, here I’m using Revell Painta Clean on a Q-tip, and you can see the stripe as is picks up residual rail cleaner debris and paint.
Once I’m satisfied the rail head and contact points are clean I retouch in areas of detail. The rail sides are painted with a thick wash of Tamiya NATO Brown XF-68.

I use either a full rigger brush or a long hair for this task. The bush when pulled along the rail sides leaves the bulk of the paint on the rail, but also highlights the chair details too. The Halfords underneath gives a good key and pre-shading of the rail profile and chair shadows.

Once the rail sides and chairs have been washed over I return to rail tops, particularly the check rails and repaint those with un thinned full strength paint, but make sure I don’t cover any area where I need electrical conductivity. At this stage of the paint I tend to leave the track until ballasting is done but where the rail breaks have a plastic insulation section in them I use Vallejo Model Air RLM01 silver to touch the top of the plastic in.

It’s not a direct match to the rail head coloring but does hide the black plastic. Further paint detailing such as the fishplates and point rodding will be done on completion of ballasting and point control fitting.
So here’s the final results. Tested on DC with two RTR short rigid wheelbase locomotives. I had one or two areas that needed a bit of additional cleaning, but nothing unexpected. Subsequently I often clean the rail heads before running as an insurance policy thus will last a week or so before I’ll start track detailing and ballasting.

Experience tells me that having done the initial clean thoroughly, I’m unlikely to have any conductivity issues caused by painting. A quick swap of controller to an NCE power cab and the layout runs with no problem on DCC. Next step is to determine signalling choices and details such as point rodding location and it’s actuation before getting the ballasting done.
Or, I could write a fifteen minute hero on my track cleaning regimen, and see how much wibbling that sets off..

You must be logged in to post a comment.