Due for imminent release, a new layout design book from James Hilton and published by Wild Swan!
I’ve been fortunate enough to have a content preview and if you follow James’ work, this blog, Geoff Forster’s or Chris Mears’ and many of the other on the blog roll here, you won’t be disappointed with it. No ISBN number or price yet, so keep your eyes open, but a hard copy will definitely be on my bookshelf !
Heljan TT Class 31Heljan TT Class 31Heljan TT Class 31Heljan TT Class 31
Please don’t forget as you join your local interweb cake and arse party, that to participate you need to ignore the following;
UK mainstream 7mm RTR doesn’t exist, there’s no market for it.
UK mainstream 009 RTR doesn’t exist, there’s no market for it.
Please ignore there’s a big enough European market for Mainstream manufacturers to make TT 1:120 RTR locomotives and stock.
Please ignore there’s a bigger market in 1:120 scale outside of the Uk, and potentially in it, than there is in the defunct RTR 3mm TT scale.
Please ignore this is unlikely to affect the 3mm society or the cottage industry that supplies it. They’ve been going since the 1960’s without mainstream RTR support .
Please ignore customer’s like choice. Not everyone is nailed to one scale/gauge for their entire life.
Please ignore rational thought processes, especially the one about this demonstrating the overall health of the hobby. I don’t think there was a ‘Friends’ episode where Ross tried to explain to Joey why corporations make stuff, perhaps they missed out with that.
Finally please moan like **** about this taking manufacturing slots for all that 4mm stuff that’s late, that you weren’t going to buy anyway. Also don’t forget to mention that you have no interest in buying these products.
Suitably primed, please enter the interweb responsibly…
This morning Peco are setting the cat amongst the pigeons announcing a range of TT track and products!
Absolutely fascinating for me, I think this is the ideal scale, big enough for good detail, and small enough to get the feeling of ‘space’, potentially a very big development for the Uk hobby. People will undoubtedly ask, why? Well there’s been rumours within the hobby for a while that Hornby are re-entering the TT market with a new UK range. There’s already an existing European market for TT, so this acts in two ways, it allows Peco to break into that market with dedicated track, and acts as a spur to the Uk market for new entrants. The new more agile manufacturers will have opportunities here, particularly with the smaller powerful motors that are now available, and the potential of DCC, including sound.
Meanwhile, back in the mancave…
Very interesting times! I’m already excited about the potential TT has for Shelfie type layouts, I need to go and lie down..
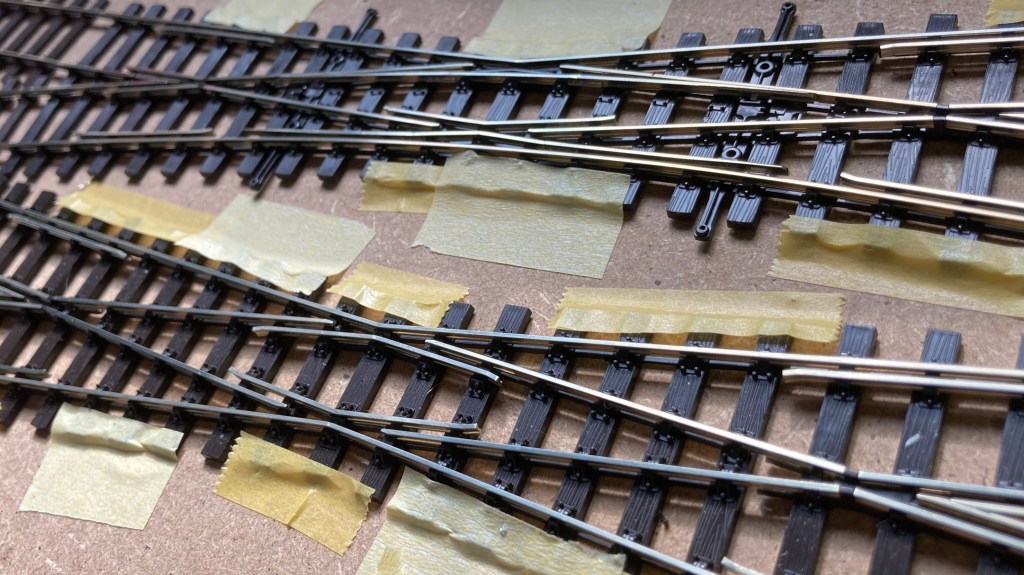
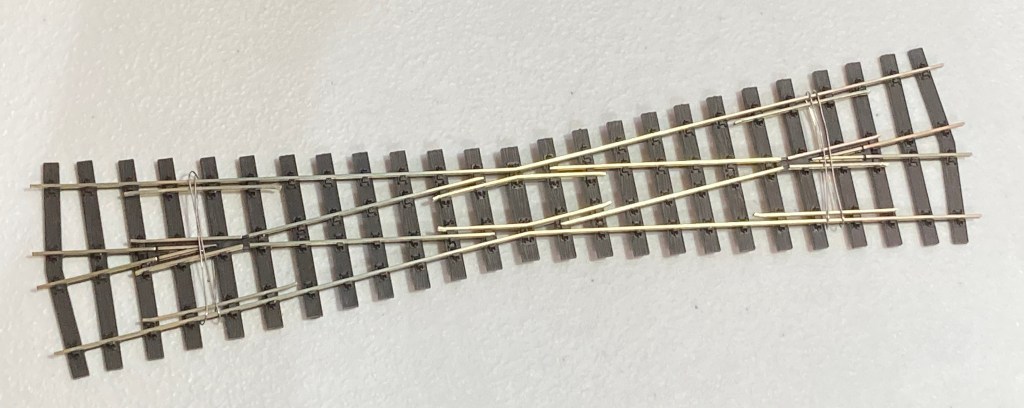
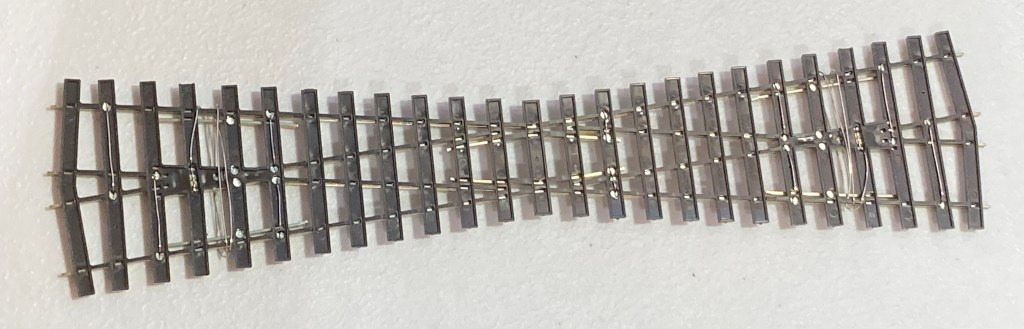
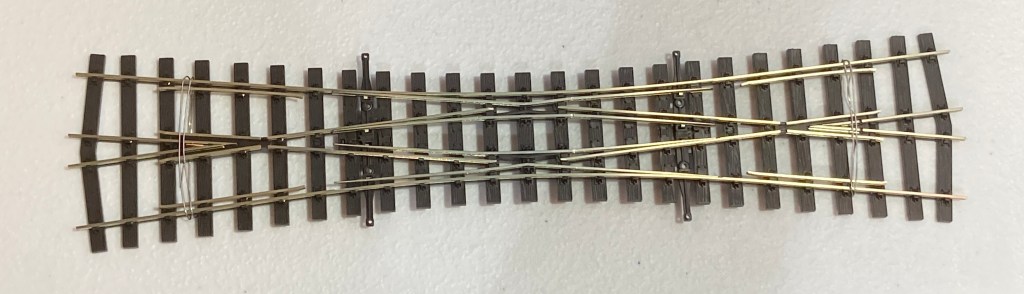
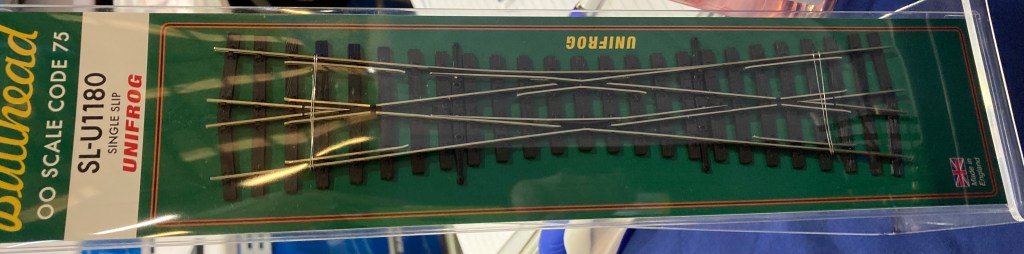
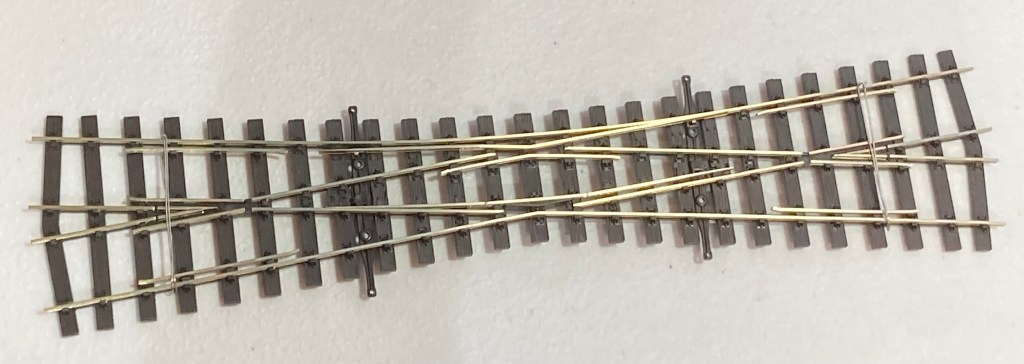
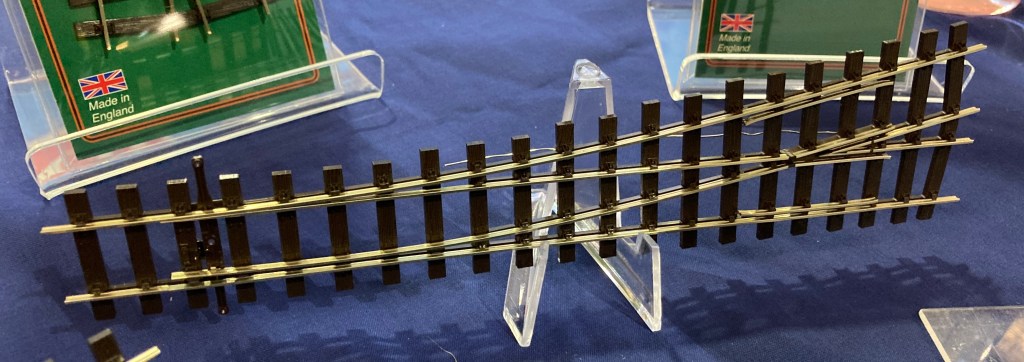
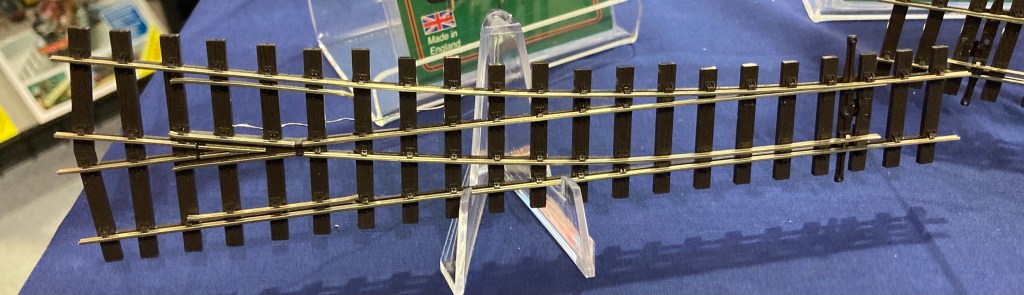
For a couple of years now we’ve been waiting for the arrival of Peco’s OO Bullhead rail crossings and slips. Well the long crossing SL-U1194, and the single slip SL-U1180 are now in the shops.
Peco SL-U1180 Single Slip Peco SL-U1194 Long Crossing
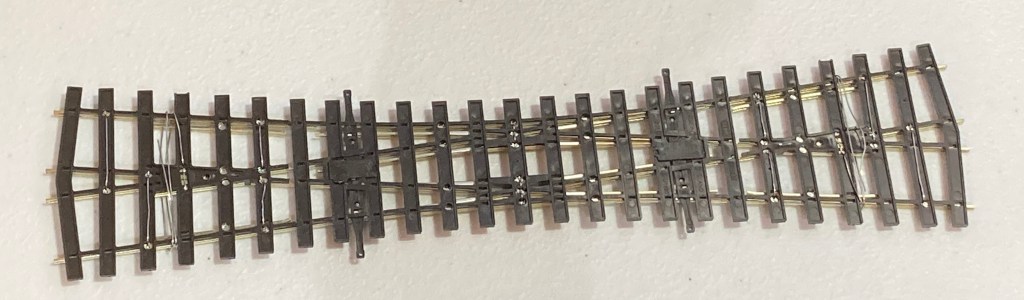
A few days back one each of the single slip and long crossings arrived at the man-cave, see above image, (the double slips are not yet available but will follow on imminently). You might immediately wonder why the image shows them covered in masking tape? There’s a straightforward answer to that, they are part of a simple test bed.
Peco Test Track
This test bed is a simple check for running properties of varying locomotives and rolling stock, it comprises one each of the left SL-U1189 and right hand SL-U1188 large radius points and the recently released long crossing SL-U1194 and single slip SL-U1180.
The test involves stock and motive power running through all routes and then being turned through 180 degrees and repeated. A more in depth look at these items of track including the points will follow, perhaps with moving pictures!
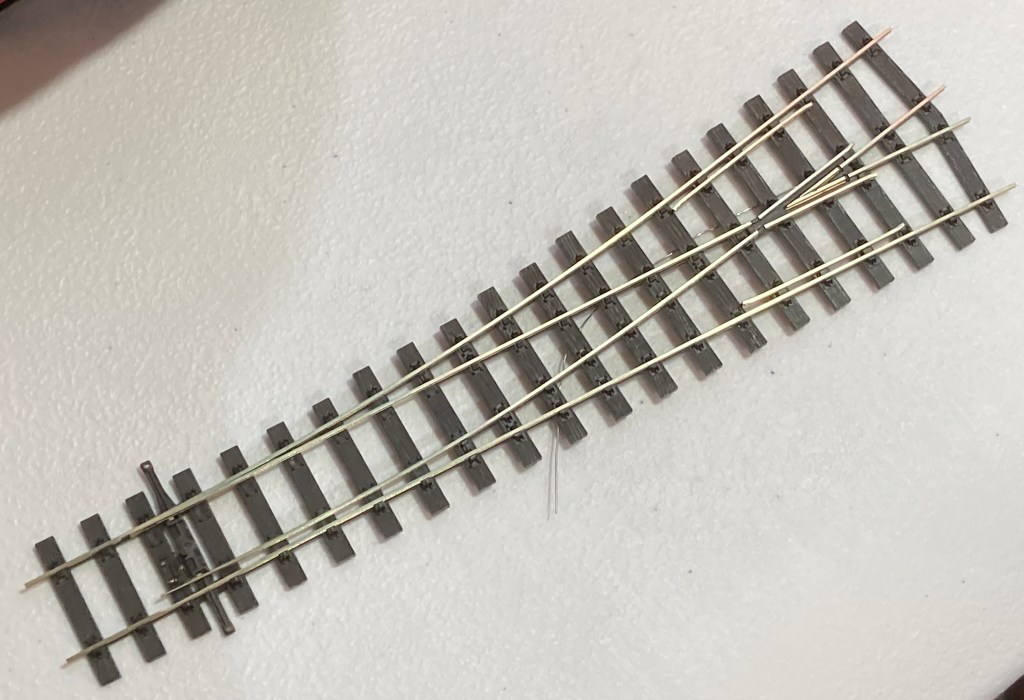
Finetrax Point Kit
As far as track goes, this past month in the man cave has been very interesting, with the testing of some of the Finetrax track system and more work is coming in the next month.
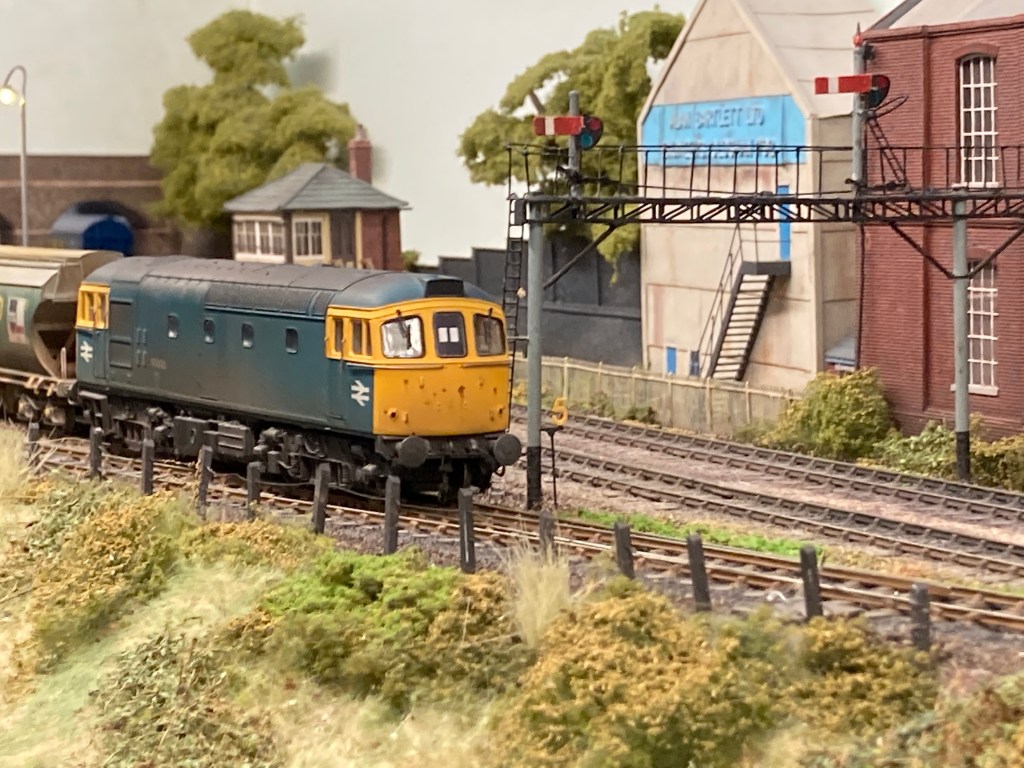
The image above is a photograph from an iPhone of an HO switching layout by Lance Mindheim . It’s an image of nothing in particular, and that for me makes it all the more noteworthy and inspiring, motivational etc etc! It’s the sort of thing we might see the world over, a simple road crossing and a set of tracks into an industrial area, and with no train visible we’d pass it by without a second glance, carrying on to the hardware supplier or car mechanic that brought us into this area of town. Meh!
Where this really ‘pops’ for me though is Lance’s ability to capture ‘nothing to see here’ so well. Now realising it’s a model, it makes us look at it with fresh eyes, asking how is this a model? In the link above Lance talks a little about the image and thoughts behind it so I won’t throw any spoilers in here, but please do take the time to read it!
The big thing for me is it ooze’s atmosphere, I’ve seen similar locations in the States and Canada, once very closely (arguably too closely), from a Z28 at high speed in the early hours on opposite lock. Yes Patches, I’m looking at you!, but we can immediately place ourselves there. You can easily imagine the heat and perhaps the smells, a nearby industry with foodstuffs or engineering and one or two crickets chirping away in the long grass.
This image just ‘gets’ me. The simplicity of the scene, it’s just ordinary, but the subtle levels of modelling and observational complexity to successfully achieve it, are extraordinary. That’s my inspiration this week, nothing much at all!
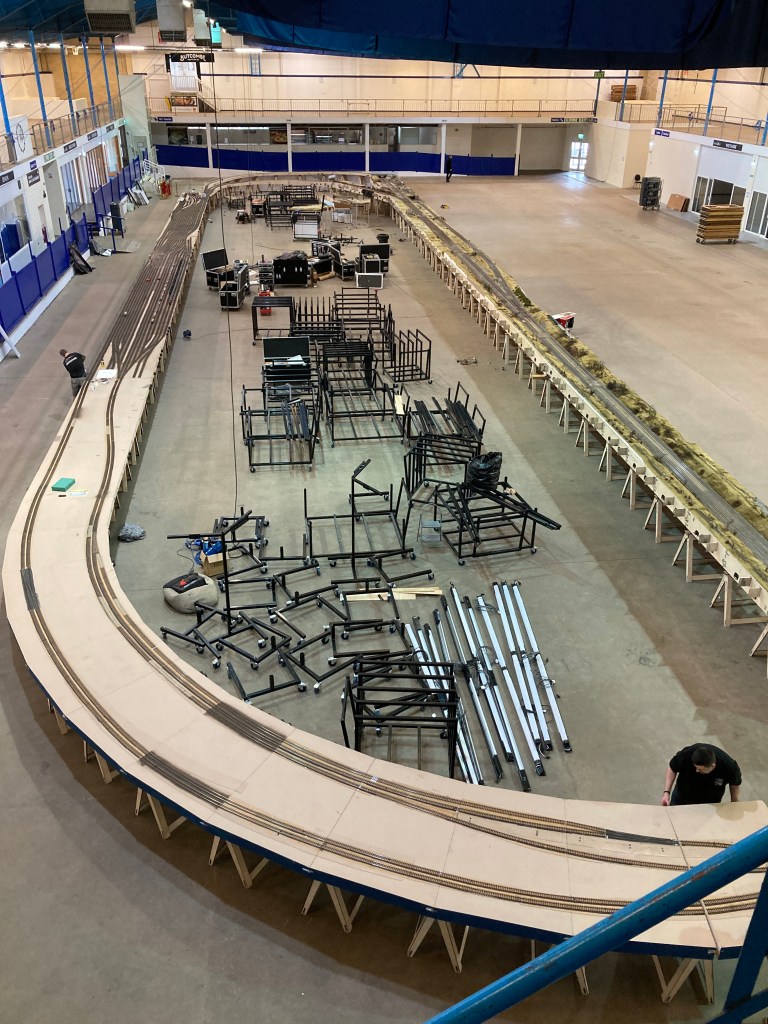
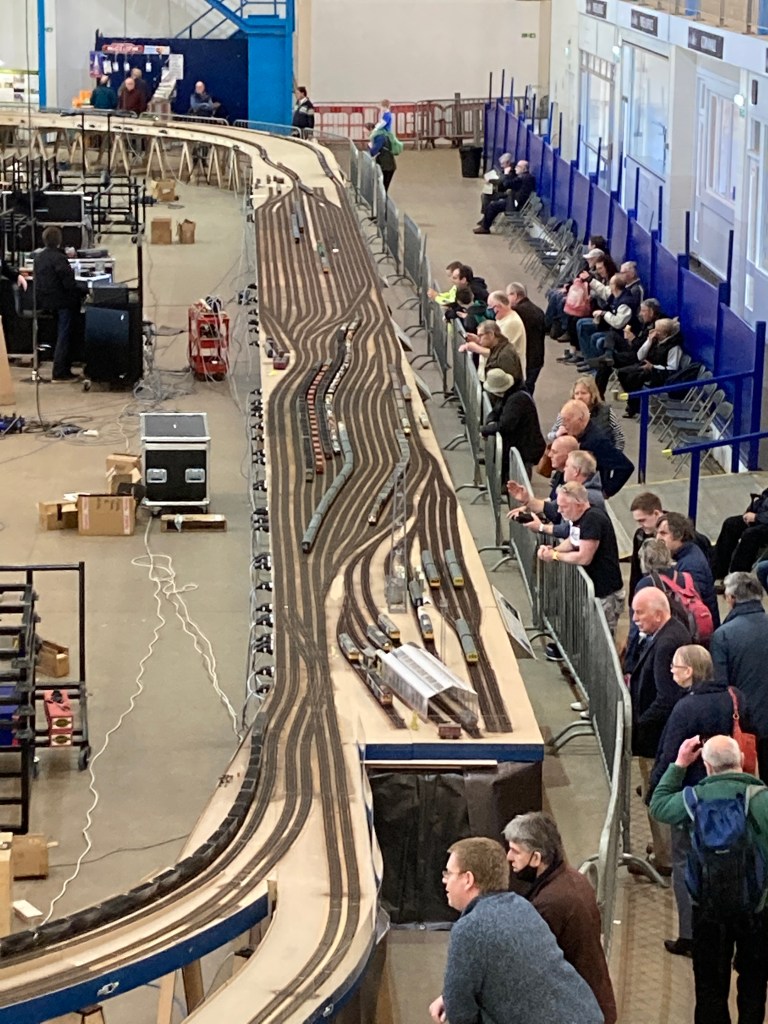
Heaton Lodge Junction Exhibition Bath & West Show Grounds
No one needs me to remind or tell them of the impact of Covid on the exhibition scene over the past two years, suffice to say it’s had a significant detrimental impact on the ability to run and attend shows of all sizes.
Heaton Lodge Build
This weekend I’ve been helping out as a ‘runner/roadie’ on Heaton Lodge on a three day show. I arrived Wednesday to assist in the build of the layout by a team of five, working roughly 08:00 to about 18:00 each day. This is only the second exhibition the layout has done, but with much shorter build/break down windows than we had at Wakefield. It was also an ‘away’ fixture by about 4.5hrs/230 miles from base so key in getting everything there.
Heaton Lodge Junction
Not only does it take time to build the layout, there’s all the stock to put on too, and using three links, manually couple up as well. The show certainly had a good number of visitors through and it was good to see both friends from the trade and the hobby generally.
Heaton Lodge Junction O Gauge
I often refer readers to the blog roll attached to this page, where there are other writers whose work is of interest, this weekend at the show I had the pleasure of meeting Ian Holmes from the USA. Ian’s blog is one I read regularly it was one I picked up on in the early days of this blogging malarkey and it was a genuine pleasure to meet him and his wife, whom had literally just flown in that morning.
Oldshaw EM Gauge
The show had a small number of layouts in addition to Heaton Lodge, and all were of excellent quality Bournemouth West, Wimborne, Oldshaw (above) and Oldham King Street, (below) providing real inspiration, as all of them ticked boxes for me, Oldshaw and Oldham in particular.
Oldham King Street
Well that’s enough from me this morning, I’ve got to go and help with the continued break down of Heaton Lodge to get it on two articulated (Semi’s for our colonial friends) and a 7.5 tonner by this afternoon.
Oldham King Street
More pictures and thoughts to follow, this show provided a real buzz and genuine inspiration for me.
At Heaton Lodge’s Bath and West exhibition today, I had the opportunity to get a quick look some production samples of the crossing, and slip points on Peco’s trade exhibition stand.
Peco SL-U1194 Long CrossingPeco SL-U1194 Long Crossing
The crossings and slips utilise the same ‘Unifrog’ design as the large radius bullhead points. A quick chat with the Peco staff indicates that if you’re familiar with the Unifrog wiring system, the slips and crossing electrical configuration will be the same.
The quality of the crossing and slips looks excellent, I only had a brief opportunity to look them over. All three pieces of trackwork are uniform rather than handed, and match existing Peco Streamline geometry.
Peco SL-U1180 Single SlipPeco SL-U1180 Single SlipPeco SL-U1180 Single Slip
As can be seen these are production samples. Manufacturing is currently taking place, and delivery is imminent. No prices are announced as yet (I asked obvs), but due to hand assembly it’s reasonable to assume they’ll be more expensive than current Code100 and Code75 slips.
Peco Medium Radius Left Hand Bullhead Point EPPeco Medium Radius Right Hand Bullhead Point EP
Also on display were examples of engineering prototypes of the medium radius points. These are still work in progress with no release date or prices as yet.
Peco Medium Radius Bullhead Point
However I think it’s likely they will be a similar price to the existing large radius points. These appear to be tooling shots rather than 3D prints indicating good progress on them and hopefully a release not long after the crossing and slips.
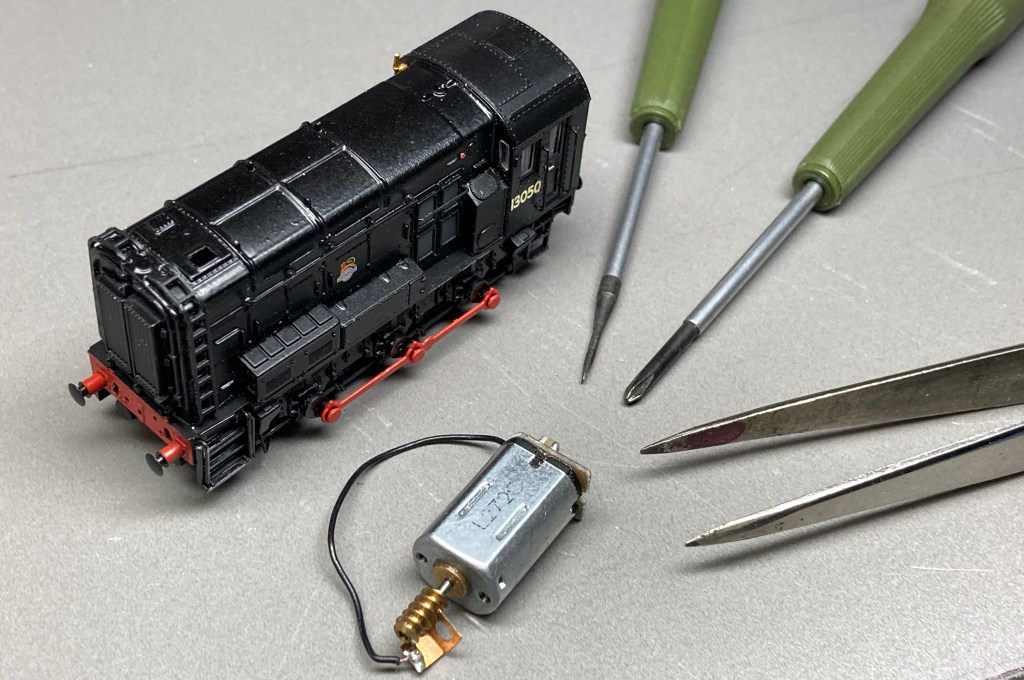
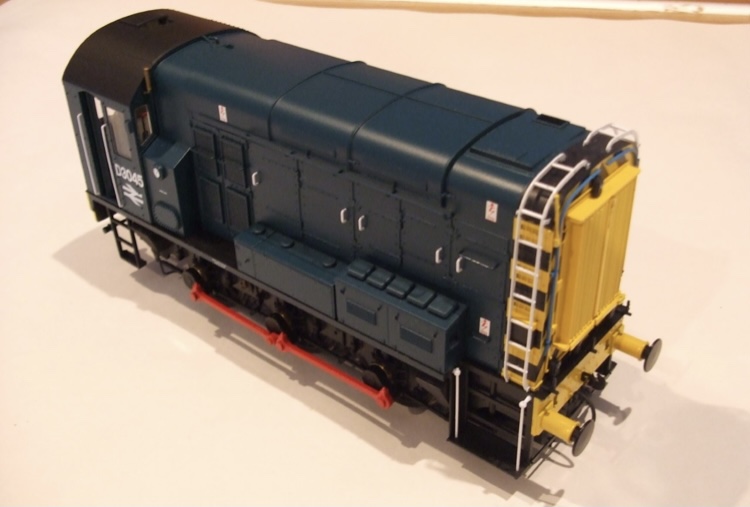
Any of you readers fancy a start in O gauge? A friend has for sale two of these Dapol 08’s, as new, unused. They were originally part of a plan for a small O gauge layout, and,as we all experience, plans sometimes have to change.
A few years back the same thing happened with me and I too had got an 08 for trials. There’s images on this page which show how these are put together. There’s plenty of space for adding DCC and sound, and Railway Modeller’s Callum Willcox has fitted the Hornby TTS 08 sound decoder into one for an economic conversion.
Dapol O Gauge class 08 7D-008-002
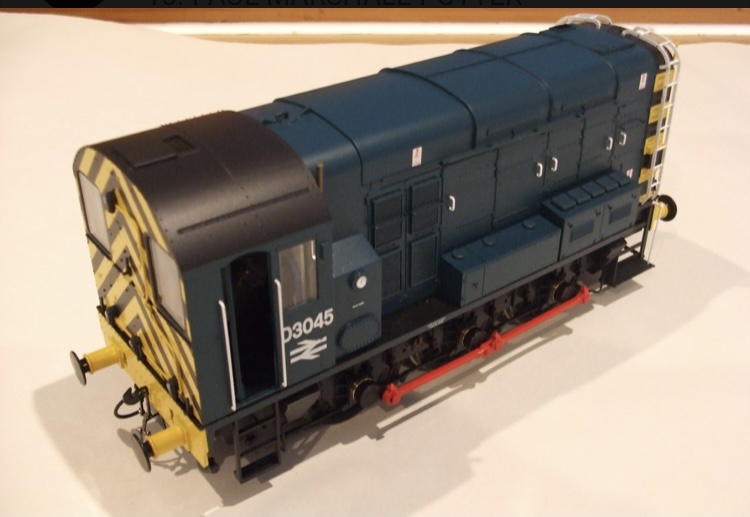
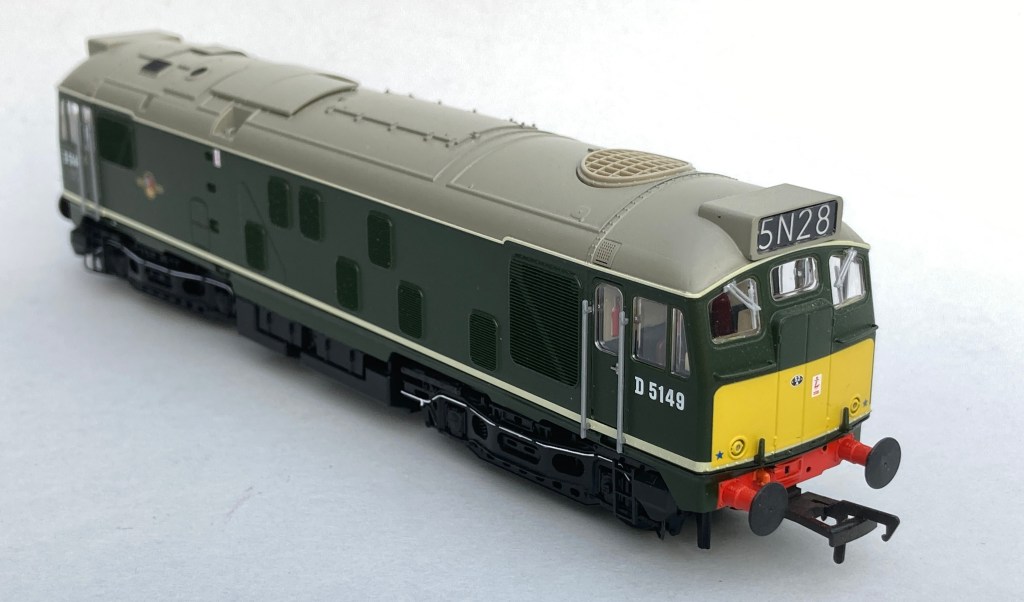
If these are of interest please get in touch, they’re priced at £165 each plus P&p, a deal might be available for the pair. Whilst clearing the man cave here these two OO locomotives below are still available from myself ;
Bachmann class 24/1 32-443
The class 24 is as new, DC, £125 inc uk P&p
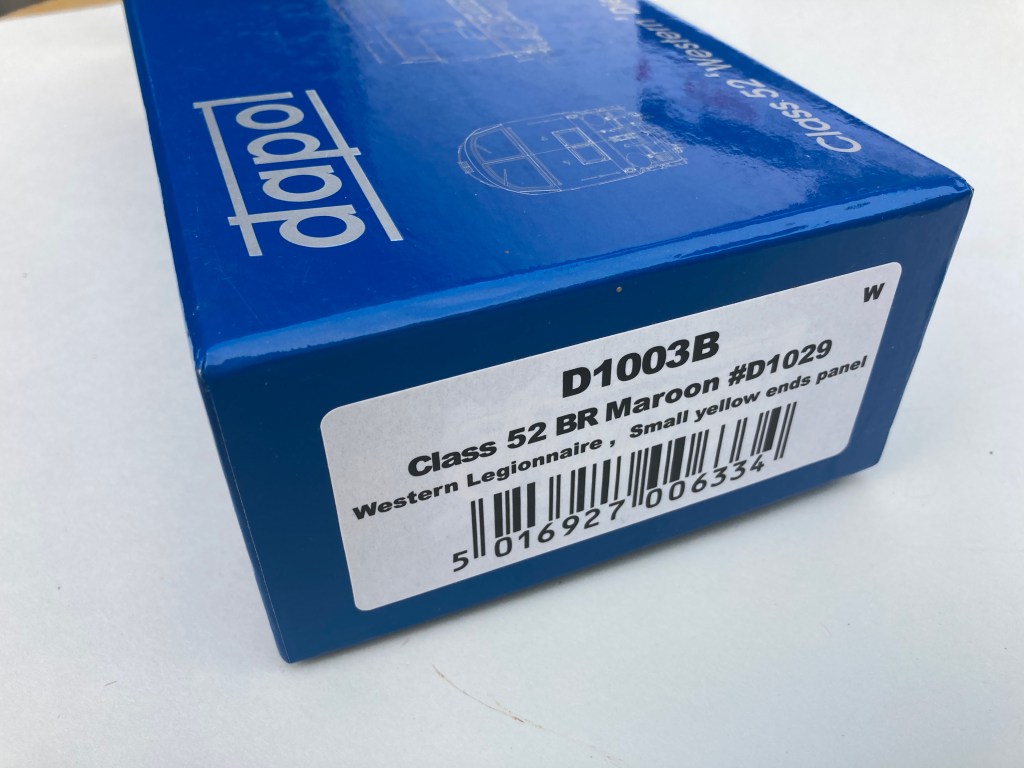
Dapol Western D1003B
The Western is DC, and priced at £135 inc Uk p&p. Both of the locomotives have only been test run or used in photo shoots. Please contact me via the blog or the Albion yard Facebook page.


You must be logged in to post a comment.