
Hornby 08
R3261 R3342 R3343 R3484 R3485 R2933
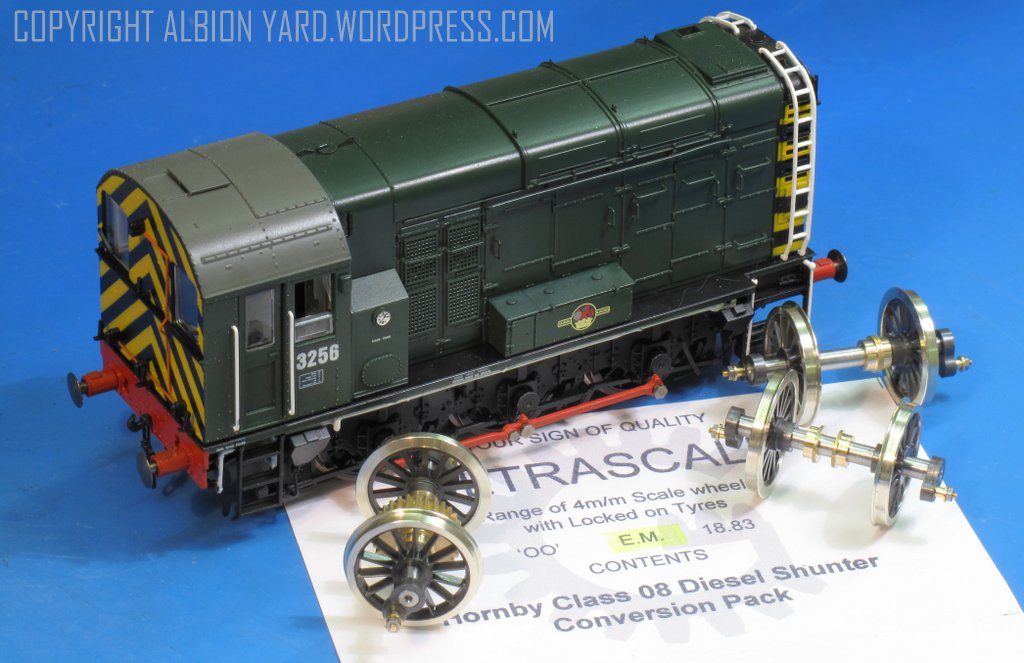
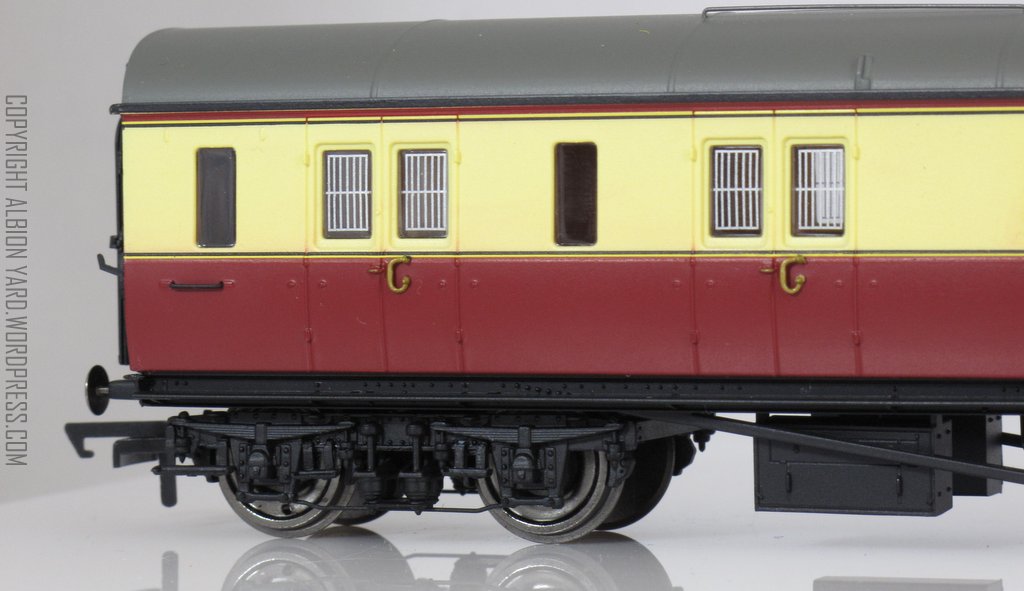
For the 200th post here I think we’ll have a look at a good easy step into ‘Finescale’.
‘Finescale’ is an odd thing, its a bit like pornography, in that I’m not sure I can define it, but I know it when I see it! One of the barriers for people who want to explore the more accurate gauges in 4mm scale is the barrier of no ready to run models in the wider gauges. Phil Sutton sulzertype2.co.uk has recently broken that barrier with the options available with his class 24, but for the moment, if you want any other locomotive it’s DIY. Hornby’s 08 is an excellent candidate for a quick gauge change using the Ultrascale CAT007/378 conversion set. With the latest batch of this excellent model hitting the shop floors, there will be modellers out there wanting to convert them to either P4 or EM. The Ultrascale conversion isn’t cheap, but you do get a drop in wheel and gearset manufactured to the highest standards, ready quartered and pretty much a drop in replacement. The real beauty of it is that its engineered so that the set up and fixing of the external cranks are all sorted for you, so whilst this isn’t one of my fifteen minute heroes, it is a conversion that can be done in an evenings work.

Hornby 08
R3261 R3342 R3343 R3484 R3485 R2933
I found the easy way to kick this conversion off is by removing the connecting rods. They are of a soft and pliable white metal so do take care when handling them. They are retained with a captive crankpin screwed into the hub casting of the Hornby wheelset.

Hornby 08 R3261 R3342 R3343 R3484 R3485 R2933
I don’t have a spanner or socket set for these very small nuts, however I used a set of smooth faced tweezers to remove the crankpins, again being careful not to bend or damage the coupling rods.

Hornby 08 R3261 R3342 R3343 R3484 R3485 R2933
Coupling rods removed and crankpins replaced. There seems to be a market for these wheelsets so they may have a value on ebay, or alternatively keep them so if you sell on in due course you can convert the locomotive back to OO and sell both loco and the ultrascales separately.

Hornby 08 R3261 R3342 R3343 R3484 R3485 R2933

Hornby 08 R3261 R3342 R3343 R3484 R3485 R2933
The next two tasks are the removal of the brake gear and the keeper plate, both are easy jobs, this then gives open access to the wheelsets. Make sure you note the location of any of the plastic shims as these are also insulating pieces from the electrical pickup to the baseplate.

Hornby 08 R3261 R3342 R3343 R3484 R3485 R2933

Hornby 08 R3261 R3342 R3343 R3484 R3485 R2933
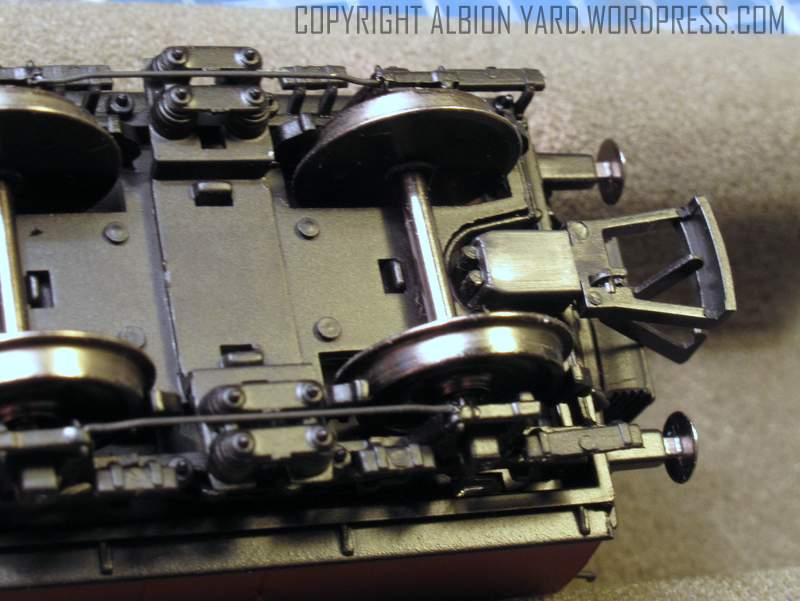
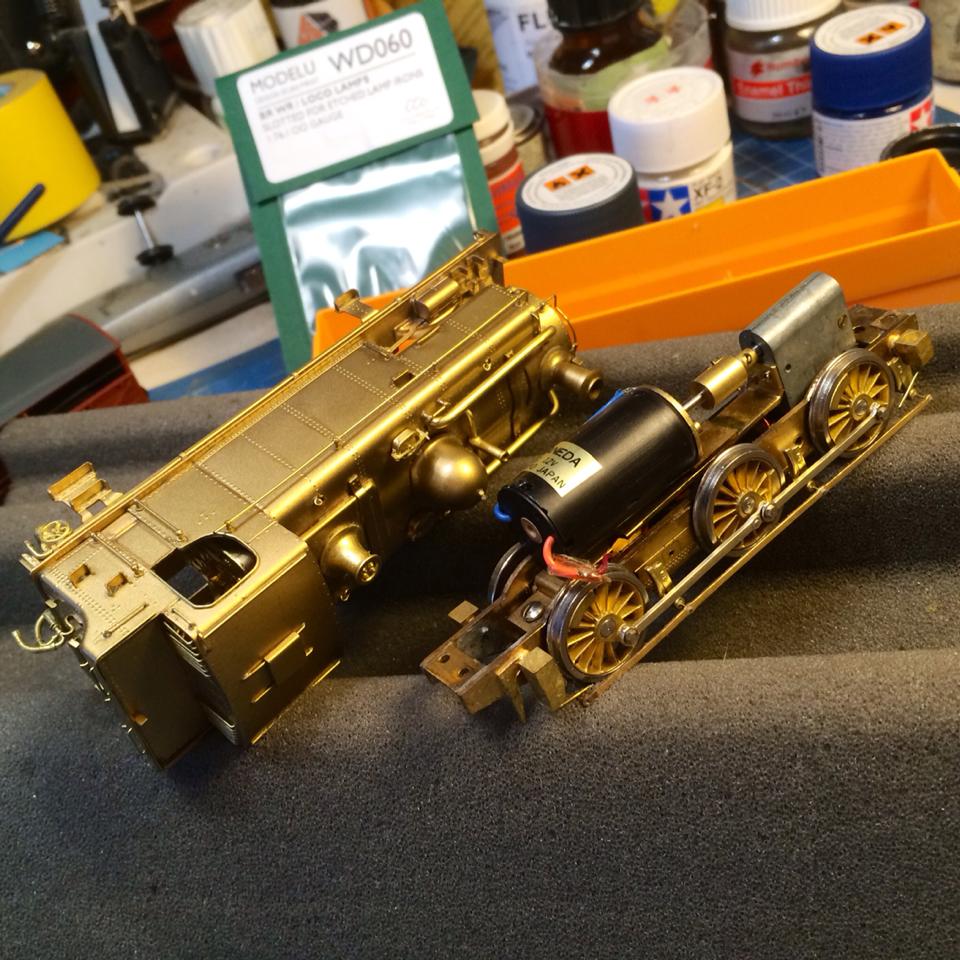
The Hornby wheelsets can then be removed, my chassis’ had square phosphor bronze type axle bearings, you’ll note the Ultrascale set axlebearings are turned brass. If you ever wondered what the difference was between EM/P4 and OO the gauge difference can be seen easily in the above image. There is fortuitously space between the external frames for the replacement wheels to drop in with no remedial work required.

Hornby 08 R3261 R3342 R3343 R3484 R3485 R2933
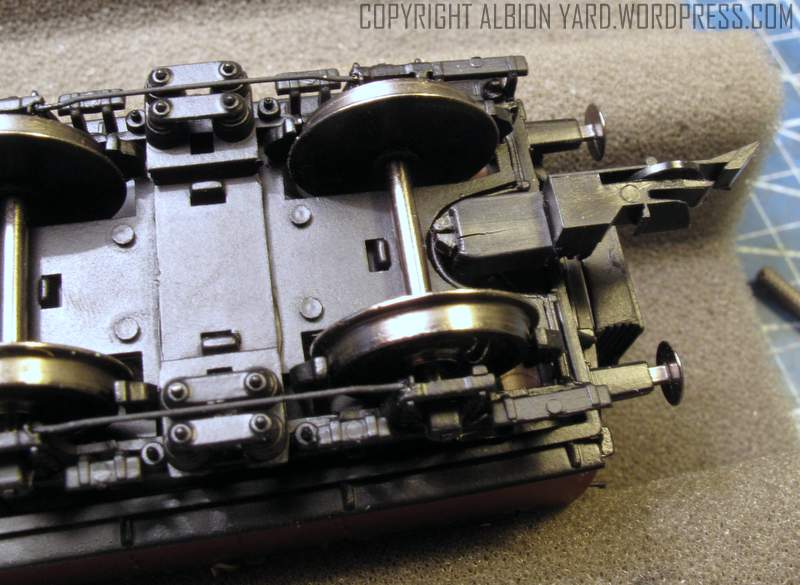
The wheelsets are supplied set up and quartered, the bearings have a lip on them which needs easing into the slot on the Hornby chassis where the original sets were located. Make sure this slot is clear from debris and gently press the wheelset into place. At this point I reassemble the chassis apart from the brakegear and turn my attention to the coupling rods. Prior to fitting them, run the chassis with no rods to make sure the gears are meshed properly and the wheels turn without any significant restriction. You will need to adjust the pick ups so they bear gently but positively on the rear of the wheel tread, this will give a slight resistance to the free wheeling, but not enough to stop them or make them run unevenly.

Hornby 08 R3261 R3342 R3343 R3484 R3485 R2933
The original rods can be used again as I have done, and this is the fastest conversion. The Ultrascale crankpins are slightly larger diameter than the original Hornby crankpins so the holes in the coupling rods will need opening out. I use an engineers cutting broach for this, theres a link at the bottom of the article to a supplier. This is the best tool for the job to gently open out the crankpin hole, working from both sides you can cut away tiny amounts until you have a comfortable fit. It needs to be a very close fit but still revolve around the crankpin with no resistance at all. You could also use a fine rat tailed file or try drilling it but I really, really wouldn’t suggest it. It will be far too easy to take too much metal away leaving poor running or to damage the rods irreparably. The Hornby rods don’t need any thinning either so it really is a straightforward replacement. Once the rods are on, test run the chassis to ensure there’s no binding before adding the tiniest dab of superglue on the end of the thread of the crankpin. Capillary action take this into the lead thread and helps lock the nut in place.

Hornby 08 R3261 R3342 R3343 R3484 R3485 R2933
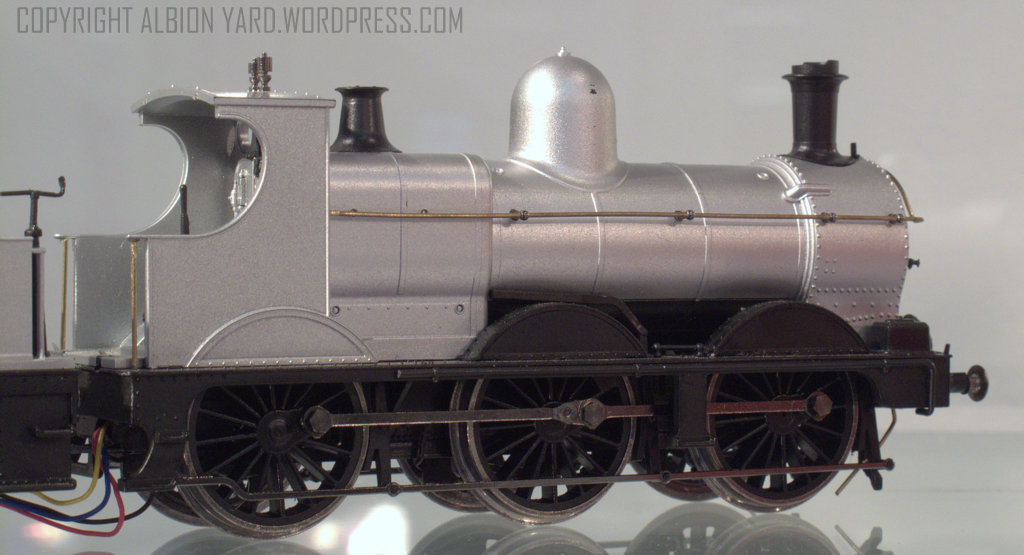
Next steps are finishing, I paint the wheels using Humbrol or Revel enamels, and fit the brake gear back in place. I run the locomotive for a while to be happy everything is bedded or ‘run in’ well before filing away the ends of the threads protruding from the crankpin nut. If you want to use the Brassmasters etched rods for this conversion, I wrote up a Bachmann 08 conversion here /trinity-08-brassmaster Apart from the soldered rod construction the conversion would be almost identical. So then, that’s an evenings work to get an EM 08. No where near as daunting as some conversions can be, and a real booster for your confidence if its the first one you’ve done. The same principal can be used for a number of their conversion kits for simple steam locomotives, such as Panniers or Jinties, so, have a go!

Hornby 08 R3261 R3342 R3343 R3484 R3485 R2933
Here is one supplier of Engineering Cutting broaches, hobbyholidays.co.uk at the better exhibitions you will find either Phil with Hobby holidays, or other similar suppliers for this sort of tooling. Its worth getting good quality,when you buy too, good equipment will last a lifetime, and good suppliers like Phil above, will have a range to suit your budget. Tell him I sent ya ….


You must be logged in to post a comment.