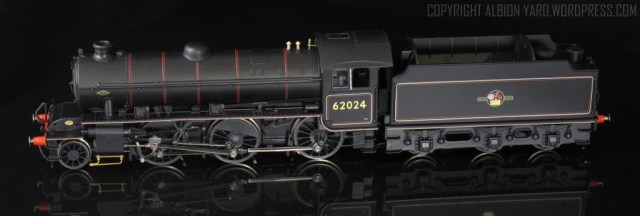
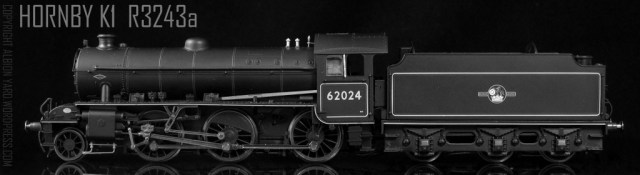
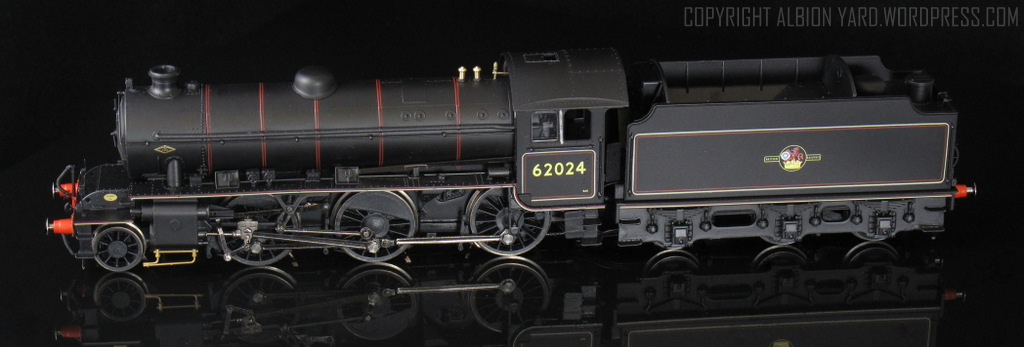
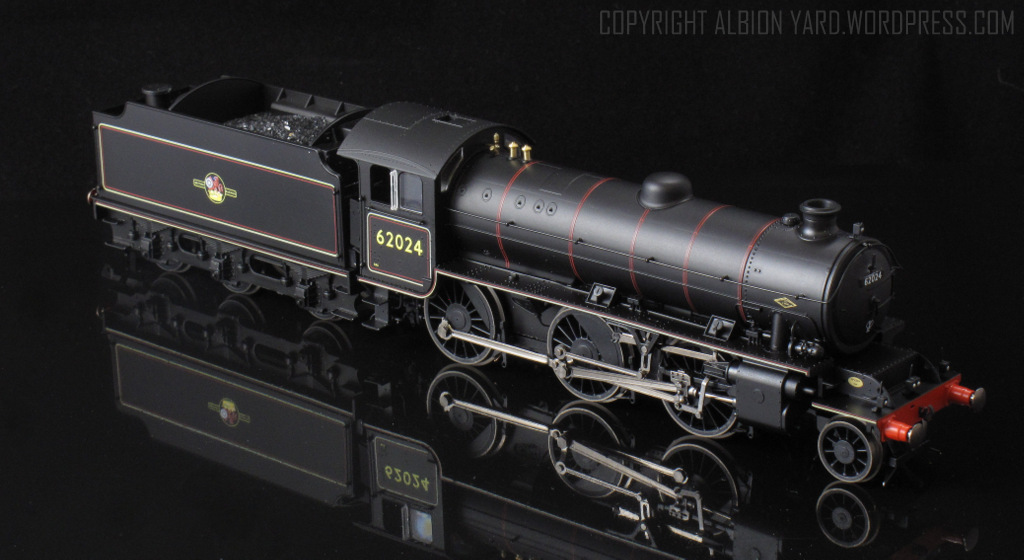
Hornby R3243 K1. Note corrected tender frames.
I’ve remarked before on this blog and in conversations that over the past ten years or so, most of my ready to run purchases have gone to Bachmann. That has primarily been because hornby (and others), haven’t been making the prototypes that interest me. Whilst not a collector as such, I do make discretionary purchases if there’s a model which capture my interest or imagination which aren’t biased towards the Forest of Dean. It therefore came as a pleasant surprise to be sent a K1 for review on the blog from Hornby.

Hornby K1 R3243
The prototype is one of interest to me, the first piece I had published in Railway Modeller was an article on making a set of buildings for a Northumbrian Borders branchline. This set of buildings being inspired by the Northumbrian upland landscape, Ian Futers many articles and my late father in law. Having been in the hobby for a good few years,( I didn’t take a ‘twenties sabattical’), I’m firmly of the belief we’ve never had it so good as far as being able to purchase reasonable ready to run equipment. I’m fortunate that my primary interests are well covered in terms of locomotive power, and the Hornby K1 falls firmly in that area. It ties in too with other releases from Hornby that suit the North Eastern area, the Thompson suburban coaches https://albionyard.train-now-arriving/ and the recently released 21t hoppers.
Hornby K1 R3243
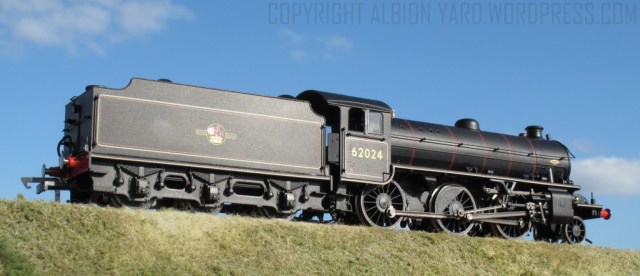
Modelling Northumbrian coalfields has just got a lot easier!
Hornby K1 R3243
R3243 Class K1 Locomotive OO Gauge
Factory Production Data TEC05-P91484 R3243-49-852
The prototype was a successful 2-6-0 mixed traffic locomotive, introduced after nationalisation. The design however had firm roots within the London and North Eastern Railway Company, the family lineage stretching back to Gresley via Thompson. The entire class of seventy locomotives were built in Glasgow by the North British Locomotive Company over ten months between May 1949 and March 1950. The last locomotive was withdrawn in 1967 from Blyth shed in Northumbria where a good number of the class had well and truly earned their keep.
In terms of the prototype the model has visually captured the essence of the original locomotive exceedingly well. The packaging is the now industry standard vacuum moulded plastic carrier tray with an external sleeve. This is held inside a strong card carton which includes a simple instruction sheet. None of my recent arrivals have suffered any damage in shipping so this methodology is effective. On removal from the carton the overall finish and construction of the locomotive is impressive, for me reminiscent of the arrival of Hornbys Southern M7 tank locomotive, and certainly a big improvement in quality over the Hornby 42xx and 52xx tank locomotives also currently in my workshop for modifications. Inside the packaging a detailing kit is included with locomotive and tender and brake pull rods, steps and cylinder draincock pipes. Often I can see something on a model that to me needs changing or refining to either personalise it, or improve it subtly or on occasion, dramatically. With the K1, there’s no such cry to arms. I have two examples of the same model so one is up for a renumber/weathering and there’s the task of converting one to DCC sound to seeing what’s available and the ease of conversion. The first thing I do once having checked visually that the model is complete and not damaged is to briefly test run it. Both models ran exceptionally well, very quietly with no hesitation at any point or speed. All wheels run true and all pickups are in contact with the wheel surfaces at all times.
Hornby K1 R3243
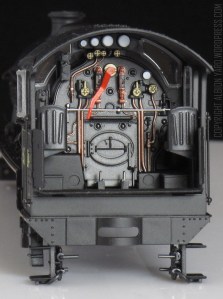
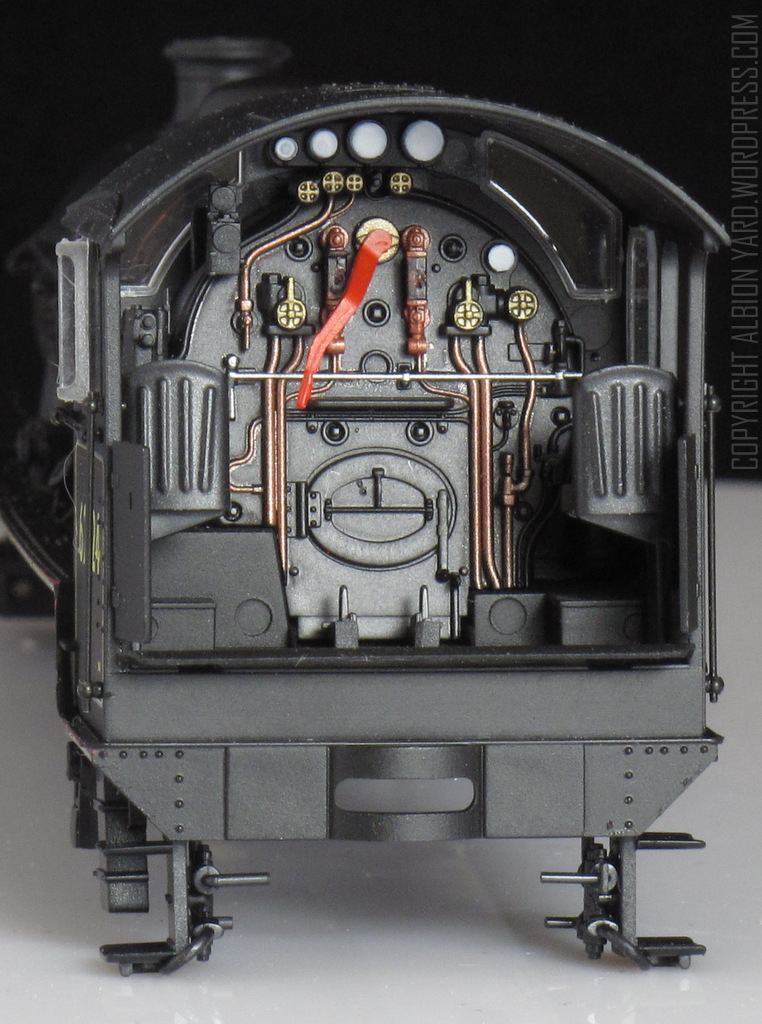
The locomotive body is crisply moulded with very few mould joint lines visible. There is a parallel pair running along the length of the boiler top, but you need very strong lighting to pick that up. The separate components are all fitted well the only issue on mine is on the front smokebox lamp bracket, there’s a slight white marking similar to the blooming you get on paint from superglues. This will be hidden under a coat of weathering, and it’s not particularly noticeable except in direct strong light. The paint finish is a good opaque satin black and the lining and lettering well printed. One of the K1’s has a small hair trapped in the paint on the smokebox, like the blooming above its an easy fix. Cab detail is well picked out and tidily painted the level of detail being appropriate for the amount you can see through cab windows and openings. The lining on the model is very good with no wobbles or misalignments anywhere.
Hornby K1 R3243
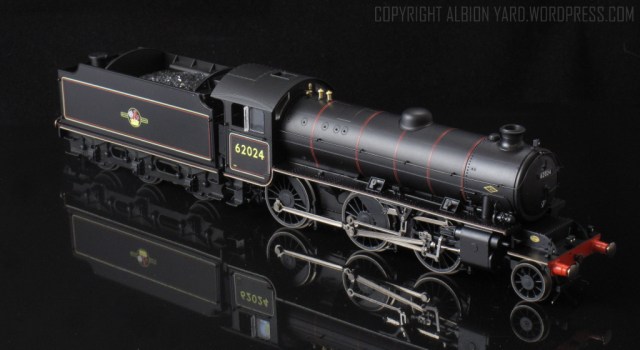
Lettering is again to this high standard the characteristic diamond smokebox North British works plate, is clearly visible. The only minor comment I have is that the cabside lettering appears a bit too yellow, the Hornby color being more lemon shaded than the creamy yellow most images show for the era. Cab glazing is good with little evidence of refraction around the edges of the windows, and acceptable clarity through them.
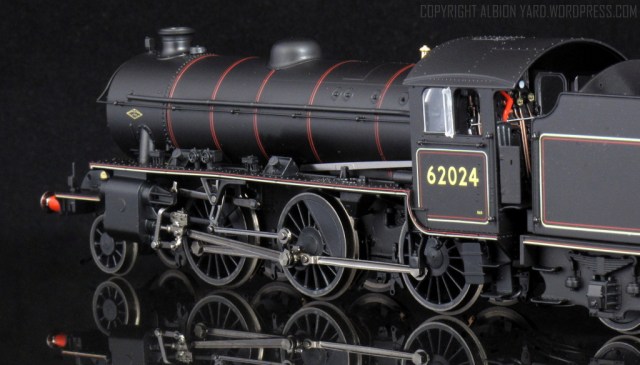
There have been a few comments on line and from a couple of fellow modellers that the running plate of the K1 is bowed above the motion bracket. It is a fault that is extant, but not on all models. One of mine has a slight bow, the other has none, so it’s likely to be either an assembly problem or a batch with a fault in the components. Removal of the body returns the running plate to a flat alignment, so I think a bit of fine tuning, perhaps a strip down and reassembly will resolve it I’m certainly going to take the strip down route and will write that up here.
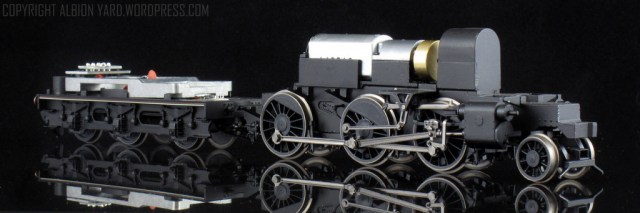
Hornby K1 R3243a Chassis
It’s a difficult call to make sometimes when a fault like this is apparent. Firstly there’s no question it shouldn’t be there. Technically it is a faulty product, and consumer protection rights in the UK direct you back to the retailer/vendor for resolution if you are so minded. However like a good number of my friends I will tend to take a pragmatic approach, firstly thinking can I live with it, if not can I fix it?, and how easy is it to fix? This issue appears to be fixable, and there’s value I feel, in the extended review to try and do that, and I’m a modeller, it’s what I do. So long as at the end I haven’t got a little pile of screws, nuts and wires left over, I’ll be happy. The valve gear and connecting rods are well proportioned bearing in mind the model requires a degree of robustness to allow it to be handled normally and the running qualities of both my examples are excellent, virtually silent and smooth with no evidence of cogging or quartering issues even at very slow speeds. Pickup is from both locomotive and tender, you do need both connected, this also ensure electrical continuity across dead frog turnouts greatly reducing the chances of the engine stalling. The driving wheels are well represented, the prototype having quite a large boss at the axle end. The pony truck wheels too look good, for me they’ll be replaced if possible with Alan Gibson when time permits. Wheel tyres are a dull steel colour matching the spokes and hubs well giving a subdued and ex works type of appearance. No traction tyres are fitted and the performance of the model is perfectly acceptable without them. The motor and gear train are all enclosed and helping the running is a brass flywheel.

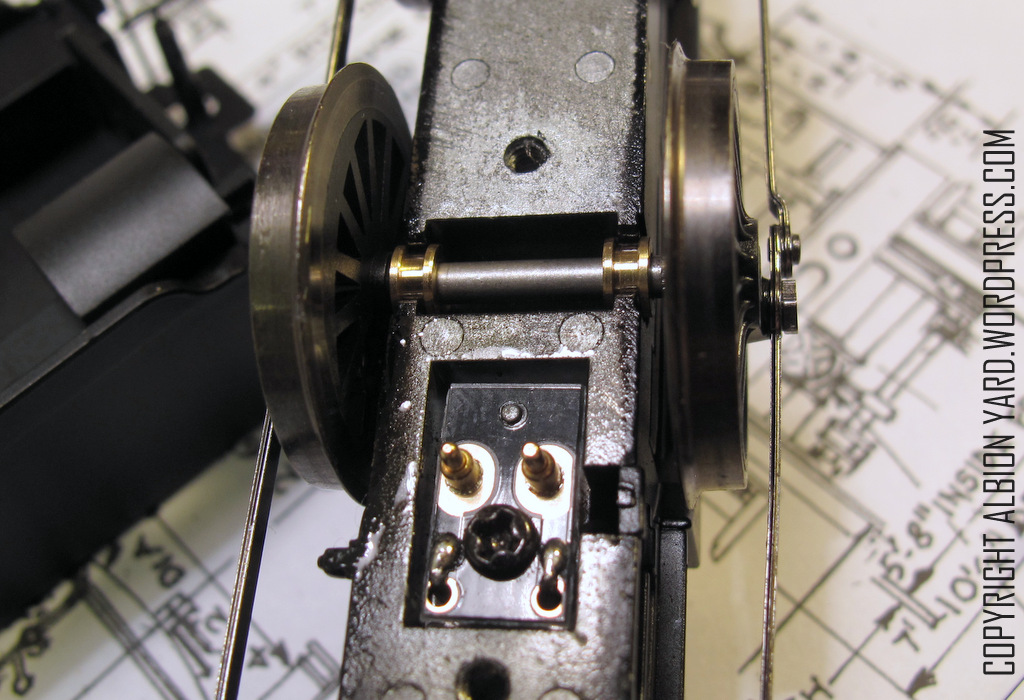
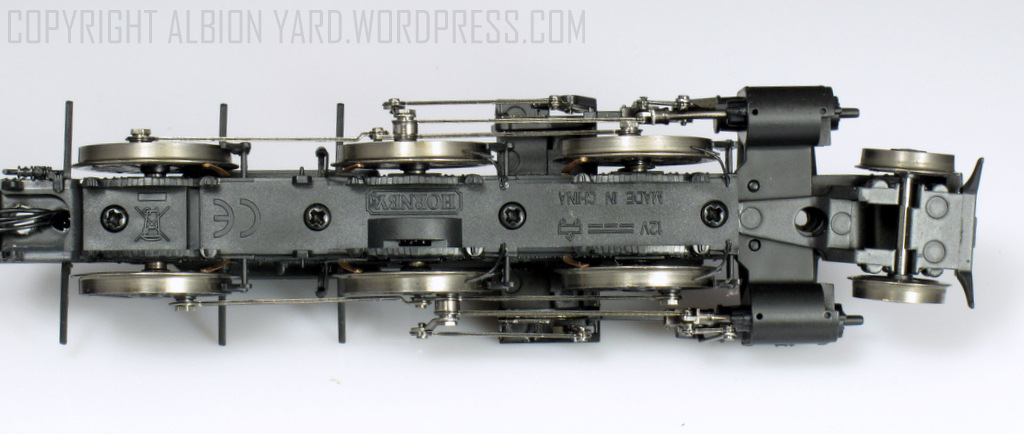
Hornby K1 R3243a Chassis Underside
There is little lateral sideplay on the leading driving axle ensuring plenty of cross head clearance. Centre and rear driving axle have more side play, (but not excessive), to allow negotiating second radius curves with the final drive to the centre axle. On body removal there was a small amount of lubricating oil that was evident around the flywheel, this was absorbed using a kitchen towel and there has been no further occurrence. The driving axles sit in brass bearings which is a very pleasing development and significant improvement from the square chassis bearings of the 42xx family. The pony truck has a single pivot with cut aways at the rear of the cylinders to allow operation through tight radius curves. Having fitted brake pull rods, cylinder draincock pipes and the front steps, I’m pleased to report there’s no issues with the truck fouling the cylinders or steps on 30 inch radius curves, (the minimum I use). I’ve already made one modification to the K1 tender which I’ll come to later, but to work on the tender I disconnected the locomotive. Whilst apart I took the opportunity to weigh the engine separately, which stands at 255g. Running the models on an oval of track, they sure footedly handle six Bachmann BR Mk1 coaches with no problems.
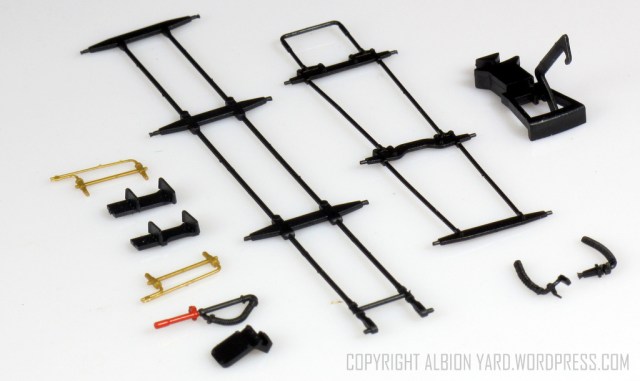
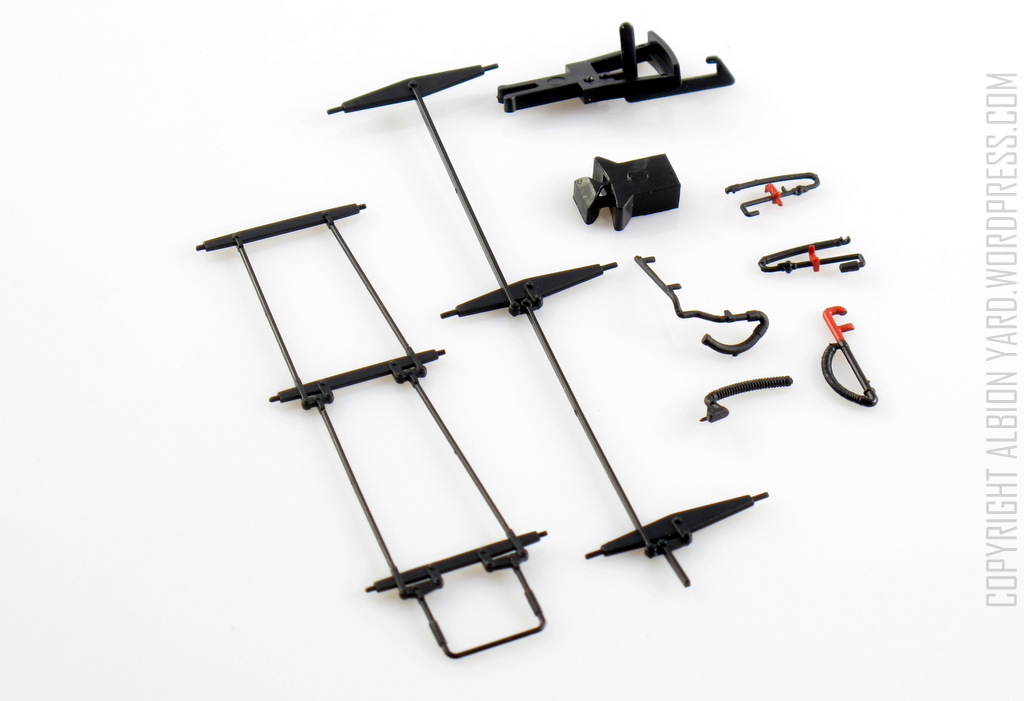
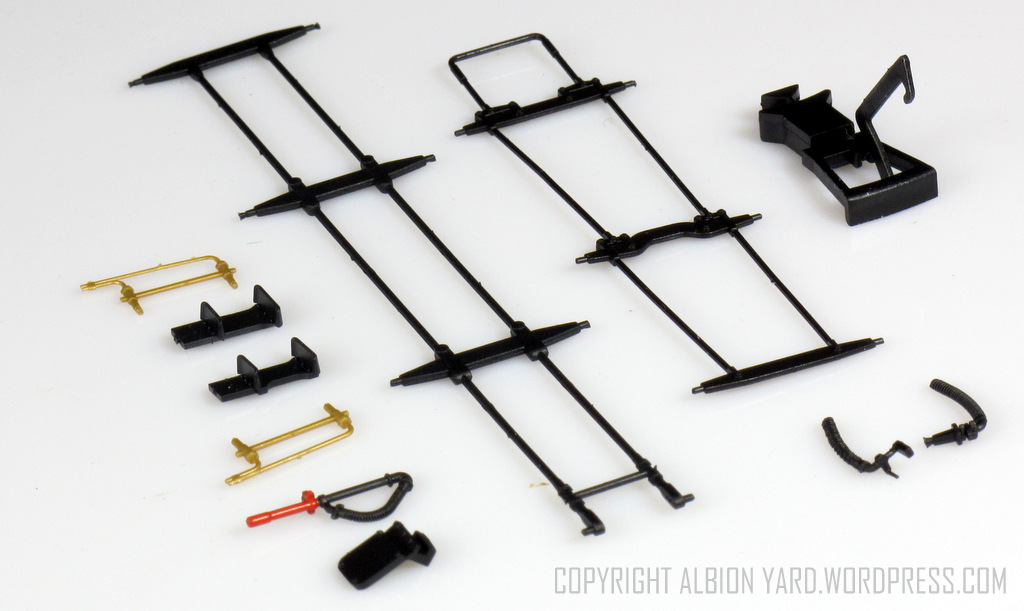
Hornby K1 Detail Pack
Having fitted the detail components, the brake rigging and the cylinder drain pipes there is a small problem with the packaging. Neither the locomotive or tender will sit correctly in the vacuum plastic carrier tray. It is an easy fix to remove either the components or cut away a small section of the carrier tray to allow the locomotive and tender to sit correctly. This isn’t unique to Hornby, having had a similar problem with a Heljan class 15. I opted for the carrier tray modification a couple of minutes with a craft knife and job done!
The locomotive and tender are semi permanently coupled. There are pickups within the tender chassis the electrical connection being via a discreet wiring loom between loco and tender. A nice touch is that Hornby have designed a coupling that allows you to close couple the locomotive and tender with a simple screw adjustment. On the close coupling setting my examples work fine through Peco Streamline medium radius turnouts.
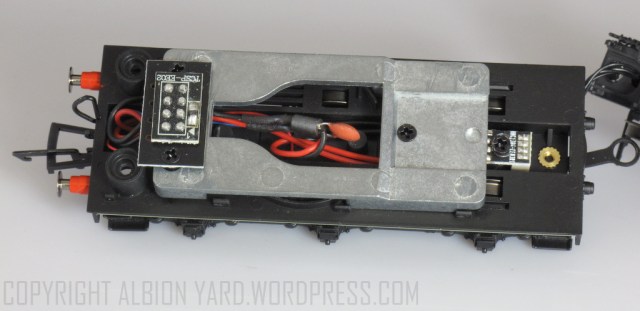
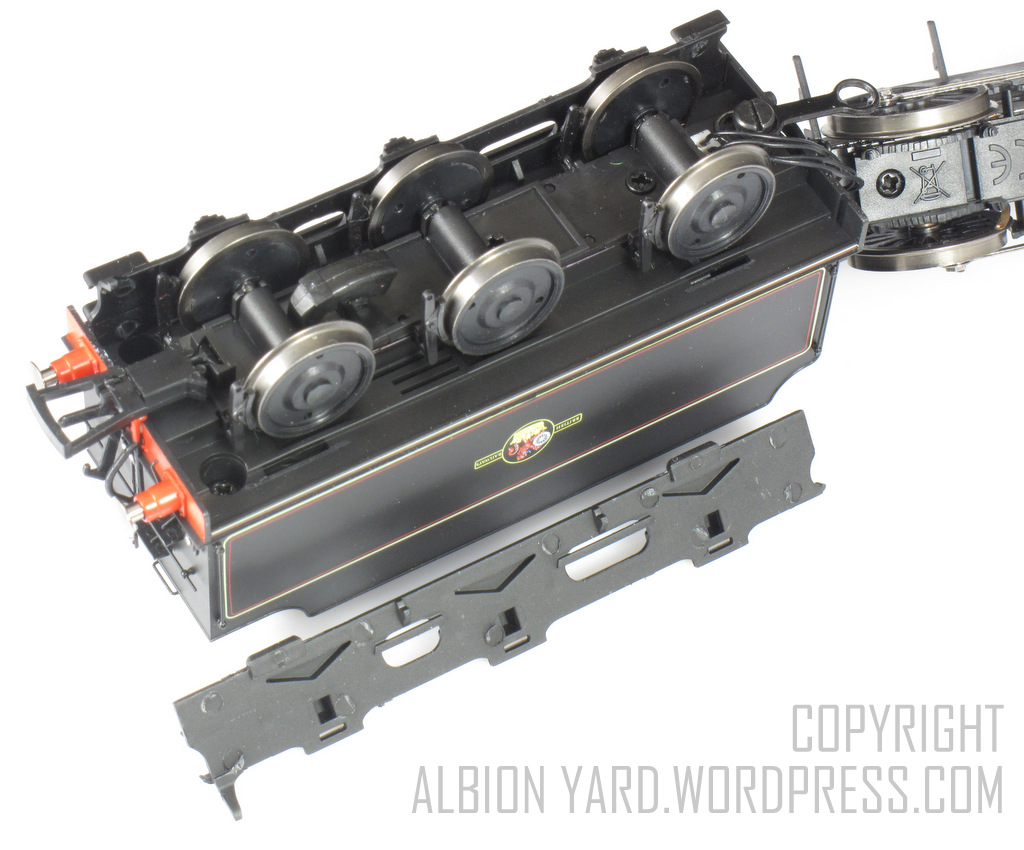
R3243 K1 Tender Chassis from above.
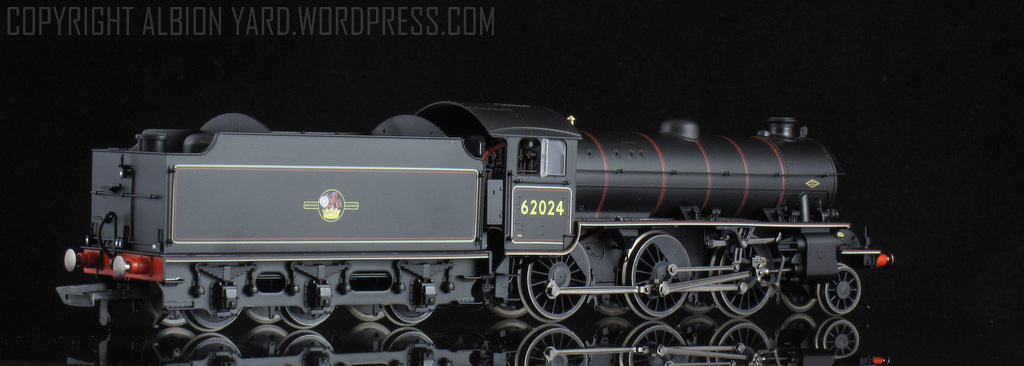
The tender body is a simple three screw removal which allows access to the 8 pin DCC blanking plate on this DCC ready model. There appears to be plenty of space for a decoder, and a speaker for sound. The chassis has slots in the base of it which should allow the sound to travel. The tender is a ‘standard’ 4200 gallon LNER design. Despite being standard, the design had quite a few subtle variations across different locomotives. All the contemporary service images I’ve found so far of the K1 show a different design of tender side frames. Those supplied are typical of the type associated with the LNER B1 with curved profiles at each end of the frame.

R3243A Tender frame removed. Note acoustic slots in tender underframe.
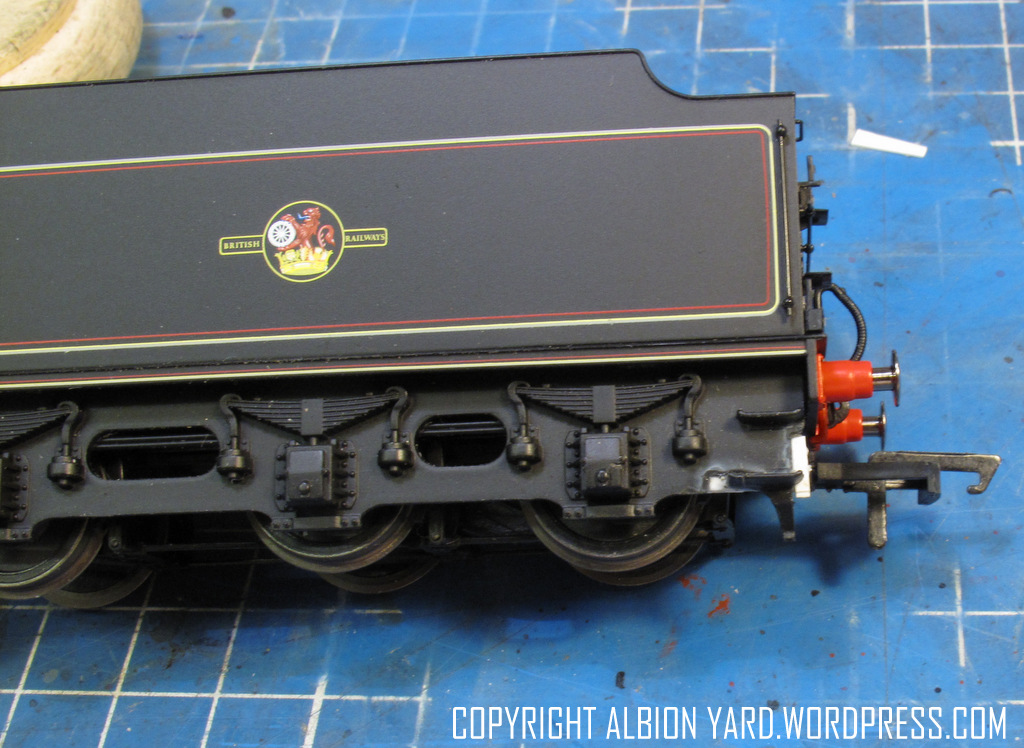
The K1 tenders had vertical ends to the side frames with shorter lower steps. This is quite an easy modification to do involving cutting off the lower steps, shortening them, and then replacing them with the curved ends filled and re-profiled. However, a note of caution. Doing this modification will almost certainly invalidate any warranty on the tender components, and possibly the model as a whole.

Revised rear tender frame. Lower step shortened and re-positioned. Frames ready for reprofiling.
Boring bit over, the tender side frames are glued to the chassis, on mine, with very little glue. Gently flexing the side frames separates the frame from the chassis. Before doing this conversion have a good look at both side frames to make sure that they can both be removed easily. I repainted mine with Halfords Matt black and refixed them with PVA glue, This sets solid, but the seal can be broken if you ever need to remove them again.

Tender frames re-profiled, steps modified and ready for paint.
It does make a significant visual difference and is one of those jobs worth doing. A big improvement for little effort.
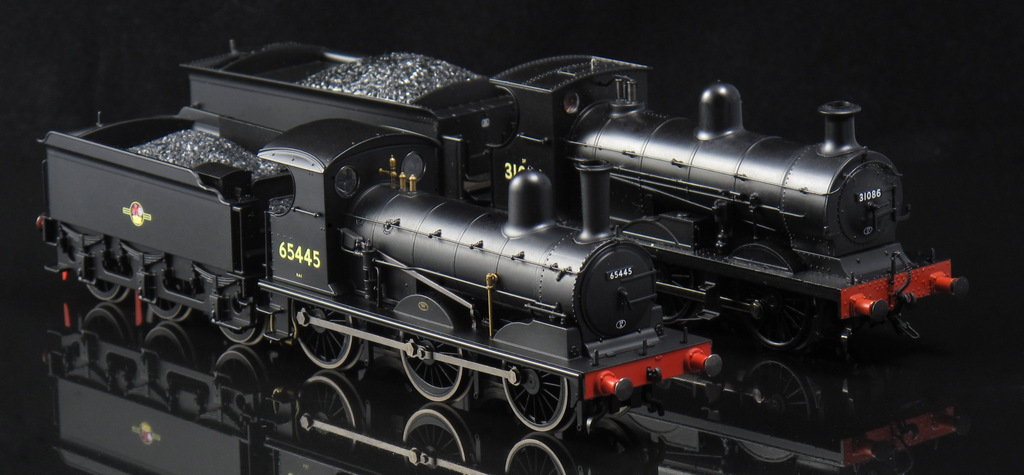
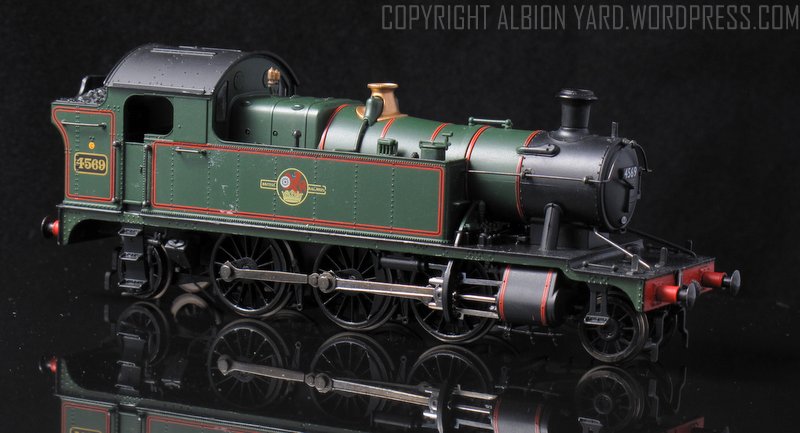
Overall then a very interesting return to form for Hornby. It’s a very interesting contrast looking at the recent 42xx and comparing this K1, (and the J15) with that model. Historically the company built a large part of its reputation with toy train sets, and is sometimes unfairly looked down on for that. I’ve compared in this initial review the K1 to the 42xx, that being a product from the design clever era of a few years ago. This K1 shows a marked upgrade in quality and at what is a very reasonable price (£130 at time of review). A good friend of mine says that the UK modeller often buys by weight rather than quality, preferring to buy two or three locomotives for the price of one. I tend to look at what it would cost to make a similar quality model from component prices of an equivalent kit. The Dave Bradwell kit for the K1 (which is excellent/museum quality)retails at £175 before adding wheels motor and gearbox. The next step for me with the two locomotives is to fit DCC sound in one of them, convert the second tender frame set and have a go at renumbering them to Alnwick line locomotives and weather them. I’ll report on those in due course.
Hornby K1 R3243a
Simply put this K1 is exceptional value for money, and overall very good quality, if this is the way toy train sets are going, sign me up now! There are minor issues with it, thus allowing a reader/purchaser or uninterested observer to go ‘postal’ on an interweb near you. Don’t do it, put the keyboard down, step away from the computer…
http://www.hornby.com/uk-en/br-2-6-0-k1-class-late-br-r3243a.html
http://www.hornby.servicesheet


You must be logged in to post a comment.