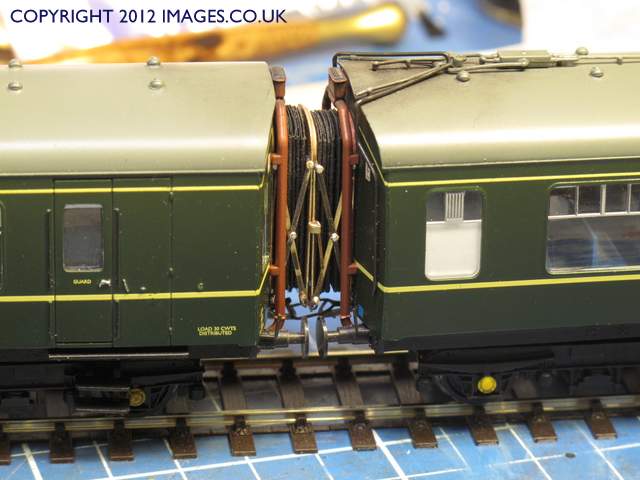
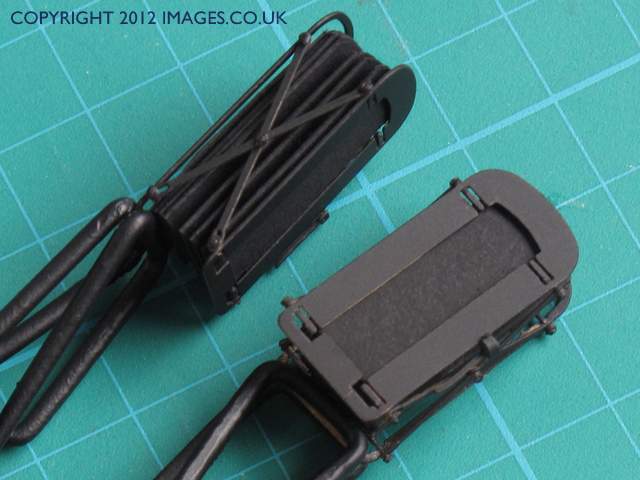
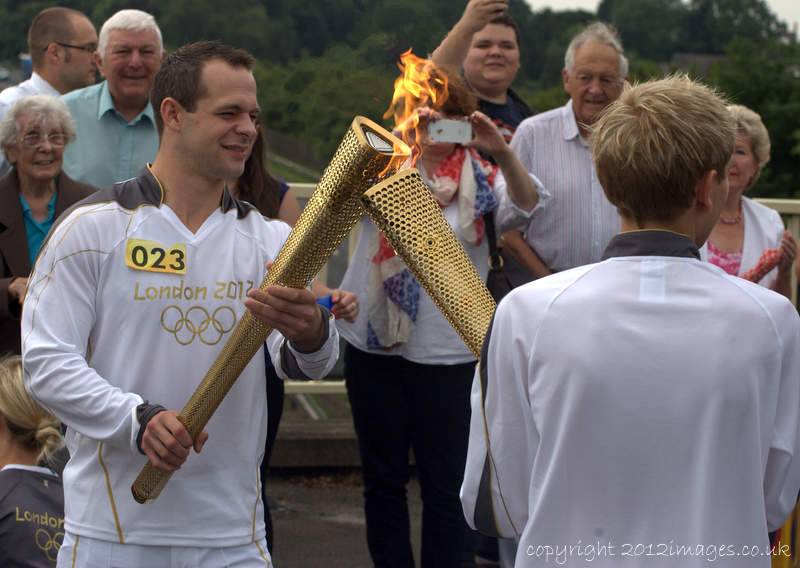
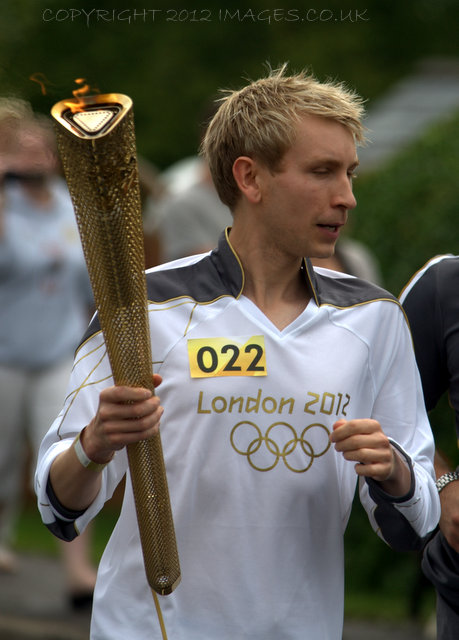
Railex Thank You

Just a quick line to say thank you to those that dropped by and said hello, and passed comments about the layout to myself and my team over the weekend. Al, Ian, Pete and myself enjoyed the show, the company and the hospitality and geniality of the organisers and public. I’ll add more in the next day or two, todays been a bit of a ‘loud’ one at work, resulting in lots of exciting paperwork to fill in, and nice ladies from the ministry to talk to, so I’m going to go and play trains and relaaaaaax.

Thank you again!

Posted in 3f, Airfix, Bachmann, Branch Line, brassmasters, British Rail, Canon G10, Chris Nevard, decals, Eastern Region, Exhibition, Forest of Dean, Great Western, hobbies, Hornby, Kalmbach, Layout, LMS, LNER, Midland Region, Model Railroad, Model Railway, Modelling, OO Gauge, Photography, Railex, Scottish Region, Southern Region, Uncategorized, Welsh Marches, Western Region | Tagged , , , , , , , , , , , , | 2 Comments

Heavyweights creep in …

In reality, highly unlikely, but I like it. It also takes the layout back to its roots as an occaisional photo set.

Posted in Airfix, Bachmann, Branch Line, British Rail, canon, Canon G10, Chris Nevard, Eastern Region, Exhibition, Forest of Dean, Great Western, hobbies, Hornby, Kalmbach, Layout, library, life, LMS, LNER, Midland Region, Model Railroad, Model Railway, Model Railway Journal, Modelling, OO Gauge, Photography, Railex, research, Scottish Region, Southern Region, Wales, Western Region | Tagged , , , , , , , , , , , , , , | 2 Comments

FCUK (16 Tons of French Connection in the Forest)

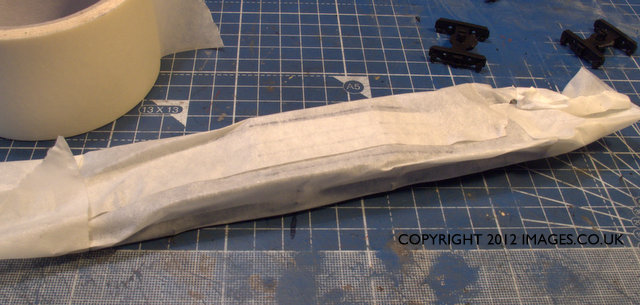
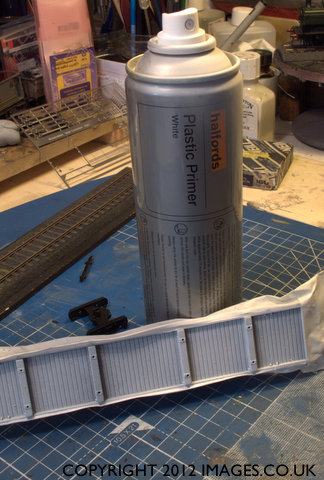
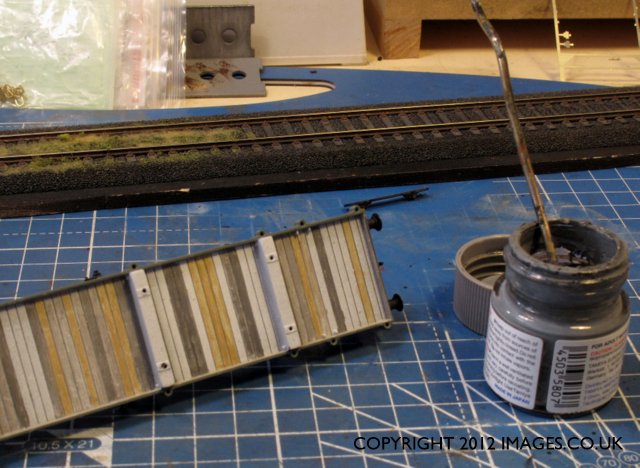
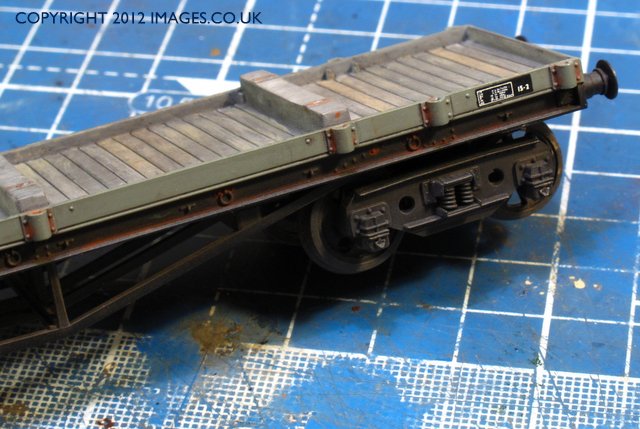
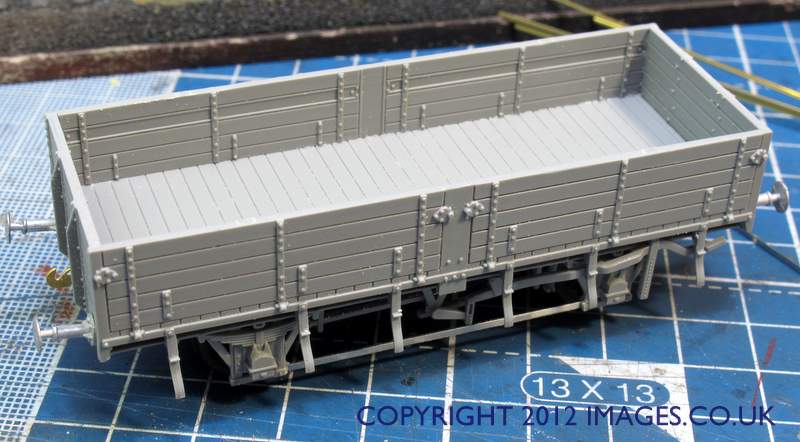
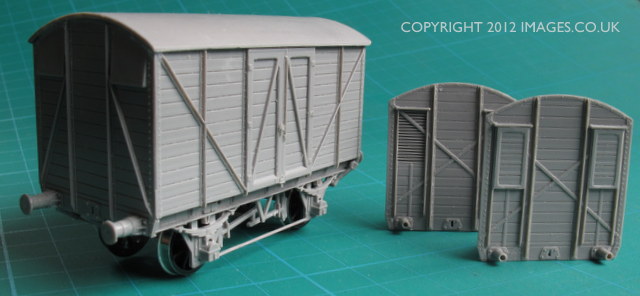
One of the noticeable things in Forest of Dean images is the variety of apparently similar mineral wagons. I have a good few of the Bachmann varieties which have taken precedence gradually over the Airfix mineral wagon kit of the past. Spread amongst these are a few non standard types, one of which you can see as work in progress above.
So, why ‘French?’ A very simplified history is that these types were imported from France, as well as ‘home built’. The original design being Ministry of War Transport requirement and sent out after D-Day to assist in re-establishing the damaged rail network in Europe. After the war many were repatriated and some were built specifically for domestic use. This wagon will be completed for Railex as I want to be able to have a suitable mix of types available to make visually interesting trains without resorting to a cliche. There’s a bit more work to be done on the underframe yet and decals will come from Cambridge Custom Transfers. The finished wagon project is destined for a book which I’m working on with a good friend, more of that in the future.

I try to keep reasonably close to the prototype mix so based on photos the majority are ‘Standard’ Dia 108 or derivatives with a mix of BR grey and faded PO wagon liveries, MOT slope sided minerals and the ‘suicide’ door wagon above. I’m not sure how widespread the nickname was, I’ve heard it used a few times, but the logic is un-escapable. The only doors on this wagon are the cupboard side doors. Who’d want to be standing in front opening them if the wagon were full of coal?

If my past is anything to go by, that’d be the apprentices job …

For ‘wagony’ stuff theres some useful protoype and modelling information at

http://paulbartlett.zenfolio.com/brsncfmineral
http://www.cctrans.freeserve.co.uk/
http://www.railex.org.uk/

Posted in Airfix, Bachmann, book, Branch Line, British Rail, Canon G10, Chris Nevard, decals, Eastern Region, Exhibition, Forest of Dean, Great Western, hobbies, Hornby, Kalmbach, Layout, LMS, Midland Region, Model Railroad, Model Railway, Model Railway Journal, Narrow Gauge, Nevard, OO Gauge, Railex, research, Scottish Region, Southern Region, Uncategorized, Wales, waterslide, Welsh Marches, Western Region | Tagged , , , , , , , , , , | Leave a comment

Railex Preparations Vol III

First Test Train

Today the layout was put up for the first time in six months, and I’m pleased to report that apart from dirty track, there have been no problems with the layouts running. A few people have asked what is the track plan? Well as a picture speaks a thousand words, here it is in the assembly stage.

Track layout looking from fiddle yard.

This plan is based on Iain Rices ‘Cornfield Street’ with one or two changes by myself. The scenic break between the fiddle yard and main board is at the foot of the image. When set up this is marked by a line of structures that act as a view block. The backscene wraps around the right hand side of the layout as you look at this shot, and the ‘bare’ boards still allow me to mess around moving buildings. Other tasks worked on today were more trees being completed, and just sitting back and playing trains for once! In the previous post I mentioned I’d add details on the fire irons on the locomotives, well I’ve added them to the 15 minute heroes page as well as here. Many prototype images show a set of Fire Iron tools in the tender, on the rear tool brackets as per the Pannier illustrated, or lying along the top of water tanks on locomotives like the 45/55XX or 41/51/61xx Praries.


This is the raw etch, tools are well defined and they are well positioned in the fret to cut out.

Using a very fine wet and dry paper I gently rub both sides of the etch in preparation for the next bit which will save some offort when painting.

The etch is dipped into a blackening solution for a few seconds, I probably leave it in for ten or so and having rubbed them with wet and dry previously, there is plenty for the ‘black’ to get hold of. You can actually see it change color as the process occurs.

The blackening process can be stopped by immersing the etch in water. WHen its dry the etch will be a black colour and there is a matt residue left on the surface. This will come off with a wipe of tissue.

The tools can then be cut from the etch, I use a pair of sharpened nail scissors for this job. In real life the tools got pretty knocked about and didn’t stay nice and straight for long, so all of mine show a bit of lifes journey in their shape. You don’t need to put all the tools on, its often that you’ll find a picture with just one or two of items on board an engine, there are plenty of reference pictures in books which show variations you can model. You can use the same technique when replacing lamp irons too, and 247 as well as others do different types which you can fit.

247 Developments Fire Irons

http://247developments.co.uk/

Posted in 3f, Airfix, Bachmann, Branch Line, brassmasters, Canon G10, Chris Nevard, Eastern Region, Exhibition, Forest of Dean, Great Western, hobbies, Hornby, Kalmbach, Layout, life, LMS, LNER, Midland Region, Model Railroad, Model Railway Journal, Modelling, OO Gauge, Scottish Region, Southern Region, Uncategorized, Wales, Welsh Marches, Western Region | Tagged , , , , , , , , , , , | 7 Comments

All the same, but different …

All the same, but different …

One of the key features in setting a scene for a model railway is in choosing what stock and locomotives you run. Do this right and you can enhance the overall appearance of your train set. When Albion Yard was more generic in its era and location, I ran items, more specifically locomotives, that would have been unlikely to be seen together. I didn’t have really unusual mixes, but a pannier followed by a standard class 4 2-6-0 and then a class 17 in retrospect didn’t feel right. They didn’t appear on the layout at the same time, but on following trains as the layout is operated on the ‘one engine in steam’ principal. Something was bugging me that something wasn’t right hence the stagnation alluded to in the first post of the blog. https://albionyard.wordpress.com/2010/06/02/hello-world/

Coming to the realisation that the layout needed a focus the Forest of Dean location was chosen, see post link below and this  has lead to a tightening up of what I run on the layout. I still use it as a test track occaisionally but the real use is now just BR/WR types and traffic. https://albionyard.wordpress.com/2011/06/13/albion-yard-cinderford-glos/


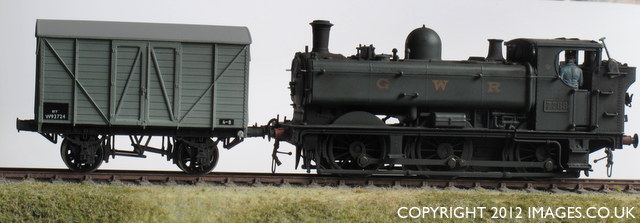
So there’s been considerably less of the above movements, for example its known that the 350HP 08 variants were tried in the Forest of Dean but for various reasons weren’t considered a success, possibly a lack of speed contributing to it, and Class 14’s were used before their withdrawl as the Forest Railways succumbed to closure. There is one Class 14 in the fleet together with a low tank small prarie, and they will appear in the operating sequence. Heres the fleet including the ‘first reserve’ an Ivatt 2-6-0 which were found in the Gloucester area.

And if you’re wondering the 77XX in GWR livery is appropriate for the Forest of Dean in the 1950’s, it does need some pretty heavy weathering to finish it off though.

So what do I mean by all the same but different?, well the Forest of Dean area was served by a few common locomotive types, and the Pannier was one of them. I’ve used the Bachmann model which is a good starting point, and with a friend am hoping to produce some components for it that will improve it further. For the time being though I’ve rung the changes by changing numbers and adding different detail variations on them, the most noticeable are the cab vent and door modifications. By opening some of them more light gets thrown into the cabs, but it makes the locomotive look different, particularly when you have two of the same cab style and livery next to each other. Study photos carefully too, these will show you operating variations, for example the high cab locomotives often appear running with the rear cab doors open, I’ve yet to find a low cab variant on the open line with the rear cab doors open, so you can make an assumption that there was a good reason for this, perhaps something as simple as it was more draughty than a high cab, allowed them to fill the bunker with more coal, or that coal spillage into the cab was more of an issue with low cab types rather than the high cab Panniers.

Bunker doors open, Archer rivet decals and plasticard door, cab roof vent open, aluminiun sheet roof vent.

Whatever the reason it meant that I have modelled the high cab variants with more doors open than the low cabs reflecting the images taken at the time in the Forest area. Other easy mods for these are replacing the bunker lamp irons with etched sets and adding the fire irons, they make a huge difference too.

Fire and lamp iron replacements

The fire and lamp iron replacements have come from 247 Developments, as have most of the GWR numberplates I’ve used. In the next few days I’ll add a ‘fifteen minute hero’ post on how to use the fire irons.

http://247developments.co.uk/

http://www.railex.org.uk/railex2012v.html

Posted in 3f, Bachmann, Branch Line, Chris Nevard, DCC, dcc sound, decals, Eastern Region, Exhibition, Forest of Dean, Great Western, hobbies, Hornby, Layout, LMS, LNER, Midland Region, Model Railroad, Model Railway, Model Railway Journal, Modelling, OO Gauge, paint, research, Scottish Region, Southern Region, Uncategorized, Wales, waterslide, Welsh Marches, Western Region | Tagged , , , , , , , , , , , | Leave a comment

Railex Preparations Vol II

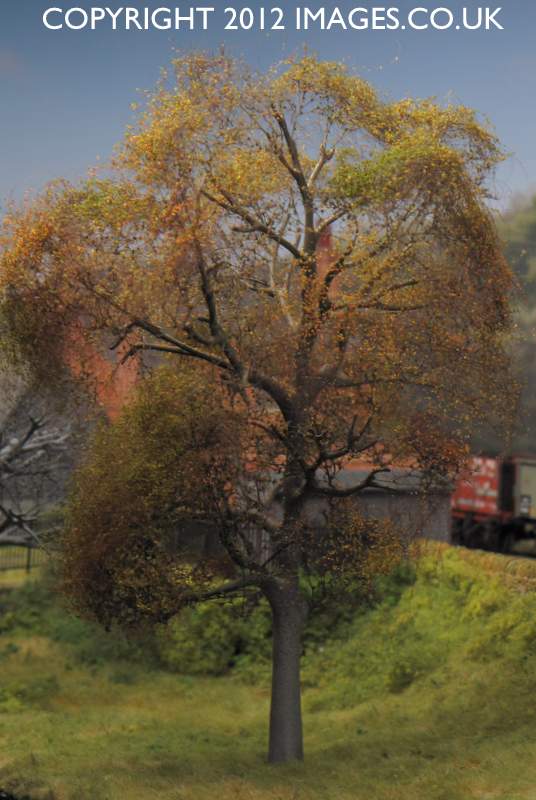
These are the latest scenic items coming off the bench in preparation for Railex. They are a straightforward build of a Howard Scenics ‘house back’ kit, and two trees, one complete with foliage and the other the bare structure awaiting finishing. The trees are an adaption of a technique used by Simon Thompson on his Scaleseven ‘Y-Cae’ and ‘Aberbeeg’ layouts both of which I’ve had the pleasure of operating.

‘Aberbeeg’ S7 by Simon Thompson

I primarily model in 4mm scale, but will always look at other scales and modelling genres for inspiration and ideas that I can use or adapt in my own work, I find it mildly frustrating when I hear a modeller say oh its X or Y, so it’s not of interest. I can understand the prototype not being of interest in era, or protoype for example, but to dismiss modelling like that means the individual my be missing out on seeing or learning a new technique that will work for them, or allow them to adapt it. 7mm isn’t a big interest of mine but missing Simon’s trees would have made making mine much harder, and probably they’d not be as good as they’ve come out either.

‘Aberbeeg’ S7 by Simon Thompson

Another building completed recently is the agricultural merchant for Albion Yard, this will appear in an article for Railway Modeller in due course. The building is unusual for me in that the side you see here faces away from the viewer, so it’s never seen on the layout. Normally I leave the unseen face blank, the house above has no front for example, but this building just seemed to suit being made ‘in the round’, so, that’s what I did.

Abion Yard’s Agricultural Merchant

And to finish a gratuitous shot of a class 37 on Simons ‘Y-Cae’ layout, this is exactly the sort of view that makes me think, I want to make something. Next time you’re at a show, go and have a look at something that doesn’t interest you, you might just be pleasantly surprised.

‘Y-Cae’, S7 by Simon Thompson

http://www.railex.org.uk/

Posted in Airfix, Bachmann, Branch Line, British Rail, Canon G10, Chris Nevard, DCC, dcc sound, Eastern Region, Exhibition, Forest of Dean, Great Western, hobbies, Layout, life, LMS, LNER, Midland Region, Model Railroad, Model Railway Journal, Modelling, Narrow Gauge, OO Gauge, research, Scottish Region, Southern Region, Uncategorized, Wales, Western Region | Tagged , , , , , , , , , , | Leave a comment

Railex Preparations Vol I

Albion Yard

Over the next couple of weeks or so I’ll be burning some midnight oil as Railex at Aylesbury approaches. The layout will be assembelled as its been stored for five months or so and tested. In the intervening period I’ve worked out a new way to do trees, and am seriously considering a revamp of the layouts trees which should make a very big difference to the layouts appearance. One problem with them is the storage and transporting once complete, I’m really glad that the layout isn’t ‘on the circuit’, I’d spend all my time repairing trees. As ever I’ve been looking at the buildings, and there may be a few changes in time for Railex, the layout never standing still in terms of its scenic development. I’m pretty happy with most of the stock and locomotives, and anticipate a further low cab 77XX being added to the roster in time for the show, in an unusual, but prototypical livery. The layout will be DC controlled for Railex, so no sound panniers I’m afraid this timeout.

http://www.railex.org.uk/

Posted in 3f, Airfix, Branch Line, brassmasters, British Rail, Canon G10, Chris Nevard, DCC, dcc sound, Eastern Region, Exhibition, Forest of Dean, Great Western, hobbies, Hornby, Layout, LMS, LNER, Midland Region, Model Railroad, Model Railway, Model Railway Journal, Modelling, Nevard, New Radnor, OO Gauge, research, Scottish Region, Southern Region, Wales, Welsh Marches, Western Region | Tagged , , , , , , , , , , | Leave a comment

Make Your Mark

Hampton Hill Makeover Bachmann OO Signalbox
Catalogue. No. 44-010

Of late there have been many releases of resin cast buildings in both 4mm/OO and 2mm/N gauge scales from both Bachmann and Hornby. As these are mass produced items there is a real chance that you will see the same items on different layouts. I recently had a look at the Bachmann Hampton Hill signal box from their Scalescene range, to see if it were relatively easy to customise them, to give them a more individual appearance. The following technique works as well on the Hornby Skaledale building range.

I obtained two samples of the Hampton Hill signal box 44-010 which unfortunately had been dropped, and the areas at either end of both samples had broken away. As we were doing a test of this technique the damage was not of concern and was actually fortuitous, as it gave me the opportunity to repair them, which was easily done using normal superglue, and once the broken parts had been joined, accelerator applied. This makes the glue cure very, very, quickly, and the repair was almost invisible.

Having made the repair this gave me the confidence that the chimneys of the buildings could be replaced too, so using side cutters the chimney was cut away, the top of the stacks cleaned up with a file and then replacement plastic pots were made, one from scrap tube, and the other from the Wills scenic building accessory pack SS46.

Removal of cast chimney

These give an immediate improvement to the appearance and are well worth doing even if you don’t repaint the buildings. I used Tamiya acrylics for all the paint on these buildings as they are easy to get hold of in many good quality model shops and are easy to use.

Cutting back layers

The first thing to do is repaint the areas where there is a wash applied by the manufacturer to make the base color opaque, as in some areas we’ll be removing the paint to get a weathered effect.

Original and first stage paint

I started with a dark color, Hull Red XF9, and using a sponge applied the paint in a dabbing motion over all the brickwork, you can see the difference this makes in the comparison shot. I also break it up with a lighter color Flat Earth XF52 and leave it to dry out thoroughly. This is important for the next part of the technique to work.

Once the paint has dried I use a very fine wet and dry paper to cut away some of the paint layers, if you vary the pressure you apply, you remove different amounts of paint that gives a random pattern effect. You can accentuate this with the glass fibre brush, which will allow you to get into corners and detail you can’t reach with the paper. You’ll note I’m wearing latex gloves to prevent getting glass fibre splinters which can be very painful, and difficult to remove. Work your way around the whole building and don’t get too fixated in one place, as this helps keep the finish more natural.

Adding paint texture

Once all the faces/walls of the building are done I then pick out individual bricks using a mix of either water color pencils or acrylic paint applied with a very fine brush. There are also air ventilation grills on the building and these are picked out using a thin black or very dark grey wash.

Detail painting

As the building was nearly complete I turned my attention to the cracked are of the base, and decided that by applying some grass I’d hide any remaining visible damage. Using ‘No Nails’ type glue, I cover the area of damage with a thin layer. Then using dyed medical lint I gently cover that area and press the fluffy side of the lint to the glue and leave it to set for a good few hours.

Vegetation detail

Once happy its dried you can then pull away the textile backing and it leaves the grass in place, just requiring a few weeds from scatter material. The work you’ve done should give the model a matt finish, but I usually give a gentle dust over around the base with ground up artists pastels. You can take the process further if you like, on one I cut corrugated iron panels from Wills Scenic sheet SSMP216 to fill the windows, to give a derelict ready for demolition appearance. I was pleased with how these turned out, for a few hours work of an evening, you can change a good basic model into a much more realistic and individual building, that will stand out from the crowd.

Posted in Airfix, Bachmann, Branch Line, British Rail, Chris Nevard, Eastern Region, Exhibition, Great Western, hobbies, Hornby, Kalmbach, Layout, life, LMS, LNER, Midland Region, Model Railroad, Model Railway, Modelling, OO Gauge, paint, research, Scottish Region, Southern Region, Western Region | Tagged , , , , , , , , | 2 Comments

Fifteen Minute Heroes

Masokits Screw Coupling in 4mm Scale

Ever thought I’ve only got fifteen minutes, not enough time to do anything with that, well this new page will hopefully show one or two of my fast jobs that make a difference. They’re not much, but all become a part of the whole project and eat away at those ‘one day’ job lists. This is the first of a few that will appear on the new page, so next time you’re scratching yer bum, see what you could have done instead …

The first quick job that comes to mind is couplings for rolling stock. I use three link couplings on both EM and OO stock, as I can live with ‘the hand of god’ appearing on scene for a few seconds or so.

Screw couplings for me in the past been difficult to find really good reliable and reasonably sized couplings. I do use overscale couplings due to practicality. The best off the shelf couplings were Cambrian, unfortunately no longer available. Then theres the Romford coupling, I have a few of them and they are gradually being replaced as I do any work on an item with them. They are very overscale and often stiff where the wire is wound on the links shaft. This means they hang unprototypically, an actual link is a pretty chunky and weighty item and gravity takes its own course, downwards. The other often used types are etched links. Smiths do a set available built or as a kit. I’ve found these not particularly easy to assemble, and they aren’t particularly robust, and I got fed up with them. If you use heavy trains then again the links can fail due to the small etched link shaft bending and the coupling coming apart.

I’ve now standardised on the Masokits screw coupling. These are the best value and once assembled the most robust, and they come with a nicely illustrated instruction sheet. It does take some soldering, but if you can solder a wire to a DCC chip, these will be well within your ability. So do they pass the fifteen minute test?

The first thing is to drill the holes in the etch 0.5mm to remove any etch cusp. Then use a very fine wet and dry paper on both sides to clean the etch.

Choose if you’re using long or short links. For practicality I use short link at hook and long link to couple. Cut the link from the etch sheet and form around a drill shaft ensuring the link eyelets are parrallel to each other.

Fold the centre link etch with the tommy bar and solder it together.

Get a clean overlength section of 0.5mm brass wire and thread it through one link, the instructions suggest a brass lace pin, but if you can’t get them, do as I do and use wire.

A quick touch of the soldering iron on the outside of the eyelet will make the join between the wire and link. Cut the excess wire off and file flat to link eyelet. Note I’m not tinning any of the components as that will potentially seize solid. Repeat on the opposite side. Then repeat the procedure again for the other link.

Remove the hooks and form them soldering them together. Clean any cusp material off and then attach the links.

To do this twist the hook enough to allow the link loop to fall into the link slot, and twist back closing the slot. That’s it coupling completed, you may not manage fifteen minutes for your first one, but you soon will, I tend to batch build them though, completeing them with a dunk into a chemical blackening solution.

These couplings are good looking, functional, robust and by far the easiest I’ve ever built. Just because they are soldered construction that shouldn’t put you off, and it does result in a coupling that so far in my experience is unbreakable with normal use.

http://www.scalefour.org/masokits/index.html

Not a bad use of fifteen minutes …

Posted in Airfix, Bachmann, Branch Line, brassmasters, British Rail, Chris Nevard, DCC, Eastern Region, Exhibition, Great Western, hobbies, Hornby, Ian Futers, Layout, LMS, LNER, Midland Region, Model Railroad, Model Railway, Model Railway Journal, Modelling, Narrow Gauge, OO Gauge, research, Scottish Region, Southern Region, Western Region | Tagged , , , , , , , , , | 1 Comment

Home Truth …

Posted in Canon G10, Chris Nevard, Exhibition, hobbies, Hornby, humour, Industrial, Layout, library, life, Model Railroad, Model Railway, Modelling, Narrow Gauge, Photography, television, top gear, Uncategorized | Tagged , , , , , , , | Leave a comment