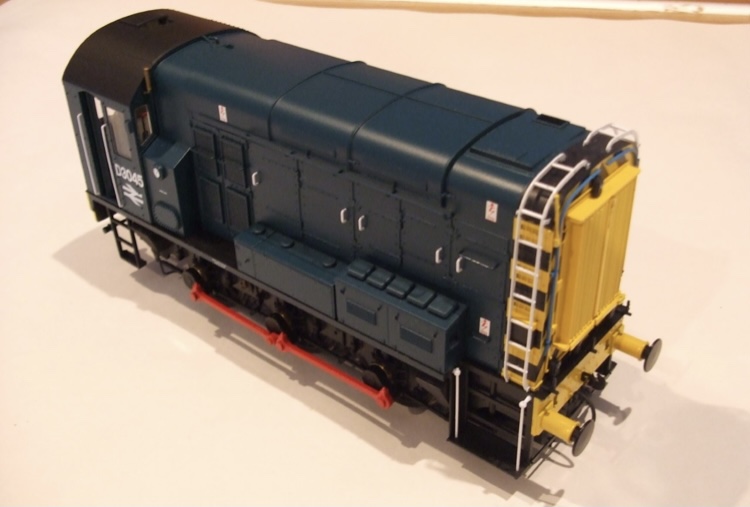
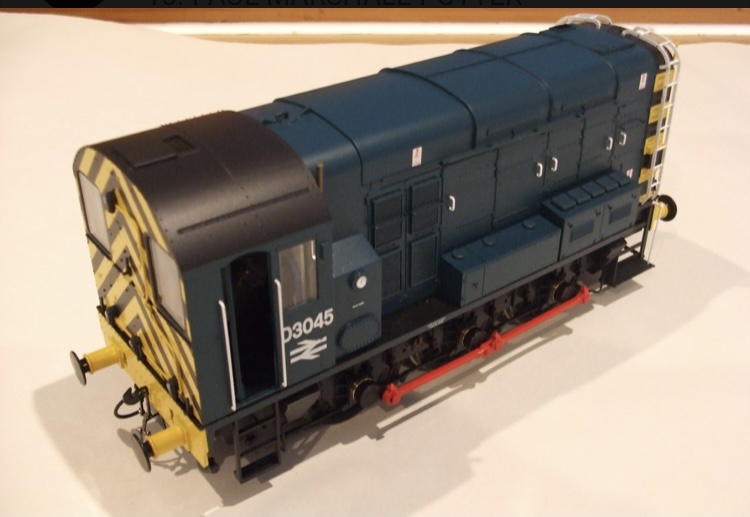
Any of you readers fancy a start in O gauge? A friend has for sale two of these Dapol 08’s, as new, unused. They were originally part of a plan for a small O gauge layout, and,as we all experience, plans sometimes have to change.
A few years back the same thing happened with me and I too had got an 08 for trials. There’s images on this page which show how these are put together. There’s plenty of space for adding DCC and sound, and Railway Modeller’s Callum Willcox has fitted the Hornby TTS 08 sound decoder into one for an economic conversion.
Dapol O Gauge class 08 7D-008-002
If these are of interest please get in touch, they’re priced at £165 each plus P&p, a deal might be available for the pair. Whilst clearing the man cave here these two OO locomotives below are still available from myself ;
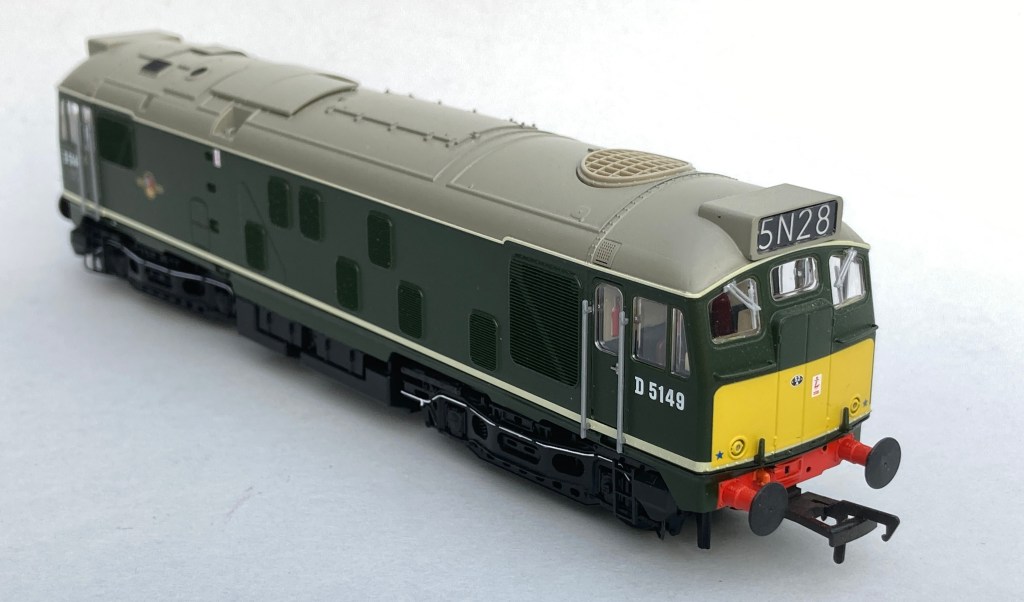
Bachmann class 24/1 32-443
The class 24 is as new, DC, £125 inc uk P&p
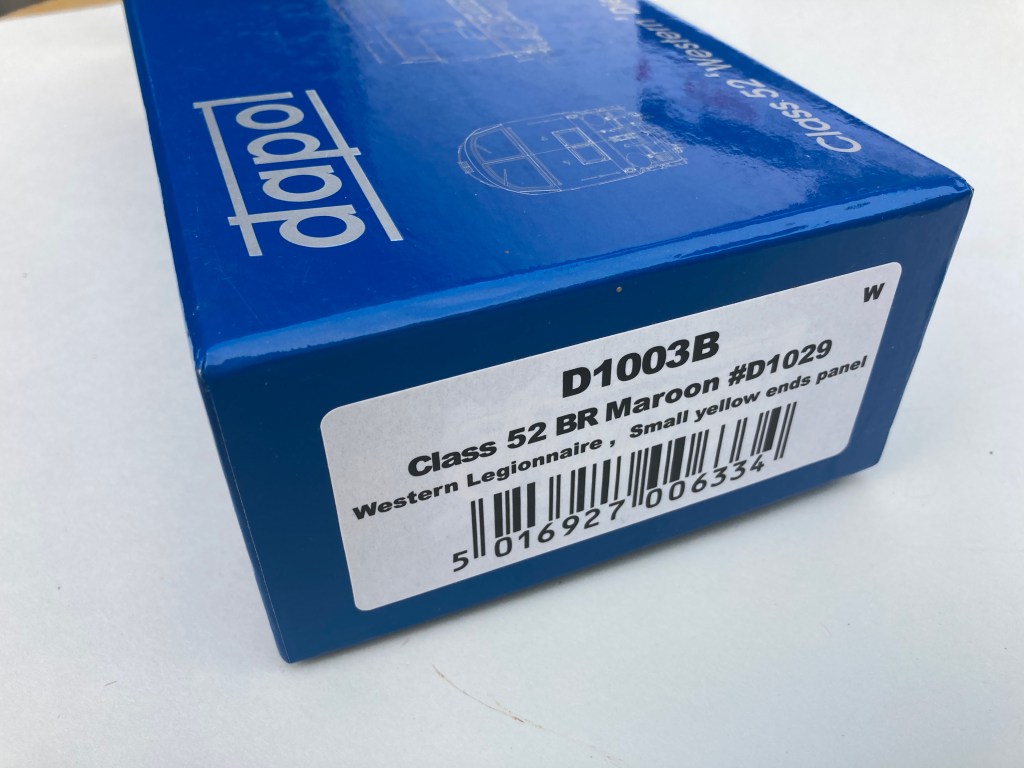
Dapol Western D1003B
The Western is DC, and priced at £135 inc Uk p&p. Both of the locomotives have only been test run or used in photo shoots. Please contact me via the blog or the Albion yard Facebook page.
It’s only a week since I completed Shelfie3’s wiring, and noted that that point in time was likely to be a spur onwards in the project. As I expected it did just that. The next notable step has been painting the track on the scenic part of the layout.
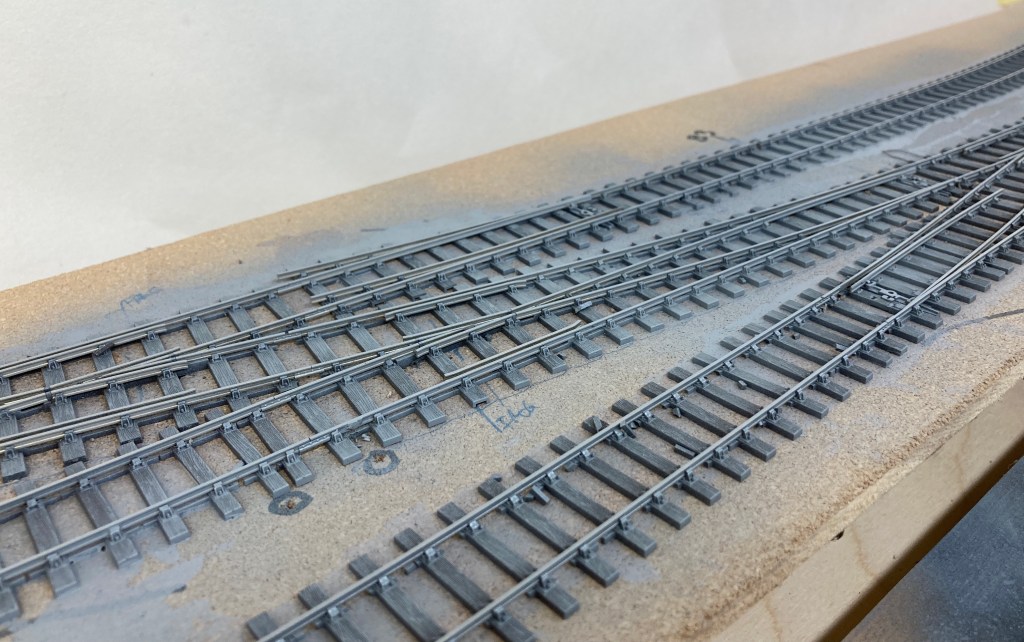
Peco Unifrog Bullhead Points SL-U1188 SL-U1189
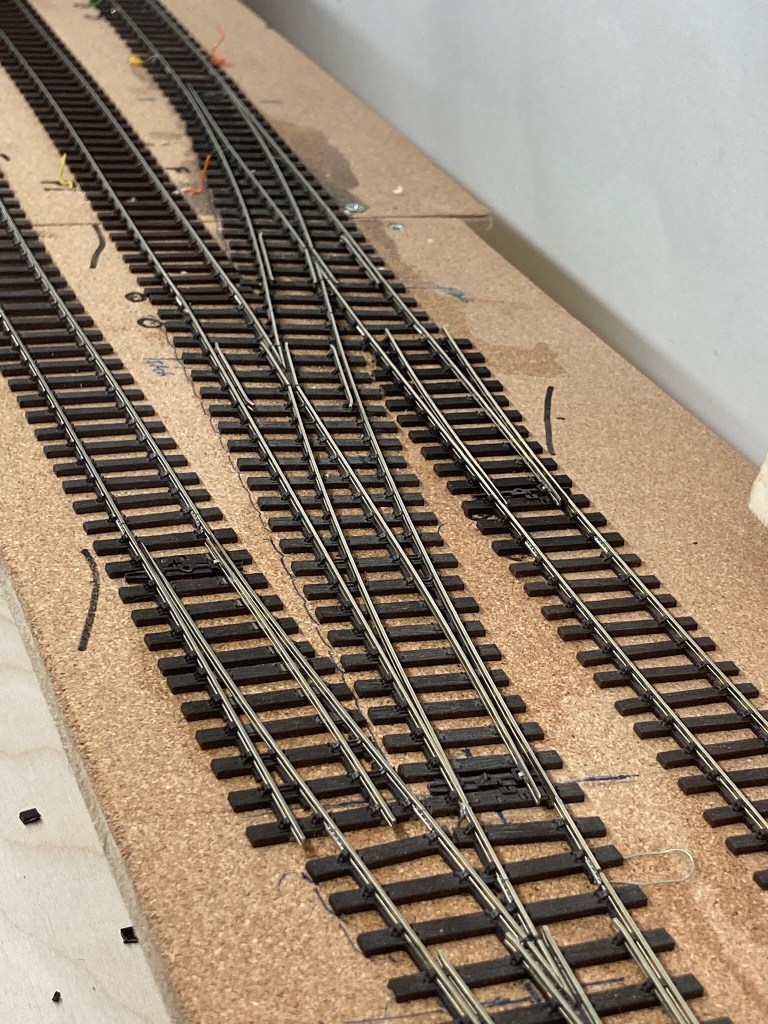
Above is the starting point, or points, (I’m here all week), Peco Code 75 bullhead track. Nothing ground breaking here, an MDF track base with 1/16th thick cork underlay. The track has been glued directly to the cork using PVA adhesive. There is a slight disadvantage with this in that there is an audible increase in the sound transfer from the track, it is what it is though, and I accept that as part of the process. Shelfie 1Shelfie 2 and Shelfie 4 all use woodland scenics underlay to good acoustic benefit.
Peco Bullhead Points
The points are Peco SL-U1188 and SL-U1189 unifrog type with actuation including frog switching via Tortoise switch motors. This means there’s far less reliance on the physical point blades to conduct electrical power. If you’re using a ‘traditional’ insulated type of frog then you ideally need to mask the contact points of the blades and stock rails before painting.
Railhead cleaning
Both paints here are acrylic based, so there’s no issue with incompatibility with the track. Spraying from about 30cm or 1ft in old money, I build up a couple of layers by varying the spray patterns. As soon as the spraying is finished I start working on the rail head to clean it. This needs doing quickly, these paints adhere very well so it makes sense to clean the railheads whilst the paint is still soft. I use the Peco rail cleaner as my first stage of paint removal.
Halfords Camouflage Brown
Once happy with the initial grey ‘undercoat’ I add the camouflage brown using the same method. The varying spray pattern gives a good natural look rather than a solid block colour.
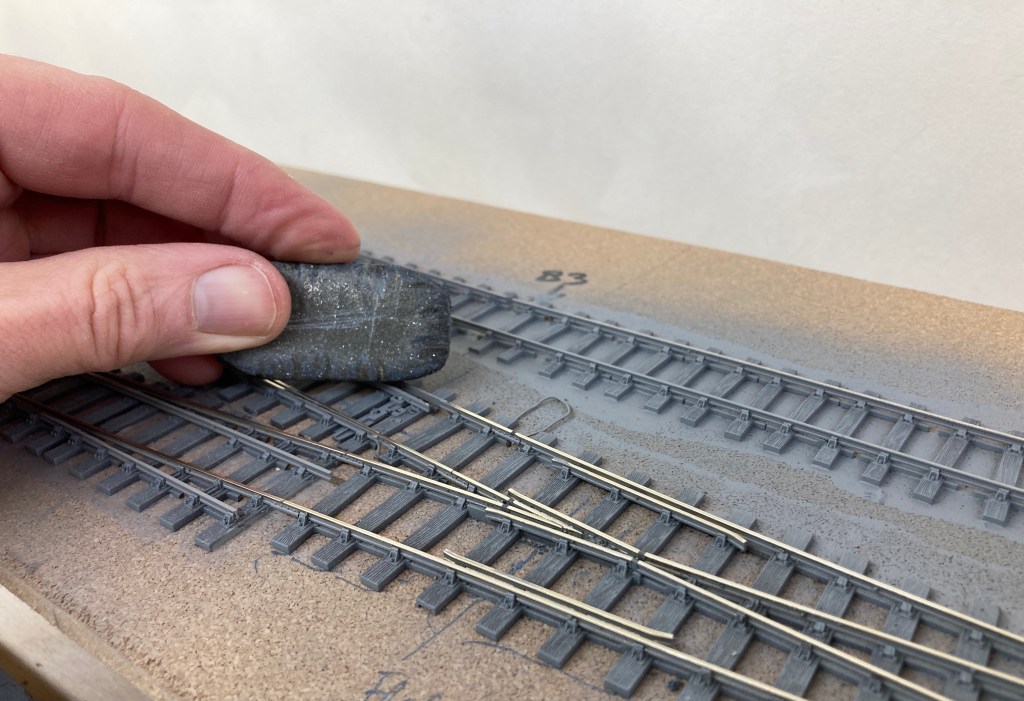
Peco PL-41 Rail Cleaner
Again it’s immediately back into the rail head cleaning, whilst the paint is drying. There’s a lot of wibble talked about track cleaning, chemicals to use/not use and the easy answer is use what works for you. I’ve used these rail cleaners since I was a kid and never had a problem with them. I also use IPA, White Spirit, Meths, MEK, Plasweld, Emery papers and cellulose thinners with no problems, across all the popular scales and gauges. The benefit of this Peco cleaner is that you can make grooves in it. This allows you to clean not only the top of the rails but the shoulders as well as these also are part of the electrical conductivity. As you can see in the image above you can also get clearance from check rails, so you don’t need to repaint them after track cleaning.
Track Cleaning
So the final element before testing is a clean of the rail head using an appropriate ‘solvent’, here I’m using Revell Painta Clean on a Q-tip, and you can see the stripe as is picks up residual rail cleaner debris and paint.
Once I’m satisfied the rail head and contact points are clean I retouch in areas of detail. The rail sides are painted with a thick wash of Tamiya NATO Brown XF-68.
I use either a full rigger brush or a long hair for this task. The bush when pulled along the rail sides leaves the bulk of the paint on the rail, but also highlights the chair details too. The Halfords underneath gives a good key and pre-shading of the rail profile and chair shadows.
Once the rail sides and chairs have been washed over I return to rail tops, particularly the check rails and repaint those with un thinned full strength paint, but make sure I don’t cover any area where I need electrical conductivity. At this stage of the paint I tend to leave the track until ballasting is done but where the rail breaks have a plastic insulation section in them I use Vallejo Model Air RLM01 silver to touch the top of the plastic in.
It’s not a direct match to the rail head coloring but does hide the black plastic. Further paint detailing such as the fishplates and point rodding will be done on completion of ballasting and point control fitting.
Shelfie 3 Track Test
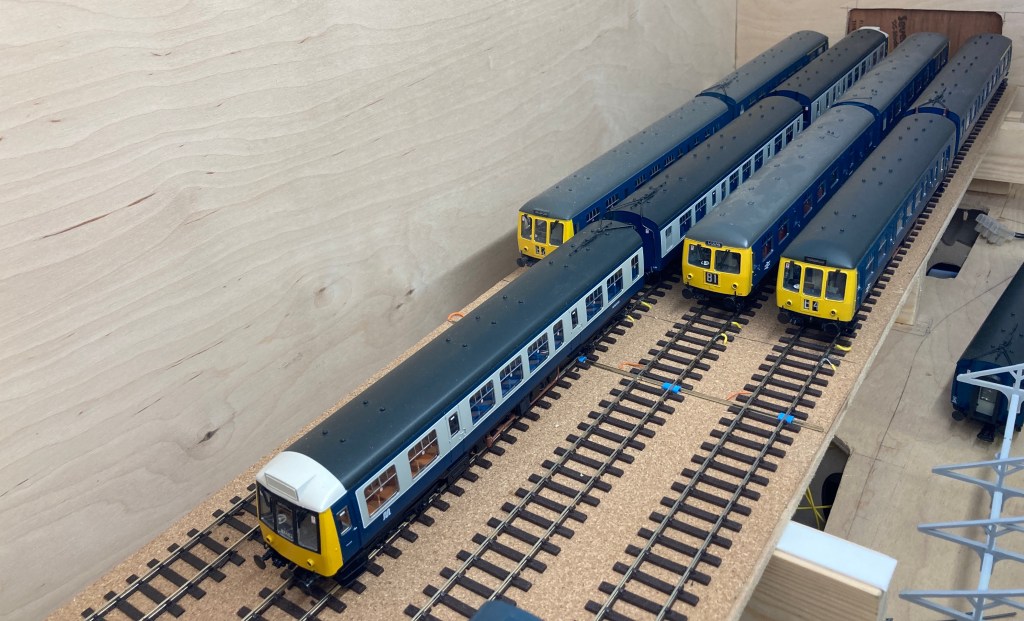
So here’s the final results. Tested on DC with two RTR short rigid wheelbase locomotives. I had one or two areas that needed a bit of additional cleaning, but nothing unexpected. Subsequently I often clean the rail heads before running as an insurance policy thus will last a week or so before I’ll start track detailing and ballasting.
Bachmann DCC Sound Class 20
Experience tells me that having done the initial clean thoroughly, I’m unlikely to have any conductivity issues caused by painting. A quick swap of controller to an NCE power cab and the layout runs with no problem on DCC. Next step is to determine signalling choices and details such as point rodding location and it’s actuation before getting the ballasting done.
Or, I could write a fifteen minute hero on my track cleaning regimen, and see how much wibbling that sets off..
It’s a pleasant Monday morning here, the suns out, it’s warm and I’m fortunate enough to be sitting outside and planning my next Shelfie 3 moves. This weekend just gone I was sitting at a mosaic table and chairs, the top made from many many glass sections, the workmanship and endeavour required to make it immediately struck a chord with both the artist and modeller in me.
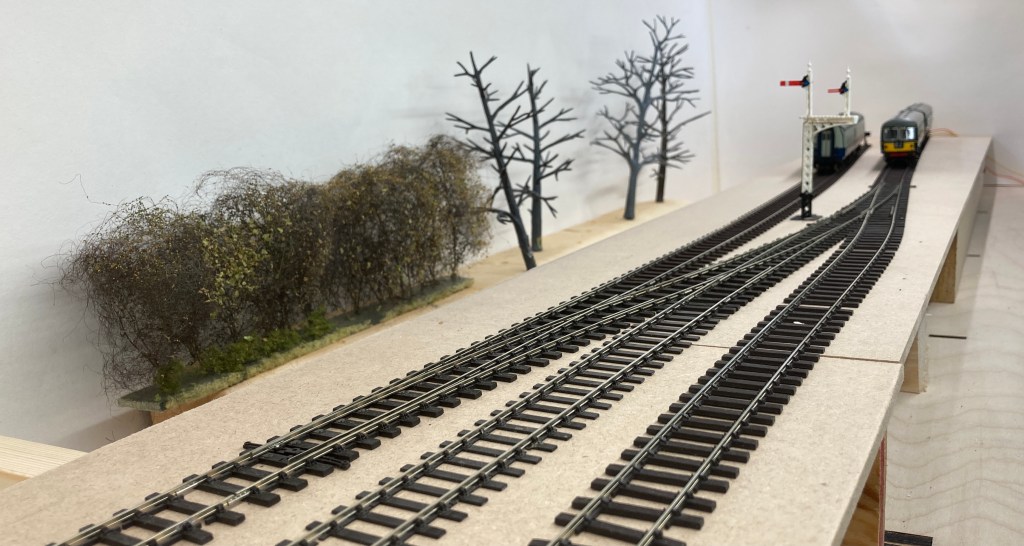
Shelfie3
It’s times like this I often think about how we as modellers join the dots, and using a wide range of material bring them together to make an ‘image’, our own form of mosaic. If we take the picture above, the lighting is from commercial cabinet lights, baseboard is a mix of Tim Horn picture frame boards, DIY store MDF, and timber supplies pine strip wood. The trees are plastic armatures, plugged into building insulation foam, the track Peco Bullhead, Signals from Ratio, and the DMU from Bachmann
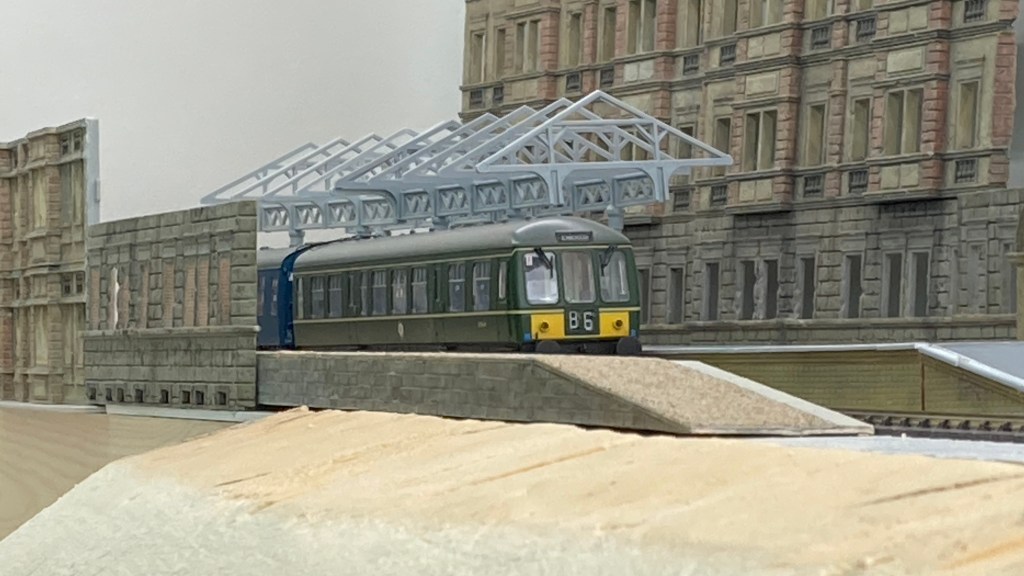
Shelfie3 Mosaic
Much as a traditional artist does with a mosaic of bringing together similar or different materials to make the image, we as modellers do the same thing. In the image above I’ve added more components, playing around and moving them, adding, subtracting pieces until the picture falls into place. I already have my framework of the image, the baseboards and physical dimensions, footprint, height and depth. I too have determined what the finished ‘piece’ will represent, but not necessarily how it will look in the final format. Much the same with Shelfie 4, Maple River illustrated below, the picture frame and concept is established, it’s now the ‘mind on’ and ‘hands on’ part of production.
Shelfie4 Maple River
Often people ask is our hobby an art form, I’ve always been of the opinion that it is. Art is sometimes viewed one dimensionally, that piece is just a drawing, painting or sculpture using one medium. But of course there’s other formats, installation immediately coming to the fore.
Then for us who exhibit, we take our artwork to exhibition, to show our contemporaries, and the general public our endeavours, sometimes to critical acclaim, sometimes to failure if the layout stops working for example. It’s all part of our journey.
Shelfie 1
Perhaps next time the question crops up, the answer is yes the hobby is an art. A layout can be argued to be a three dimensional mosaic, be it a line wolf modellers effort or a collaborative team.
So, looking at a coffee table. Odd isn’t it where our inspiration can come from?
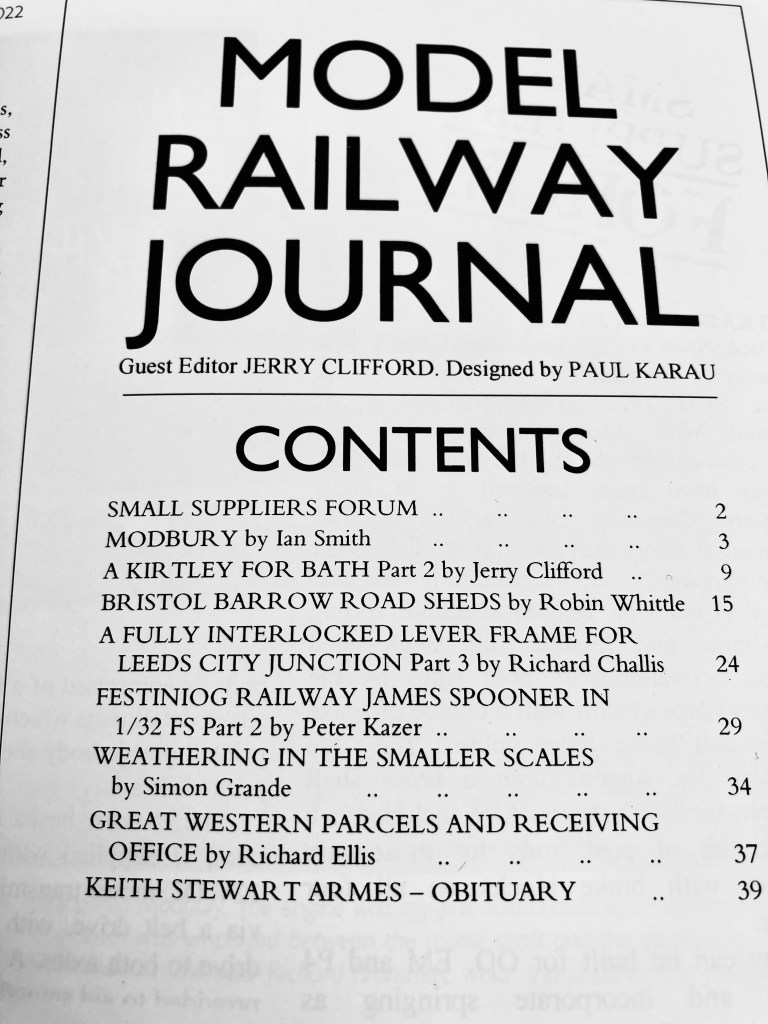
Not a bad thing to come home to after a hard day at the office, (stop laughing at the back). MRJ number 288 edited by Jerry Clifford.
A nice issue this one, with a broad range of subject matter, ^^see above ^^. The cover shows the late Keith Armes 2mm finescale model of Chipping Norton’s Bliss Tweed Mill. Seeing it brings back memories of seeing it at the MRJ exhibition at Central Hall in 1990, and wondering how on earth was that thirty years ago?
Fighting for space through the letterbox with MRJ is April 2022’s Railroad Model Craftsman, my current analog preference for North American outline modelling. If you’ve not seen one, it’s worth trying. Most times a good selection of varied material, both era and prototype is covered, and their current layout project is a shelf layout, naturally capturing my attention.
Anyhow wibbling on about what I’ve got to read, isn’t going to get it read, so that’s what I’m going to do!
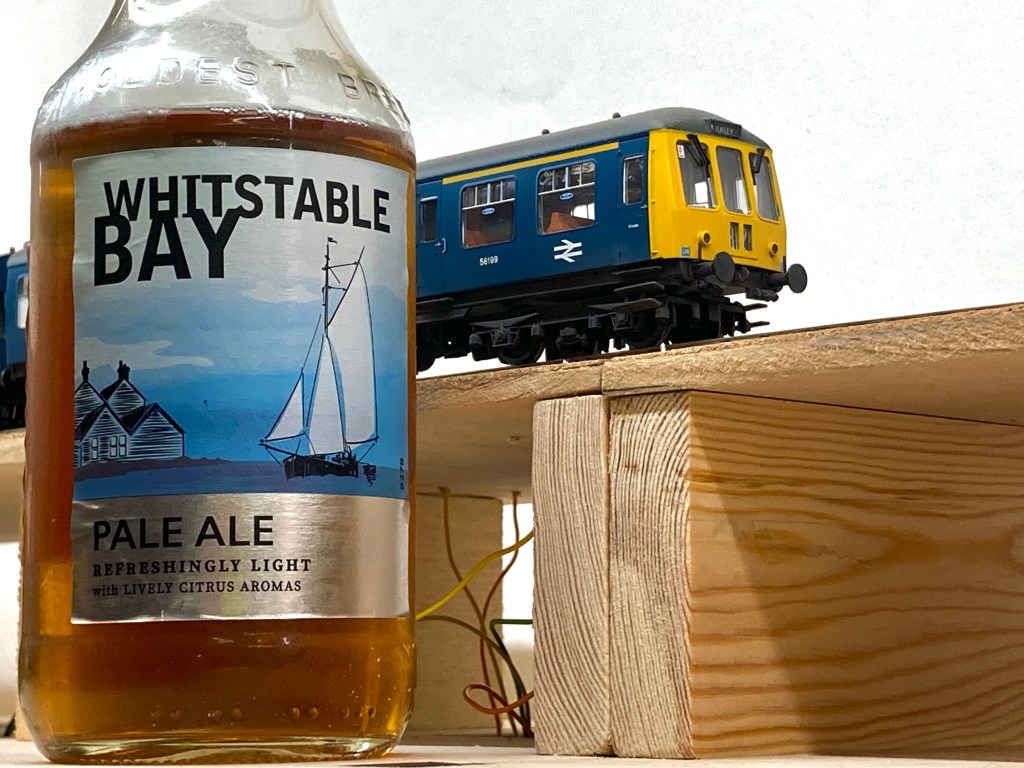
Well what’s the transformation then? Beer? nope, no change there, DMU?, nope, no change, a shelf layout?, nope, still no change.
The reason for popping the top off this cool one, is the transformation in operating this layout, Shelfie 3. Put simply, it now works as it should. Some readers may remember this Shelfie 3 time lapse, filmed a while ago showing the sort of traffic flow the layout will have. Of note in the film is (as my mate Mr Chapman notes), the Rick Wakemanesque piano playing style of switching DC isolation sections.
Shelfie 3
Well as of today the final wiring fix has been completed, hence the cold one. To be honest it’s not the most complex arrangement, three turnouts, and seven isolating sections.
However, wiring and me are an oil/water thing they just don’t mix, so having all the switchgear and wiring loom all tidy and functional from a single panel is for me a real step forward.
Shelfie 3 Traverser
The final fix wiring is one of those ‘little wins’, as was the rotary switch wiring and build of the traverser above. The whole layout and concept is really pretty simple, but it always slows up for me with the electrical section, sometimes being quite the mojo deflator. It’s certainly taken far too long too get done, and I can get on with the good stuff like James Hilton, Chris Mears, OTCM and Geoff Forster have been writing about.
However as I close this post it occurs, theres a good deal of satisfaction just sitting here playing trains with a beer.
No words as such from me, but this overview from Instagram by Tim Nicholson of his Indiana based HO scale layout, is really worth spending time watching. So so much to learn from it.
This weekend at Scotland’s premier exhibition Peco’s have prototypes of the medium radius bullhead points on display.
Peco Bullhead Medium Radius Turnout Copyright P. David Smith
Planned release is 2022 for both these new additions, and will follow the release of the OO bullhead crossings and single/double slips, of which production has started. From these images it looks like the medium radius are following the same construction format as the previously released large radius point. Blades are a single rail rather than split with a mechanical pivot point. The design is of the Unifrog DCC/DC compatibility, which is being introduced across a number of the Peco track ranges.
Catalogue numbers are:
SL-U1195 Right Hand and SL-U1196 Left Hand
Peco Bullhead Points. Copyright P David Smith
Also on show are examples of the crossings and slips on their stand this weekend. Hopefully these will all be available in the near future.
My thanks to Paul David Smith for the brief update and images.
This past weekend I went to my first show in two years. And I’m pretty certain the last show I went to was the Doncaster show in 2020.
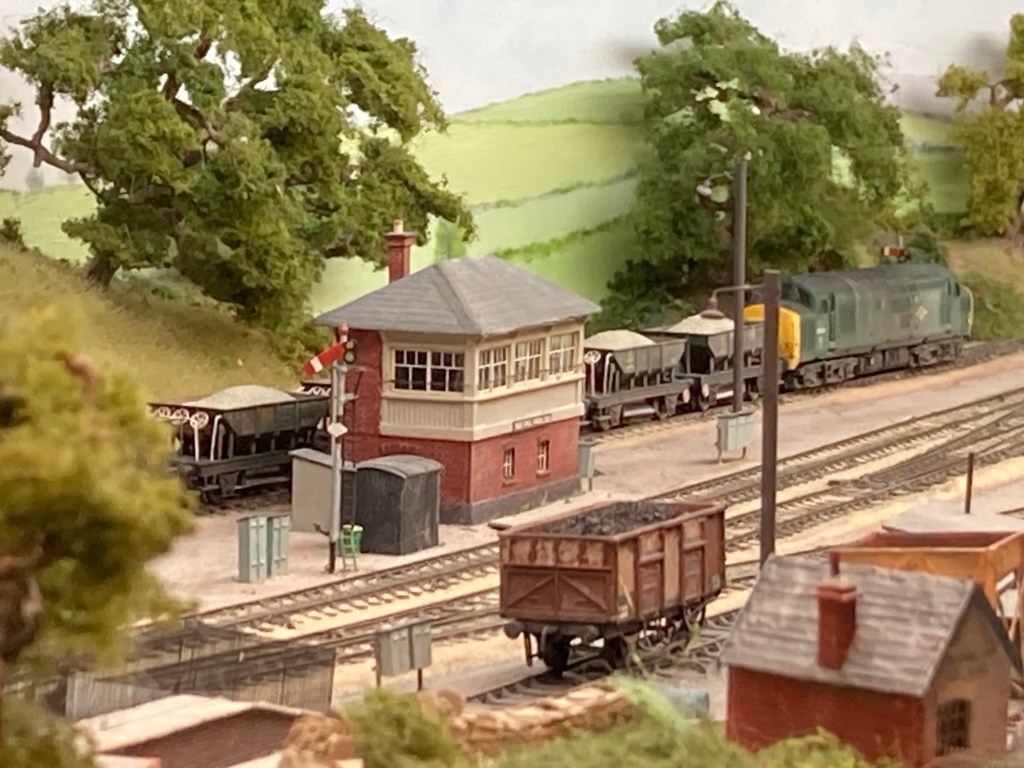
Blueball Summit
I wasn’t sure what to expect on arrival, obviously C19 here in the UK is still very much an issue. I was pleasantly surprised to see that there was a high turnout of visitors, I’d got there at 14:00 and it was still busy, and there wasn’t the notable afternoon drop off in numbers. People were giving each other space and I’d estimate about 40% wearing masks (non compulsory). It was still busy around some layouts and stands but not oppressively so.
Blueball Summit
One thing I did note was I felt the overall quality of layouts was biased towards the D&E sector, and seeing Blueball Summit was really pleasant.
Blueball SummitBlueball Summit
Blueball Summit is one of those layouts that is really well executed, runs very well and demonstrates the scenic potential of the 2mm genre.
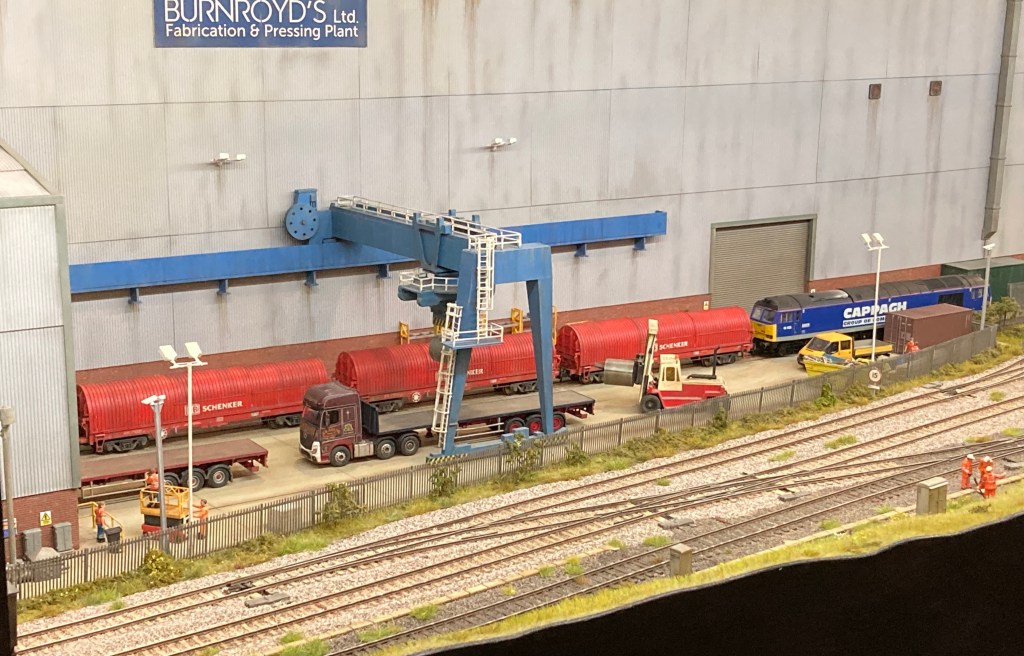
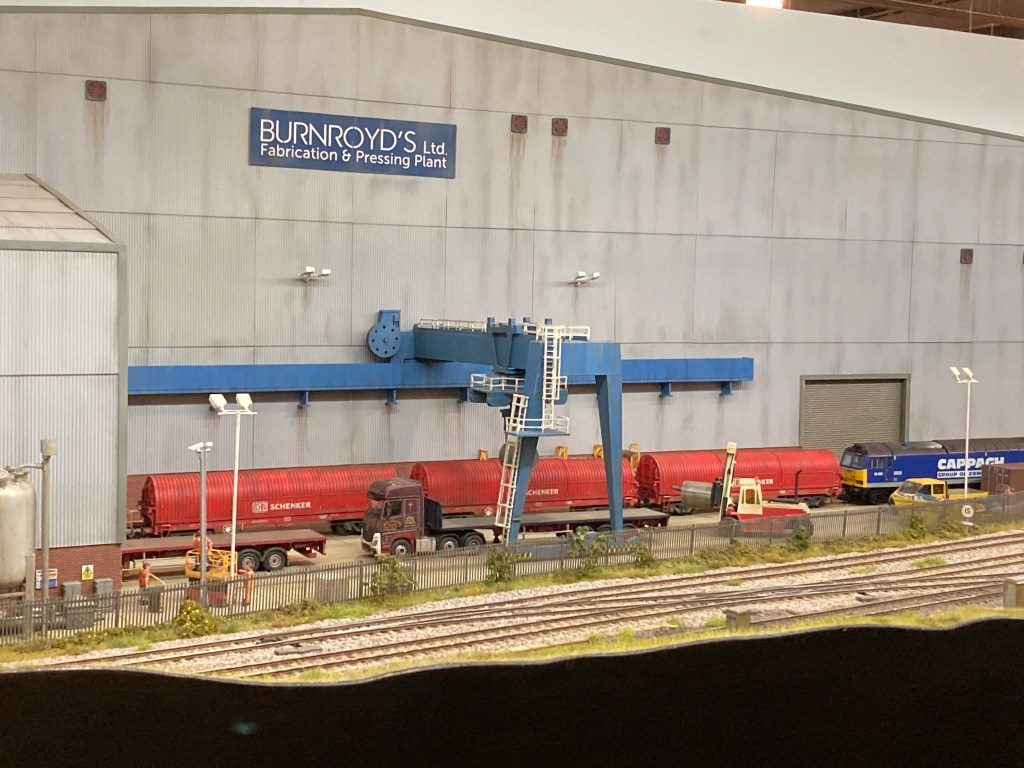
Burnroyd Works
In 4mm scale the layout that caught my attention was Burnroyd Works.
Burnroyd WorksBurnroyd Works
The element of both these layouts that really worked for me, was the attention to detail, simple things like how the equipment on Burnroyd was placed, nothing had you thinking, why? Also making them stand out was the coloring, and the overall presentation, the whole ‘look’ of the layouts and their operation for me just ‘worked’.
Burnroyd Works
In terms of presentation there were a couple of layouts without any lighting at all, I still find that surprising, as it’s not making the best of the modellers effort, and I think I’d now find it very frustrating to operate a layout in poor lighting.
Trade looked busy, those I spoke to had had a good day and were pleased with the punters turn out.
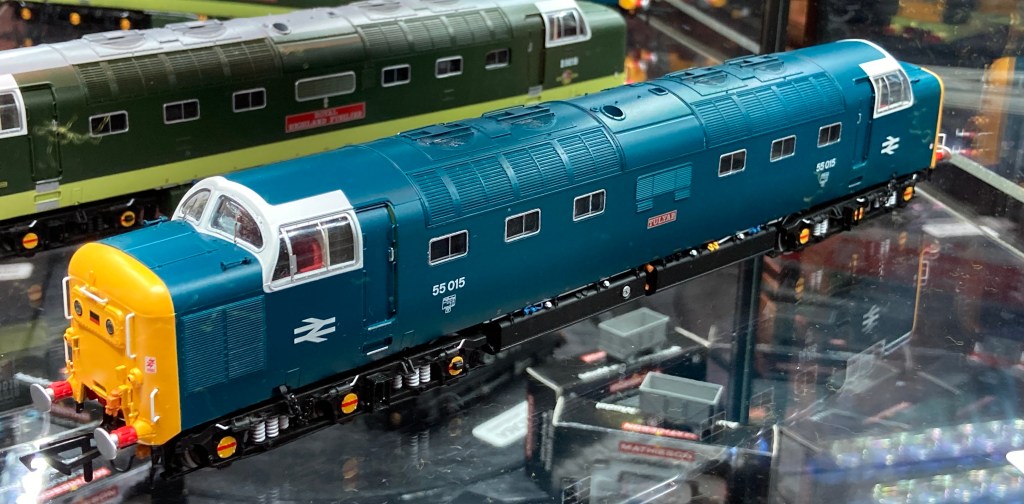
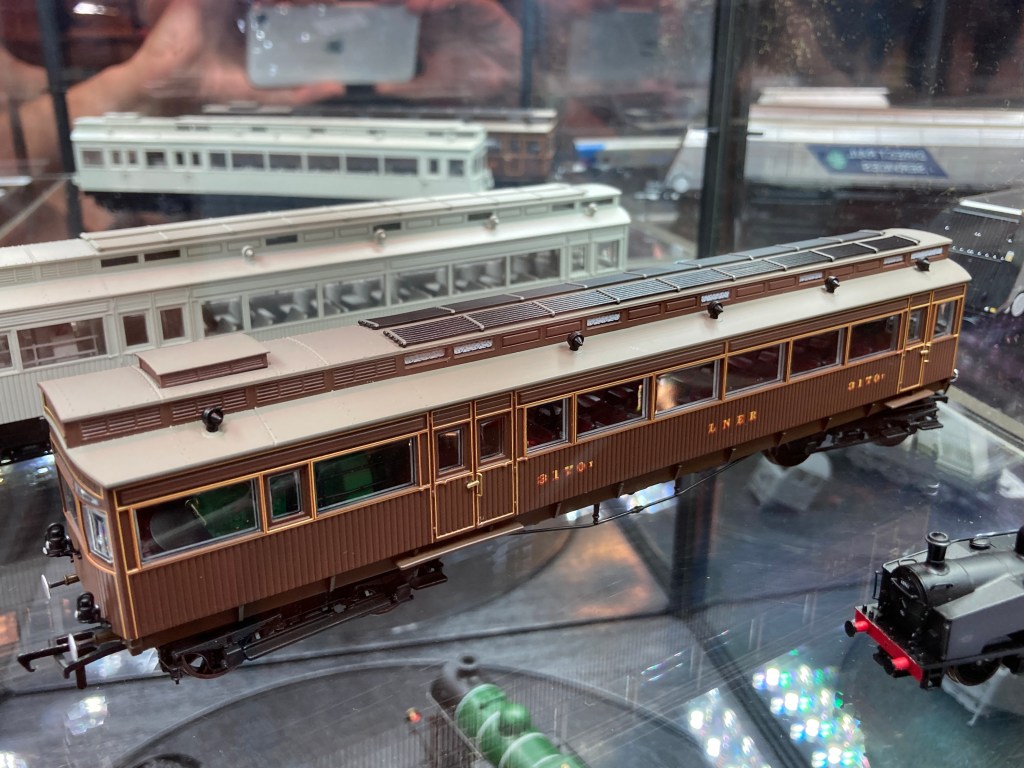
Sonic Great Central A5Rails of Sheffield North Eastern Railcar
There’s a short uchoob video here of the EP’s Rails Doncaster So what motivated me? Well seeing a good number of people I’d not seen for two years and just catching up was nice, being able to look at a good cross section of trade too and picking up a few bits to complete outstanding tasks, like paint!
Bachmann China Clay Wagon
This wagon above is one of those projects. Finding the Parkside chassis kit, wheels, and plastic strip at Eileens is just one of those nice experiences it’s all to easy to forget. So all in all a motivating day!


You must be logged in to post a comment.